Bloodstones are man-sized red gemstones, which the Kid can collect in various locations of the Uncharted Seas. They are sought after by the Bloodstone Collector, who asks the Kid to deliver him as many as possible in return for a reward.
Rewards[]
- Upon collecting at least 40 Bloodstone the Kid can return to the Bloodstone Collector and receive from him the most powerful magic spell of the game: the TRILOTH spell.
- Collecting every Bloodstone in the game (55 in total) earns a player the Crimson Collector achievement (and accomplishment of a game challenge with the same name) as well as a significant amount of experience towards your Adventurer Level (+1000 Exp).

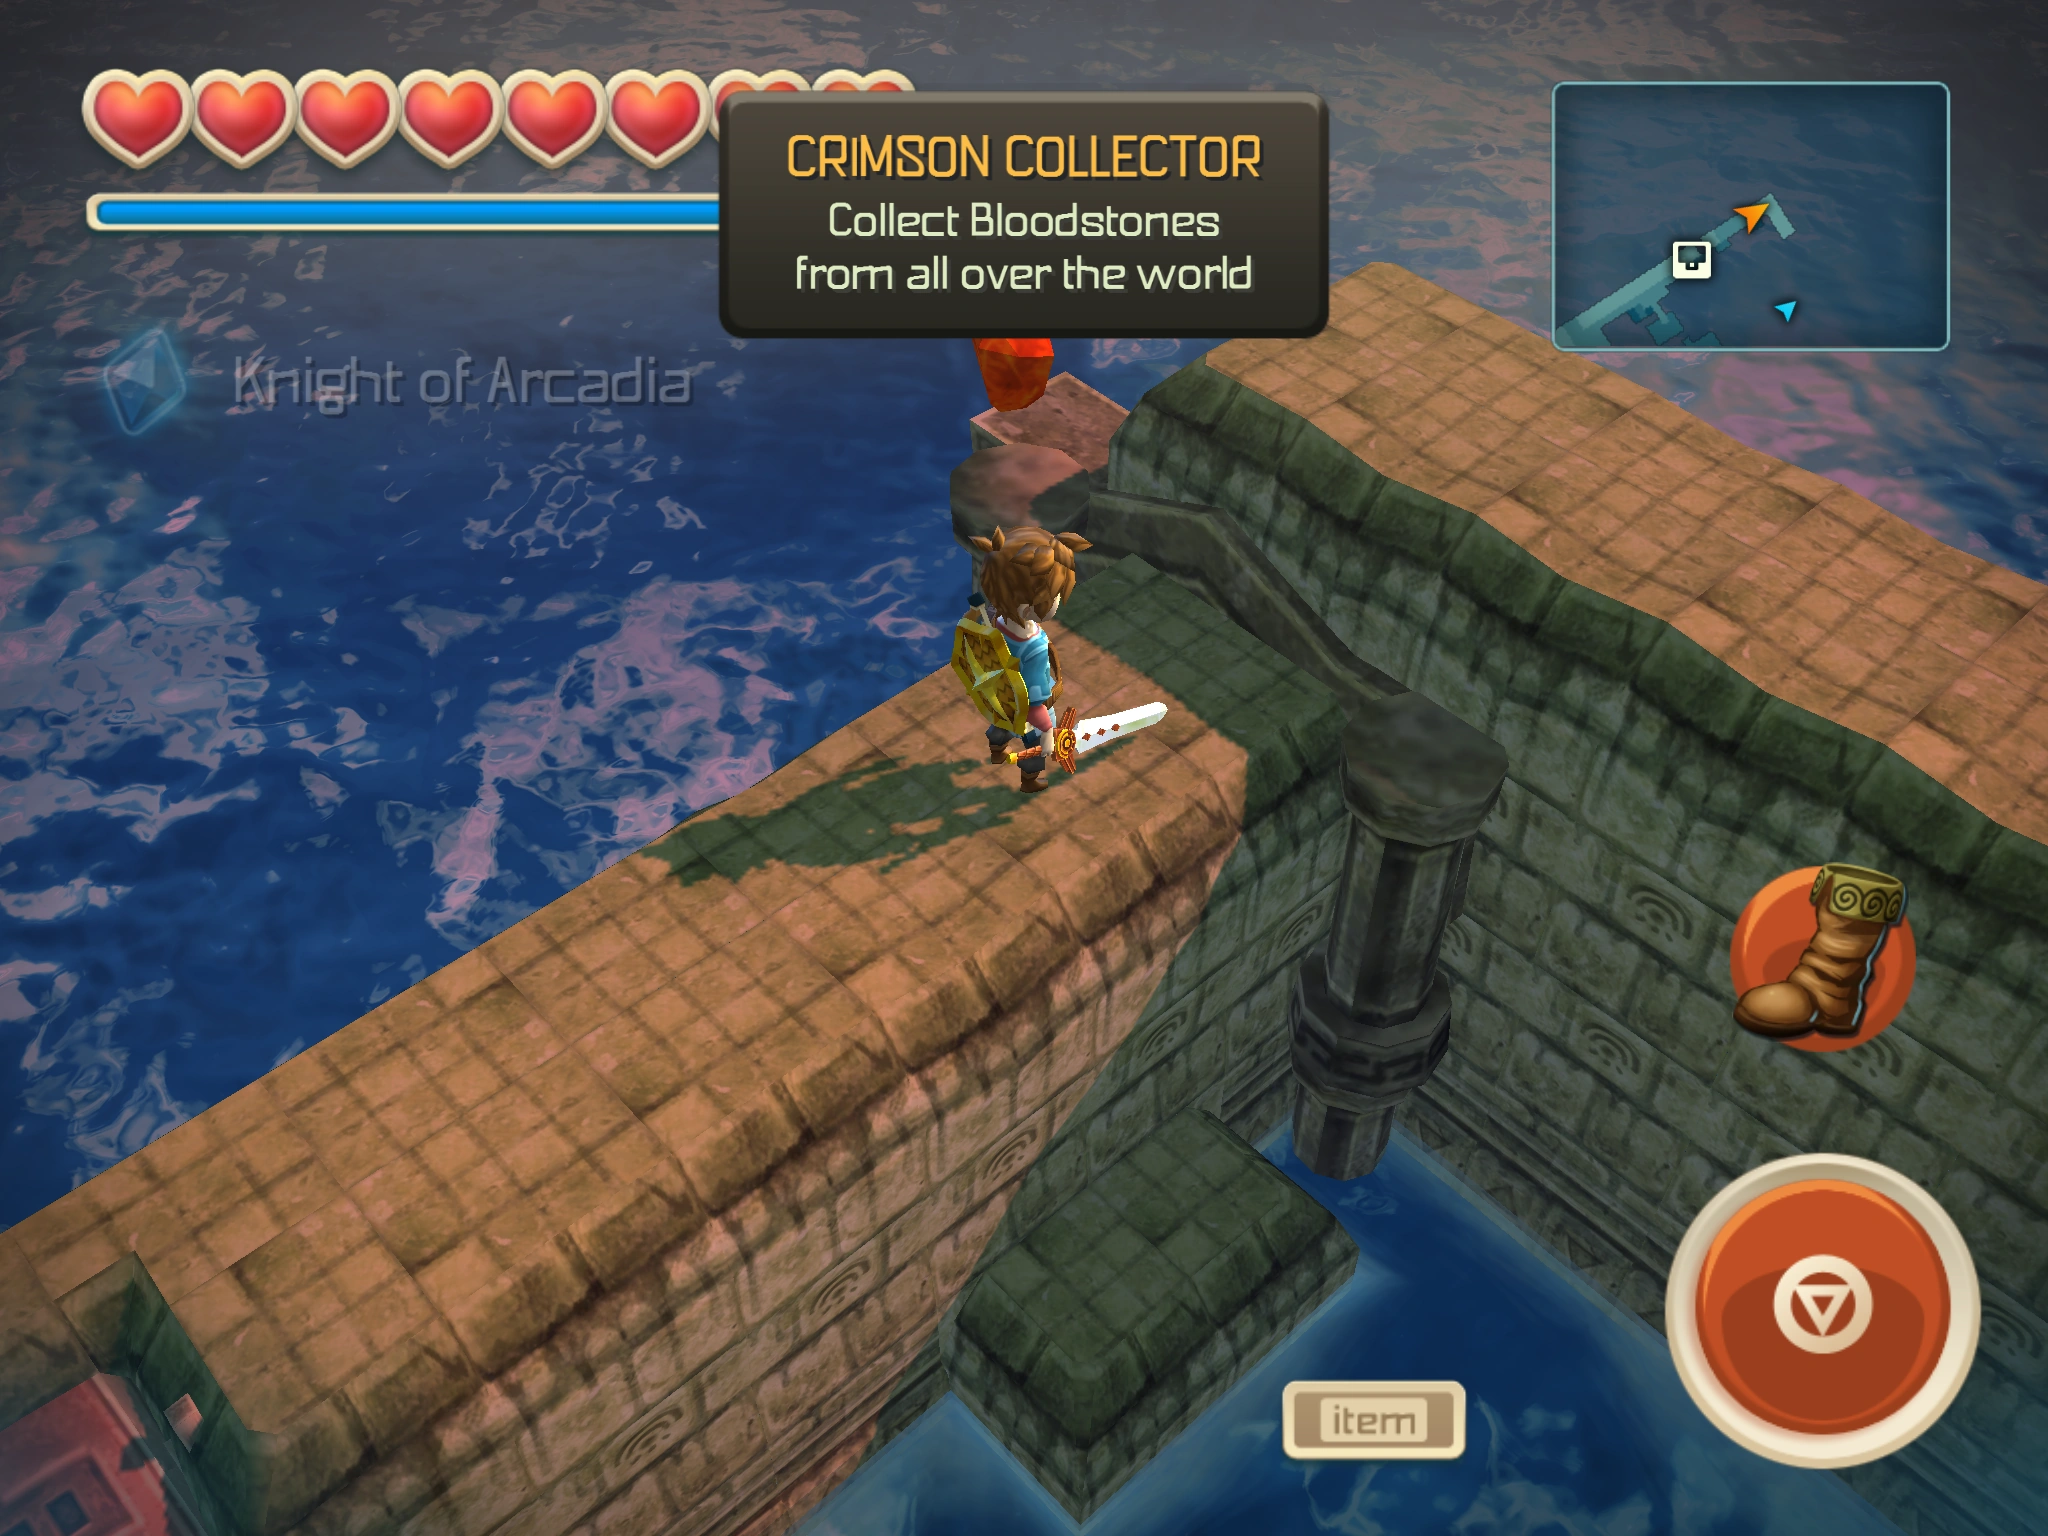
The Kid accomplishes the Crimson Collector challenge.
List of Bloodstone Locations[]
Below is the complete list of Bloodstone locations in Oceanhorn: Monster of Uncharted Seas. Bloodstones can be collected in any succession and at any point of the game (before fighting the final form of Oceanhorn), but some of them require solving puzzles and/or special equipment items (such as Bombs, Bow and Arrows and Trencher Boots) to collect. The following table is sorted by location (alphabetically).
| # | Location | Sublocation | Requirements | Image |
|---|---|---|---|---|
| 1 | Arcadia Ruins | 
| ||
| 2 | Arcadia Ruins | Trencher Boots | 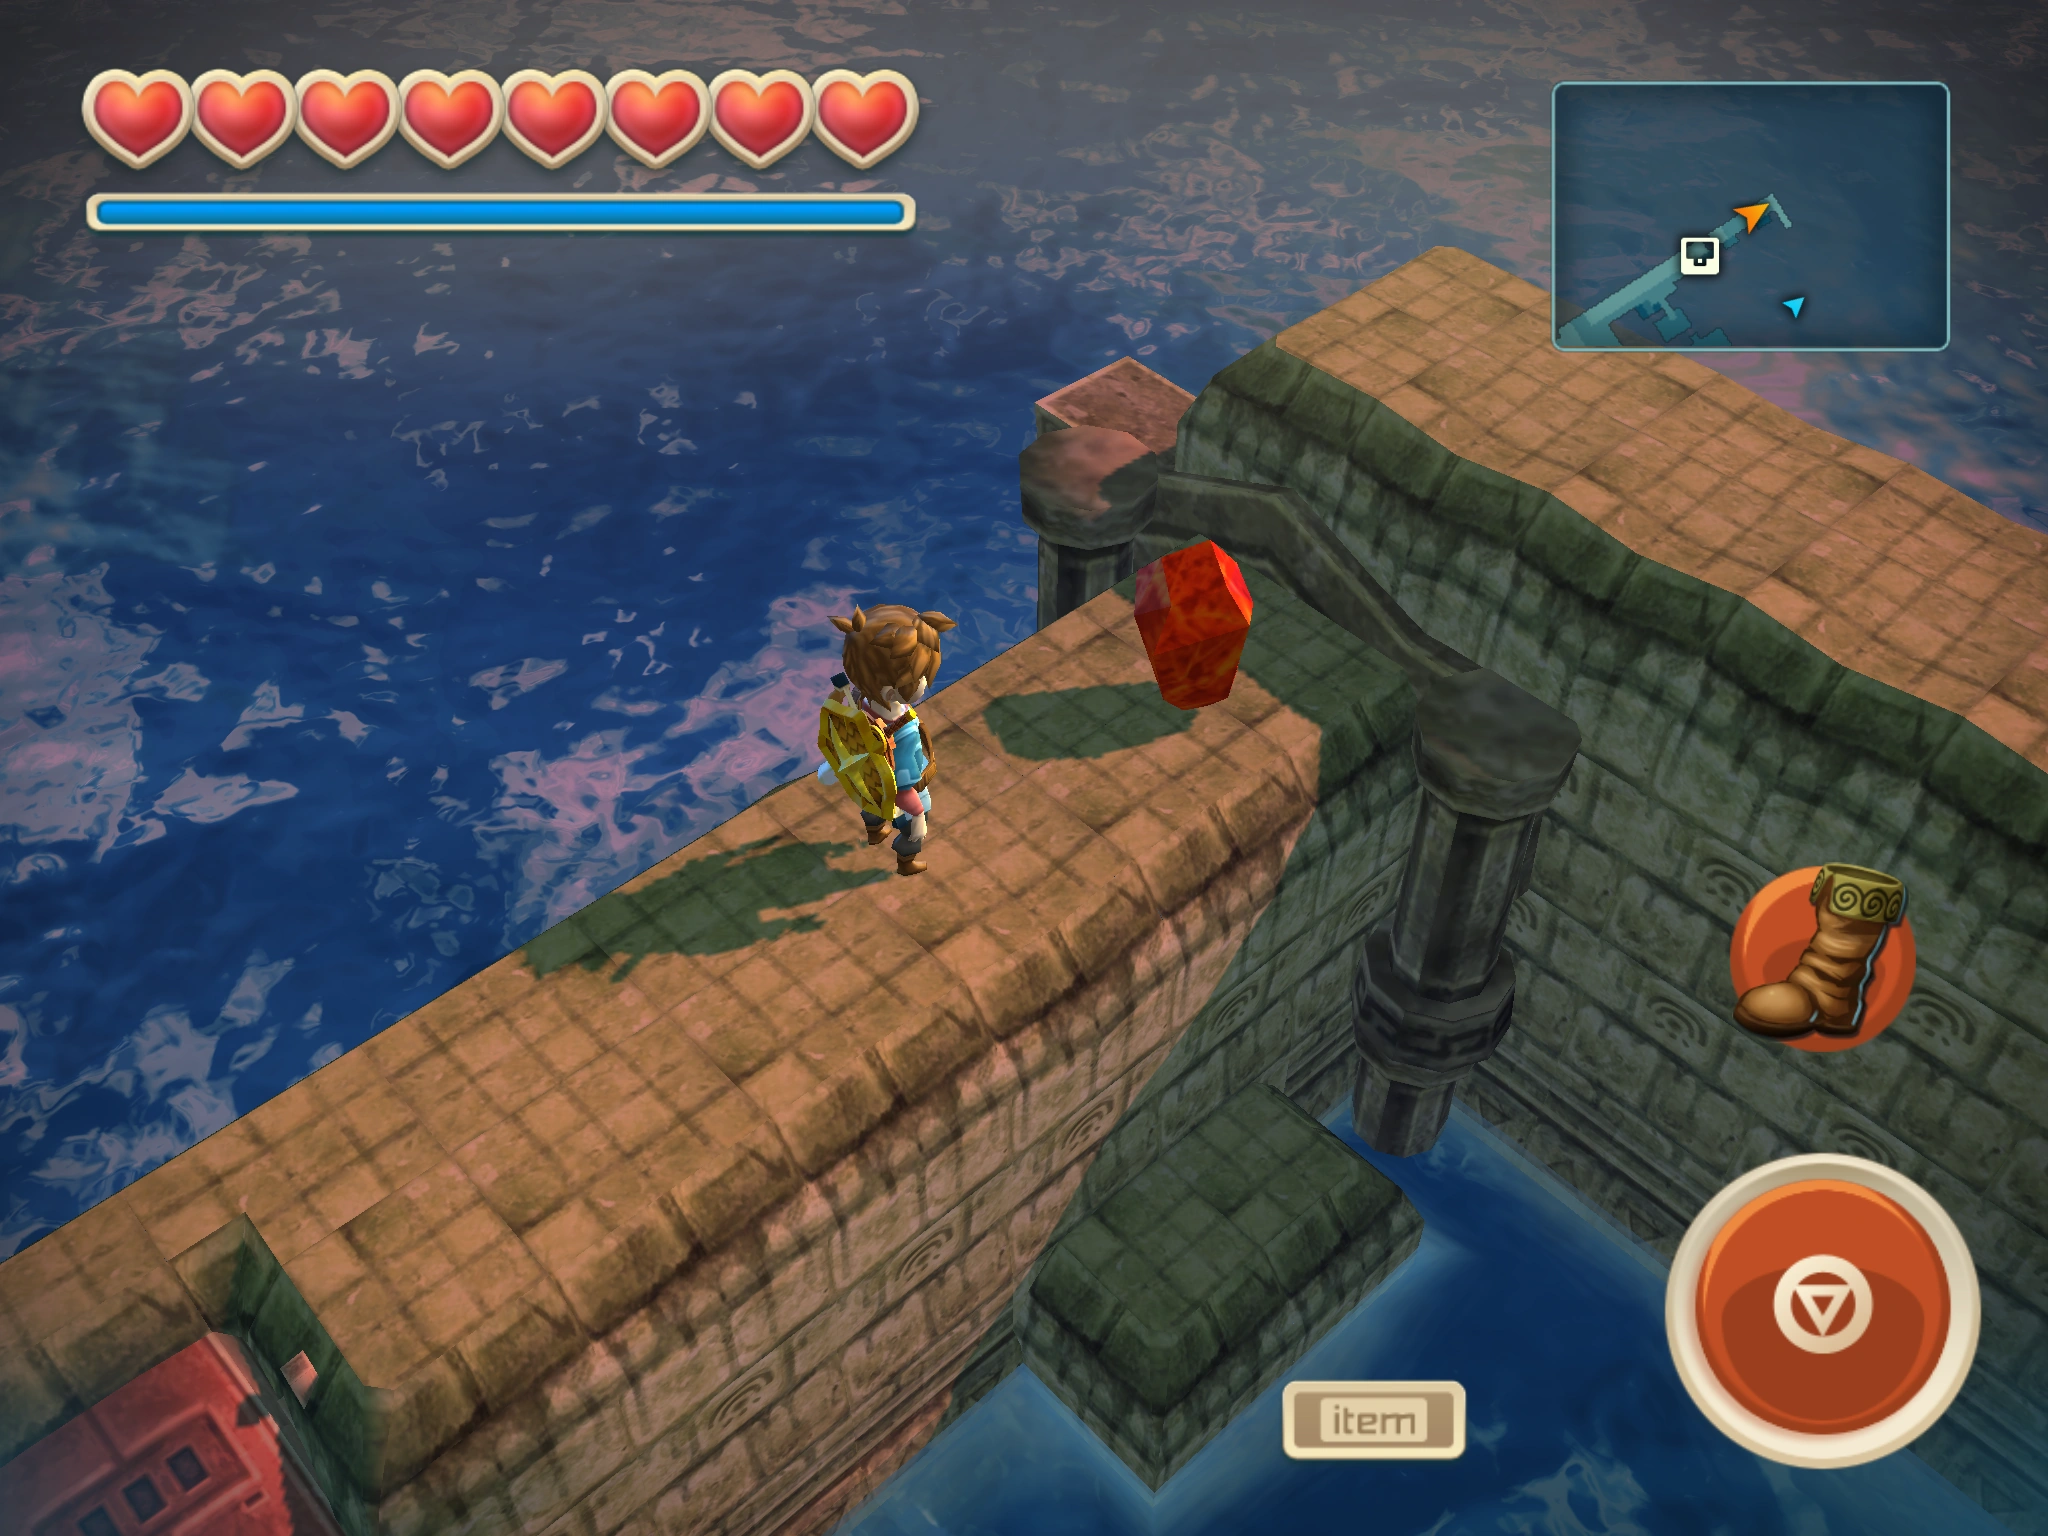
| |
| 3 | Bomb Island | 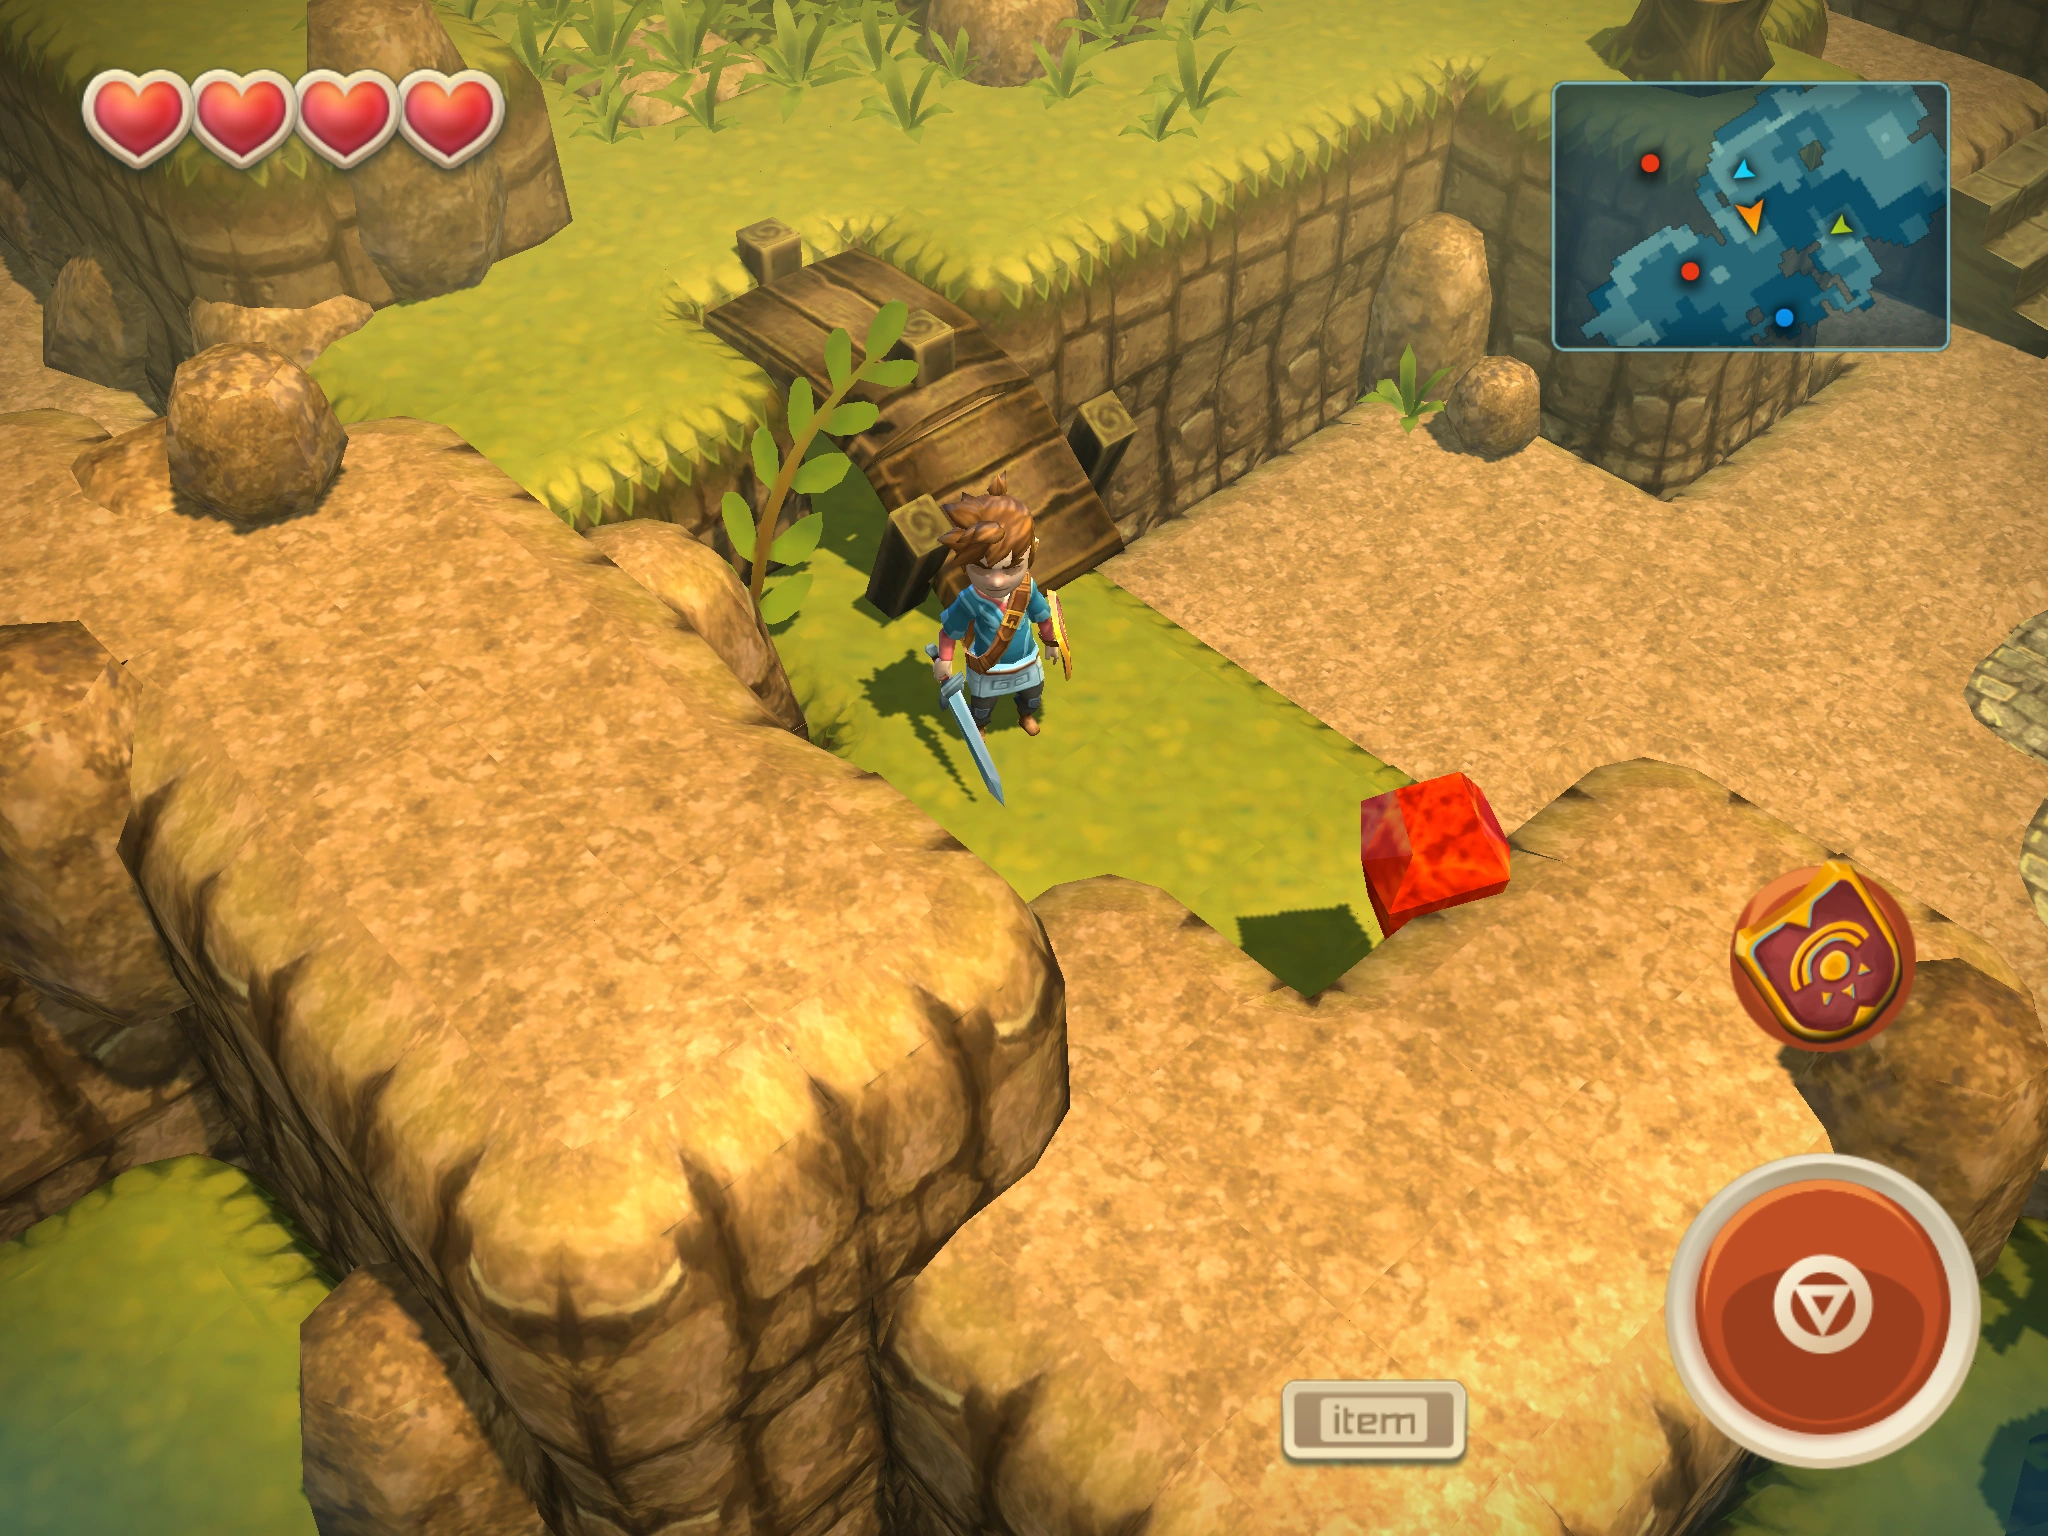
| ||
| 4 | Bomb Island | Trencher Boots | 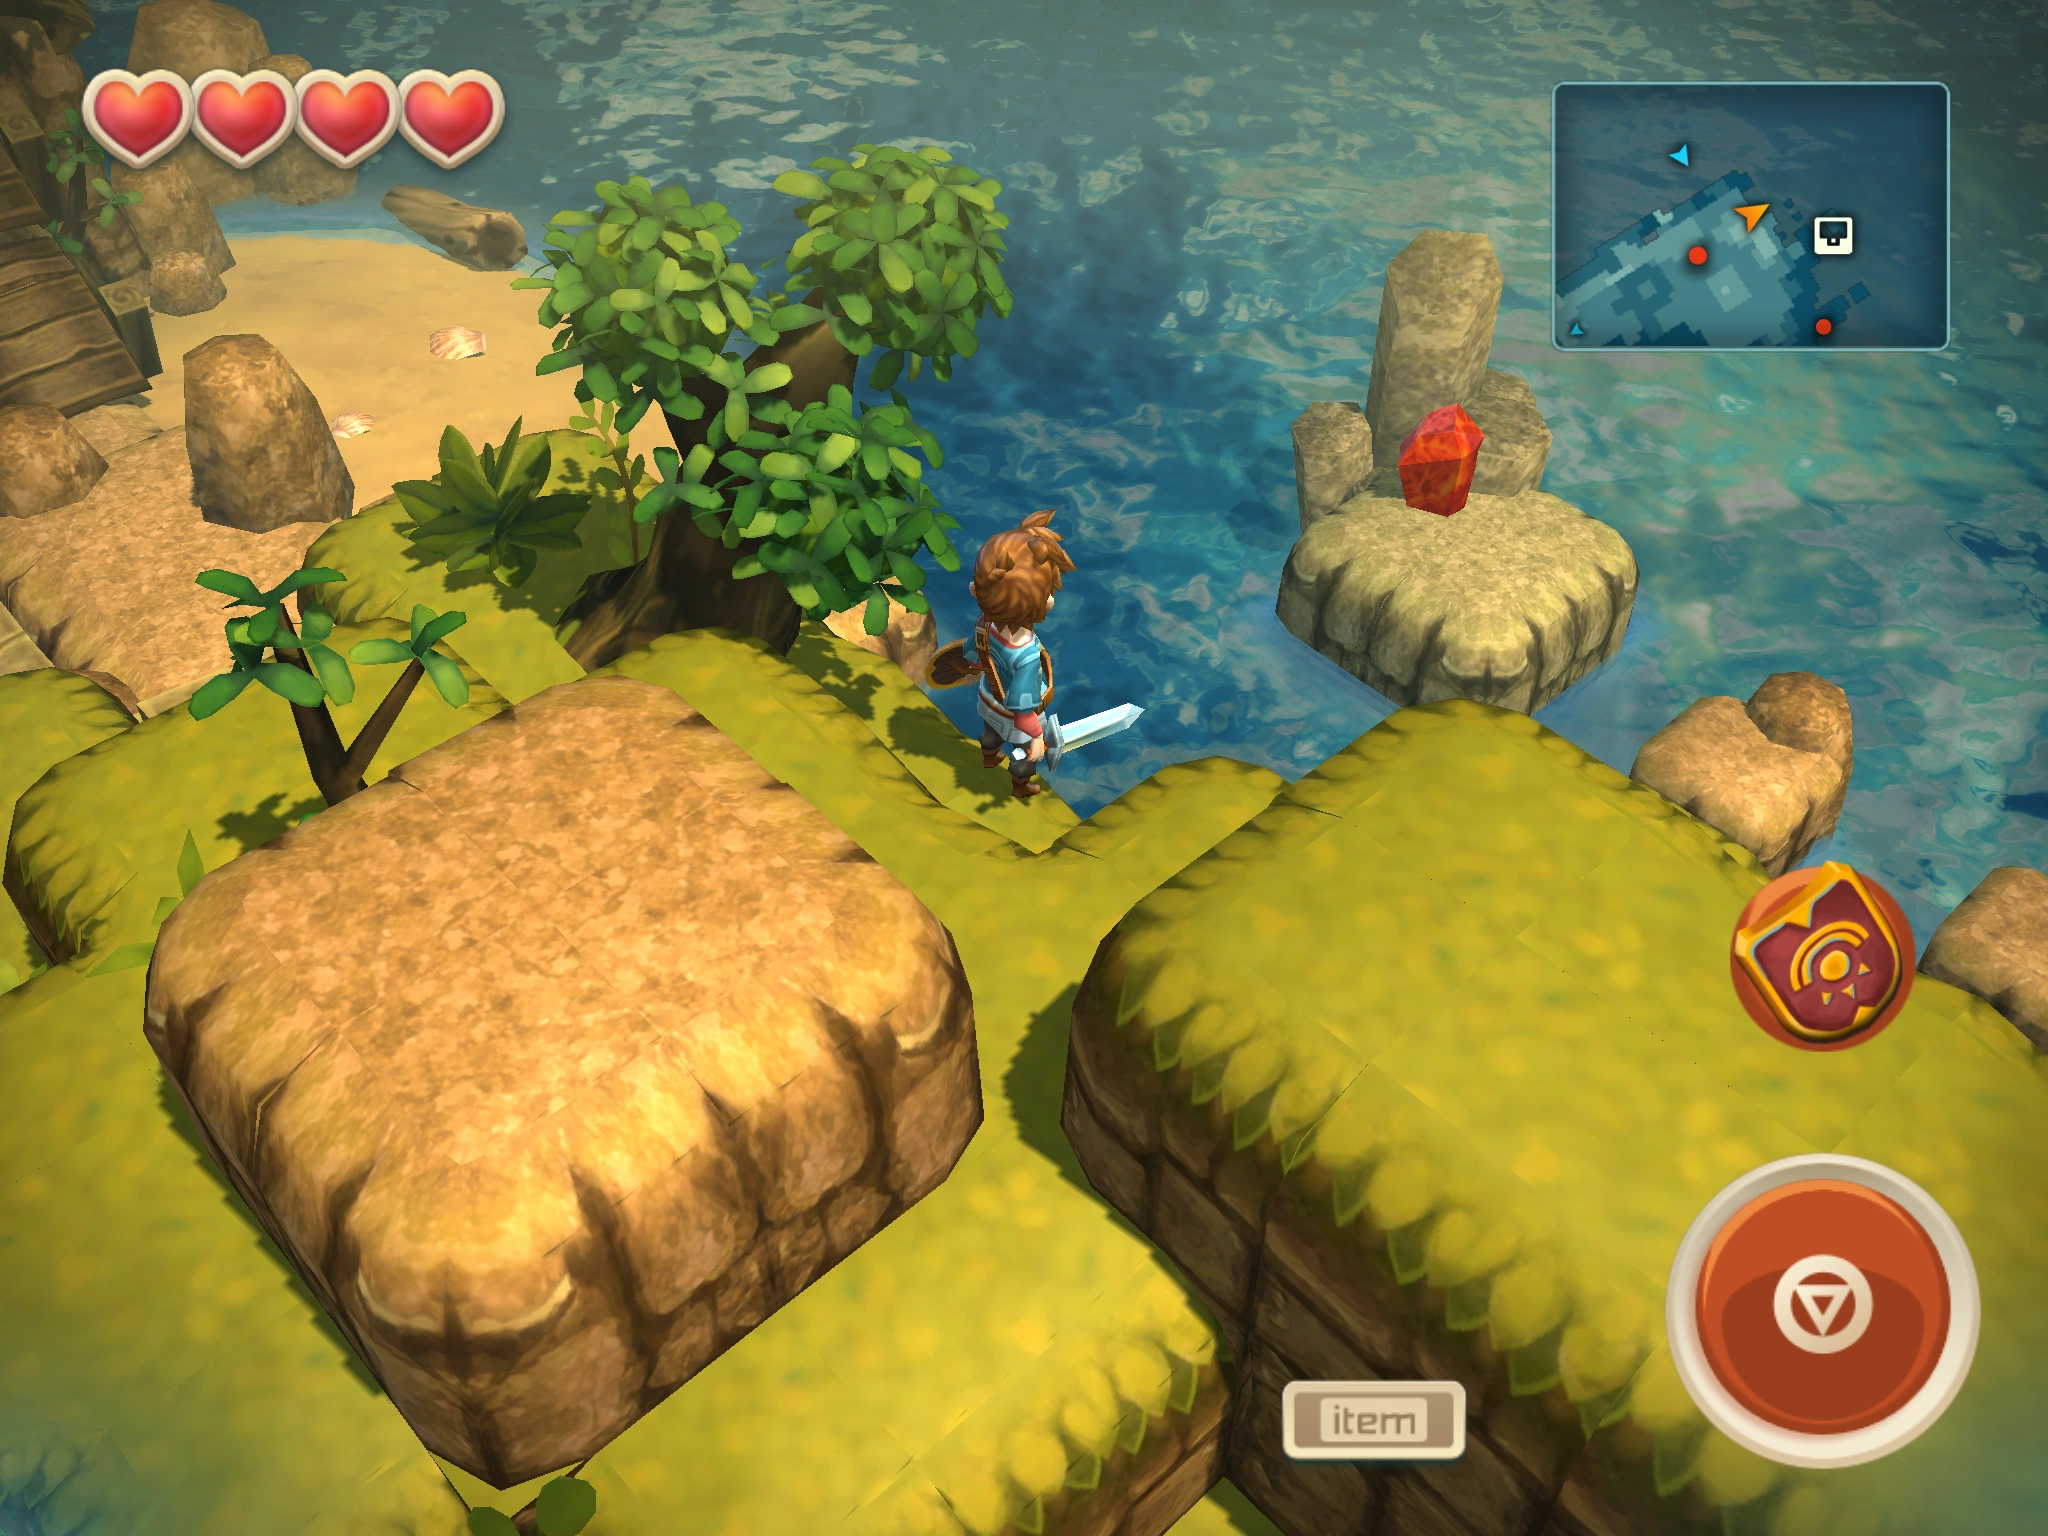
| |
| 5 | Bomb Island | 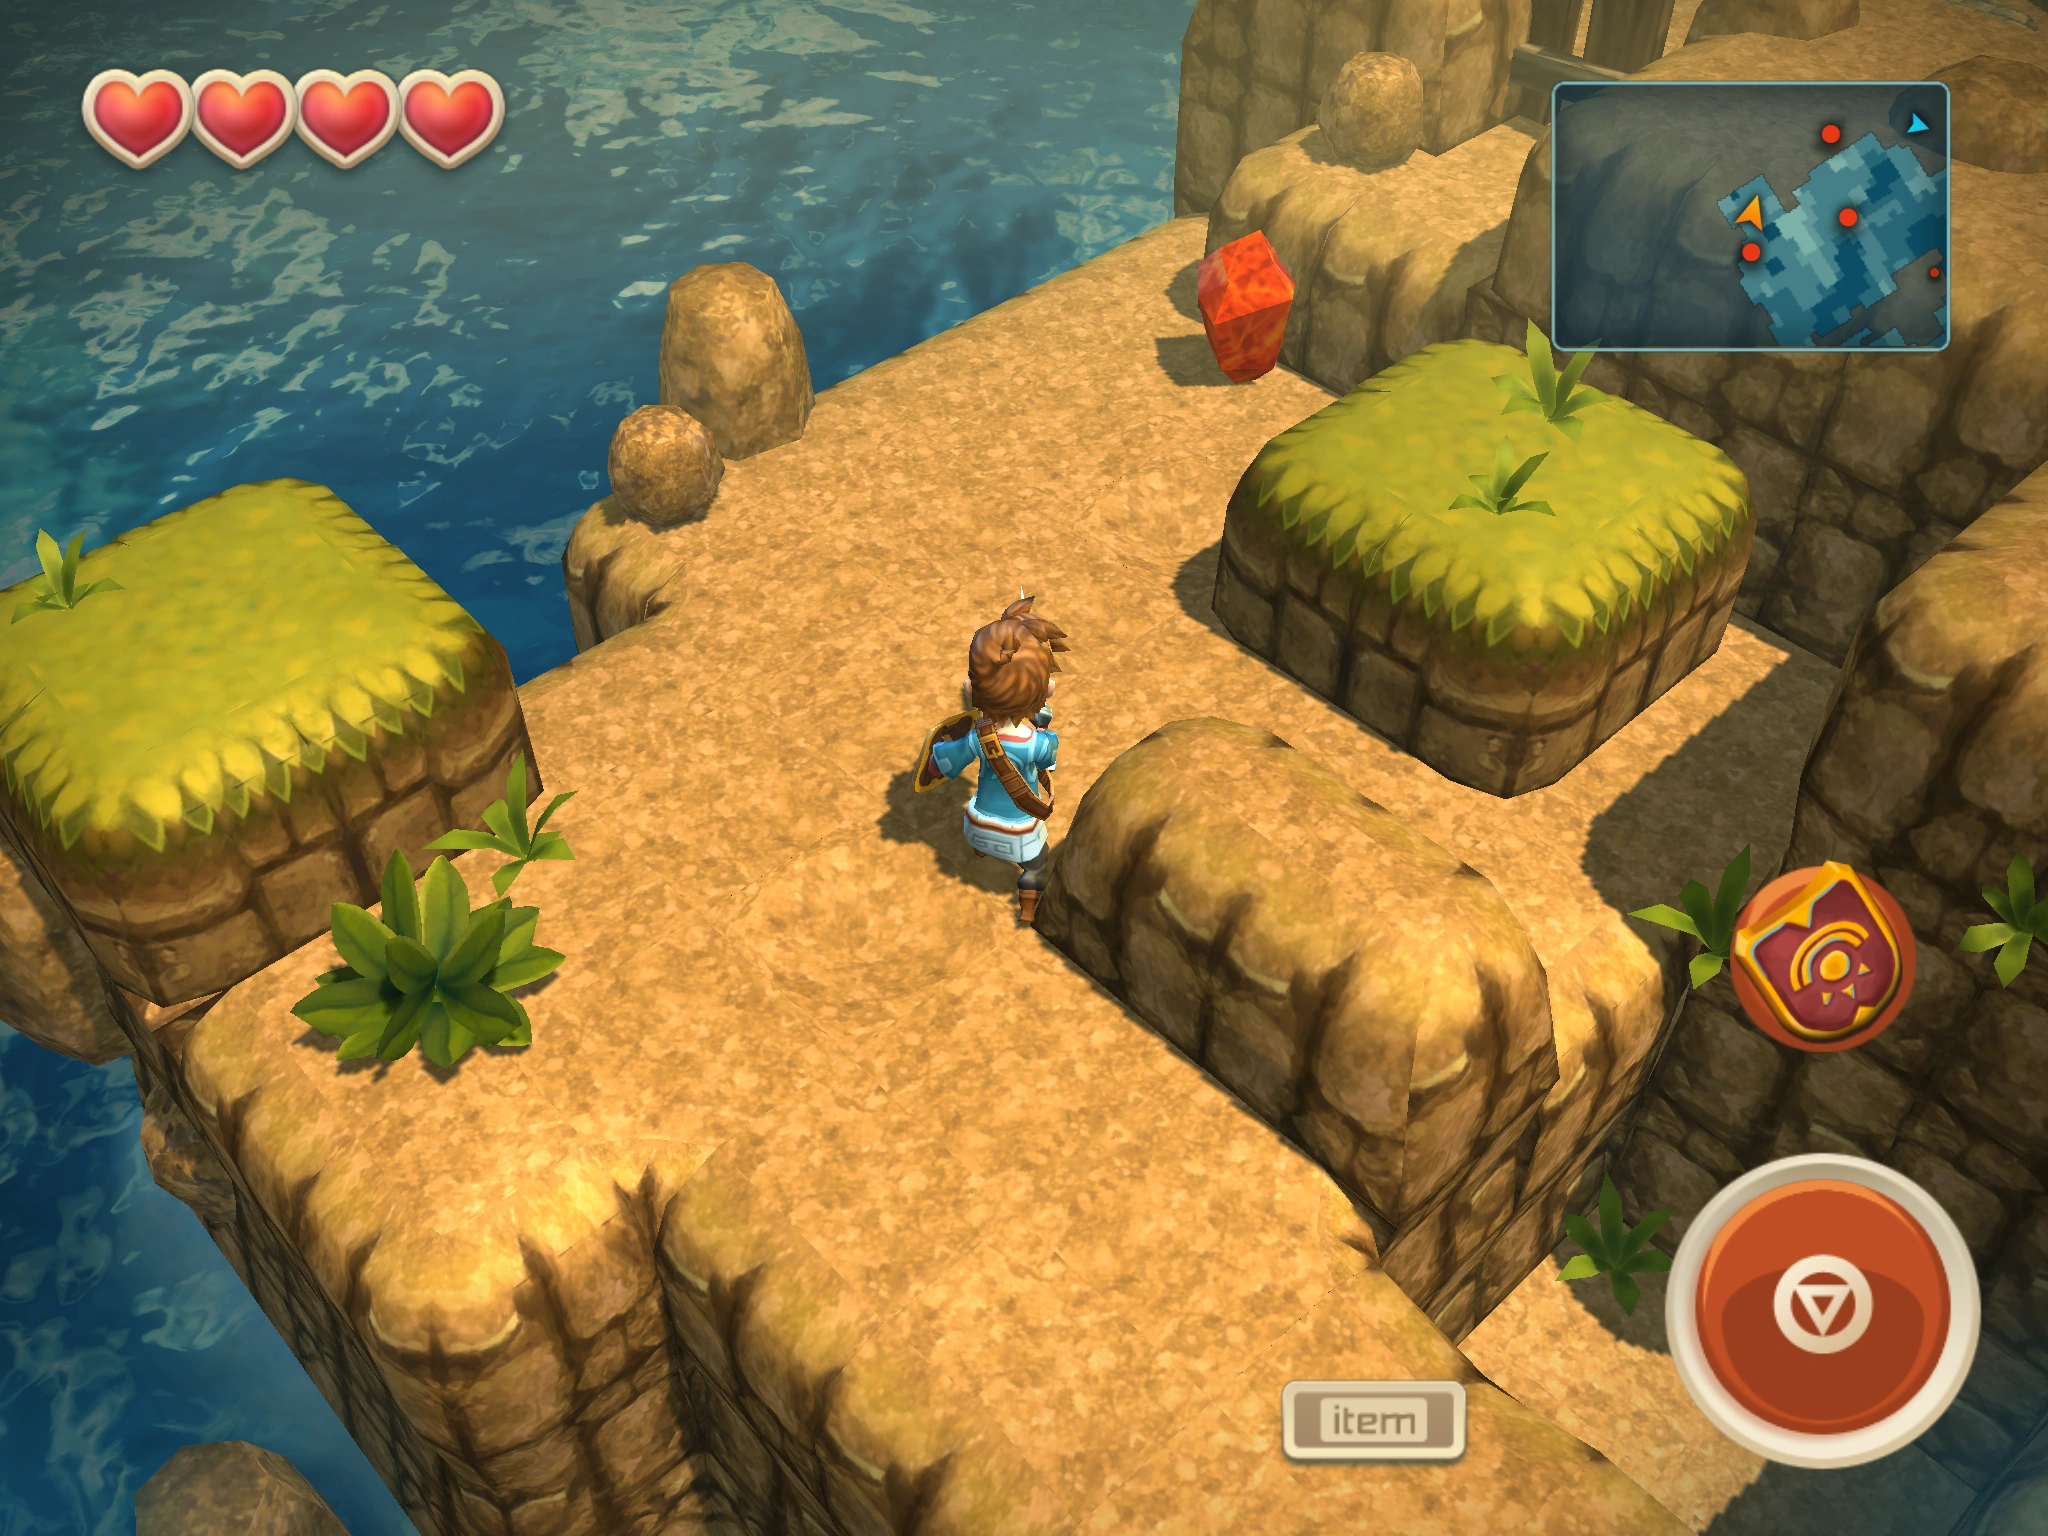
| ||
| 6 | Bomb Island | Abandoned Mines - Depths | 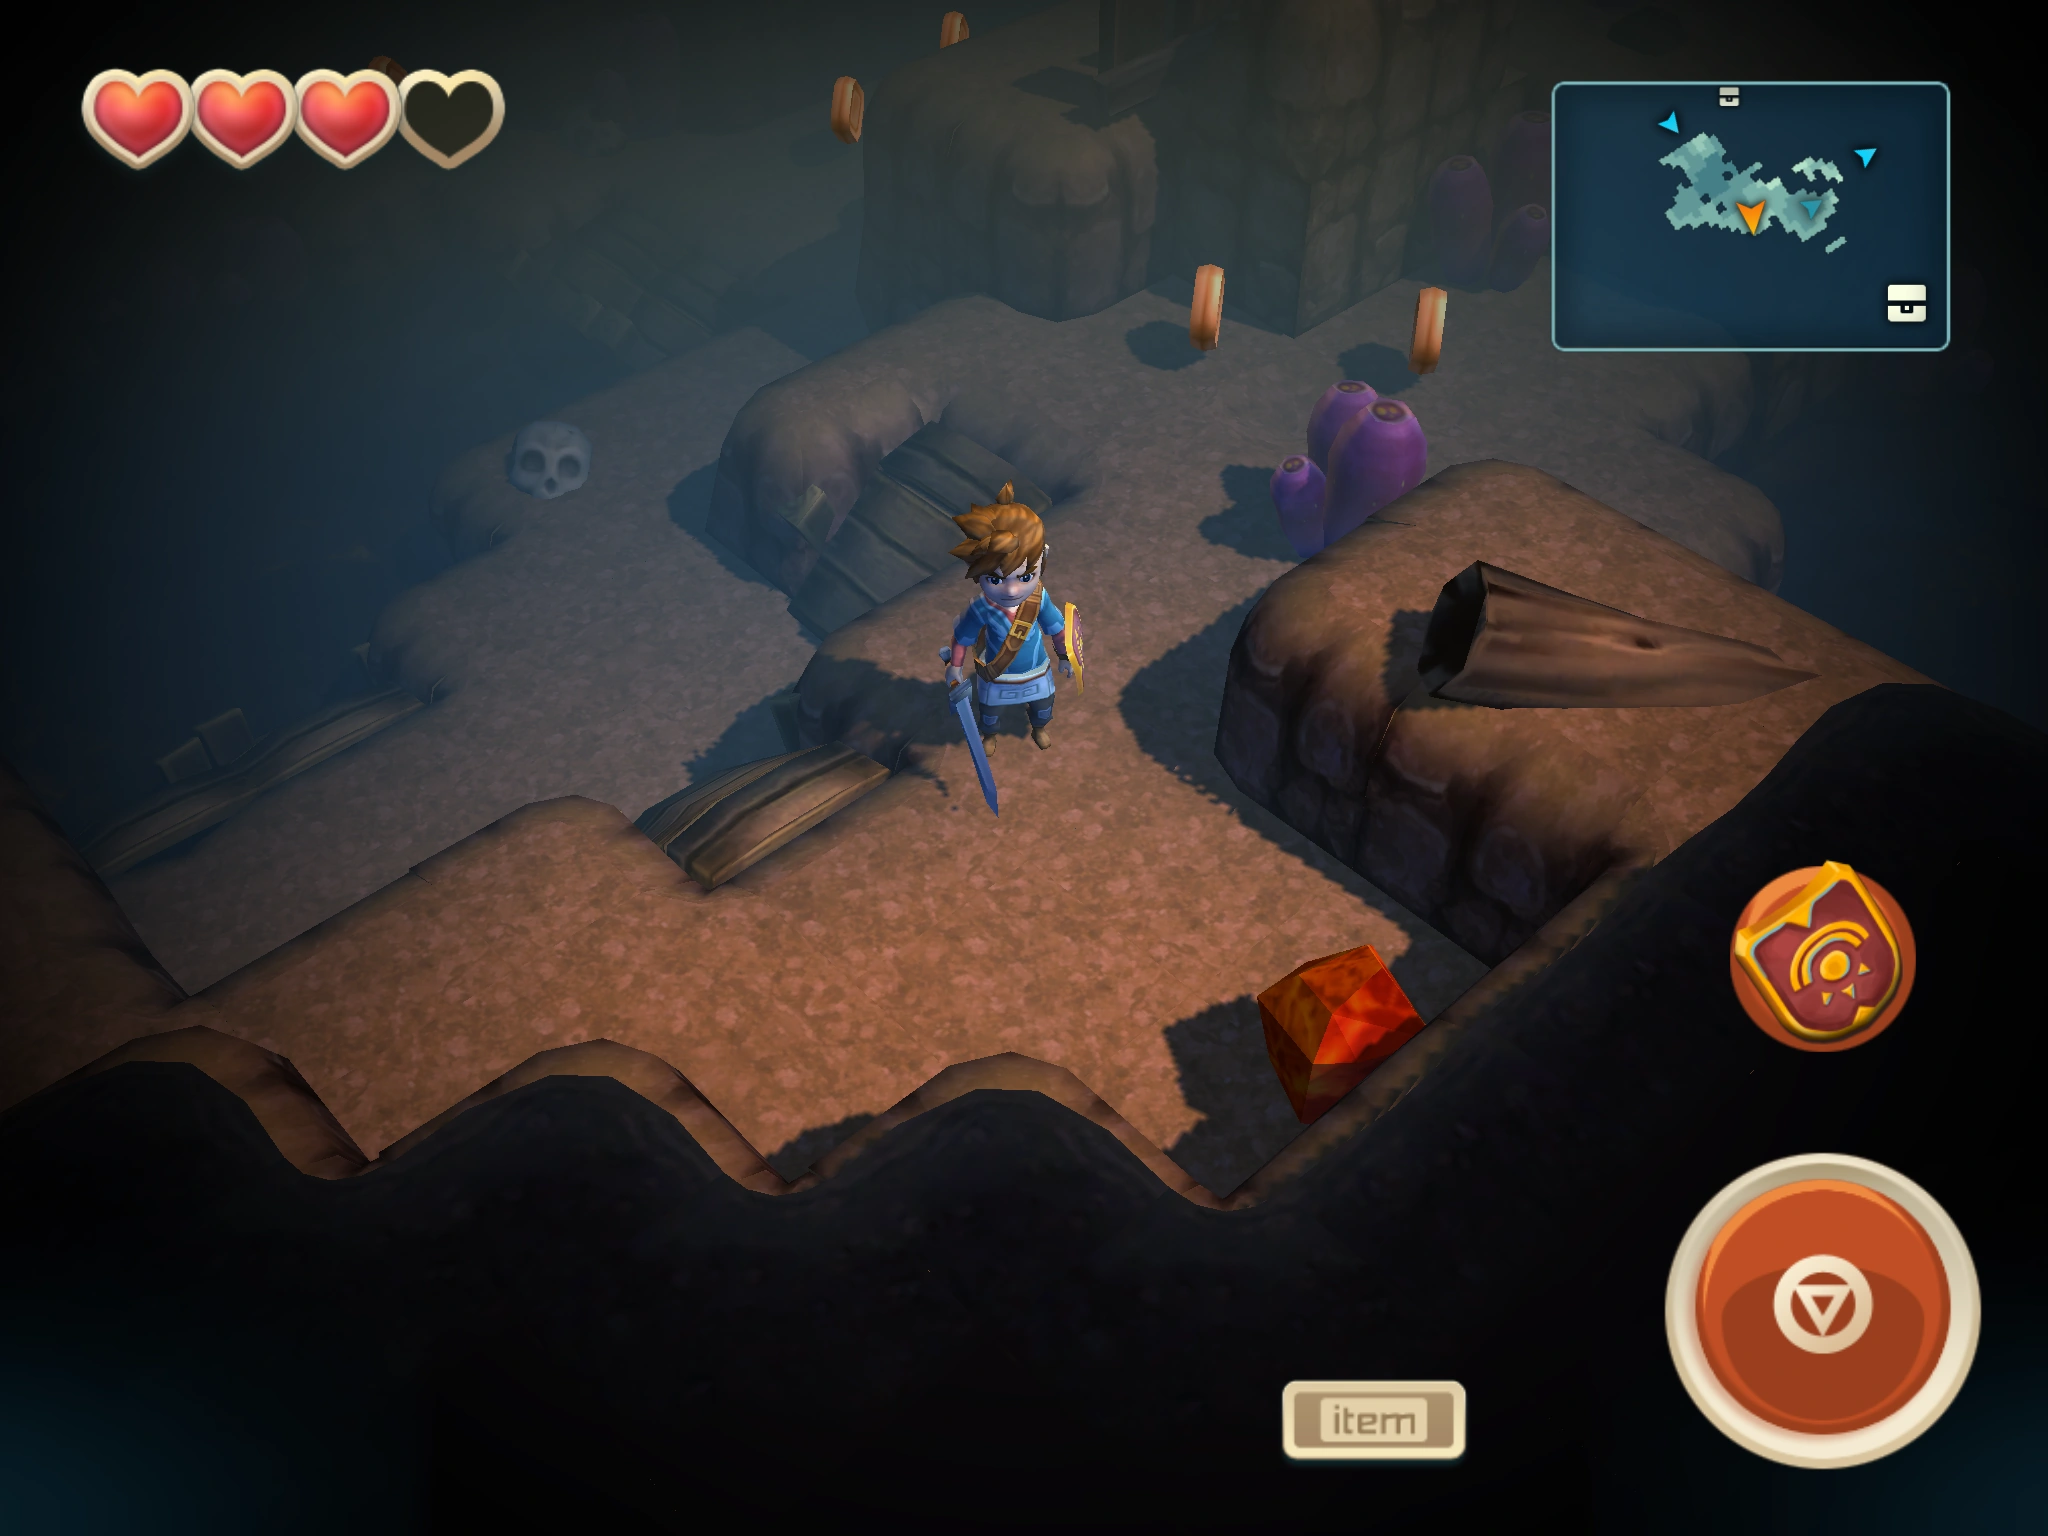
| |
| 7 | Bomb Island | Abandoned Mines - Tunnels | You need to solve a puzzle with crates to reach this Bloodstone. | 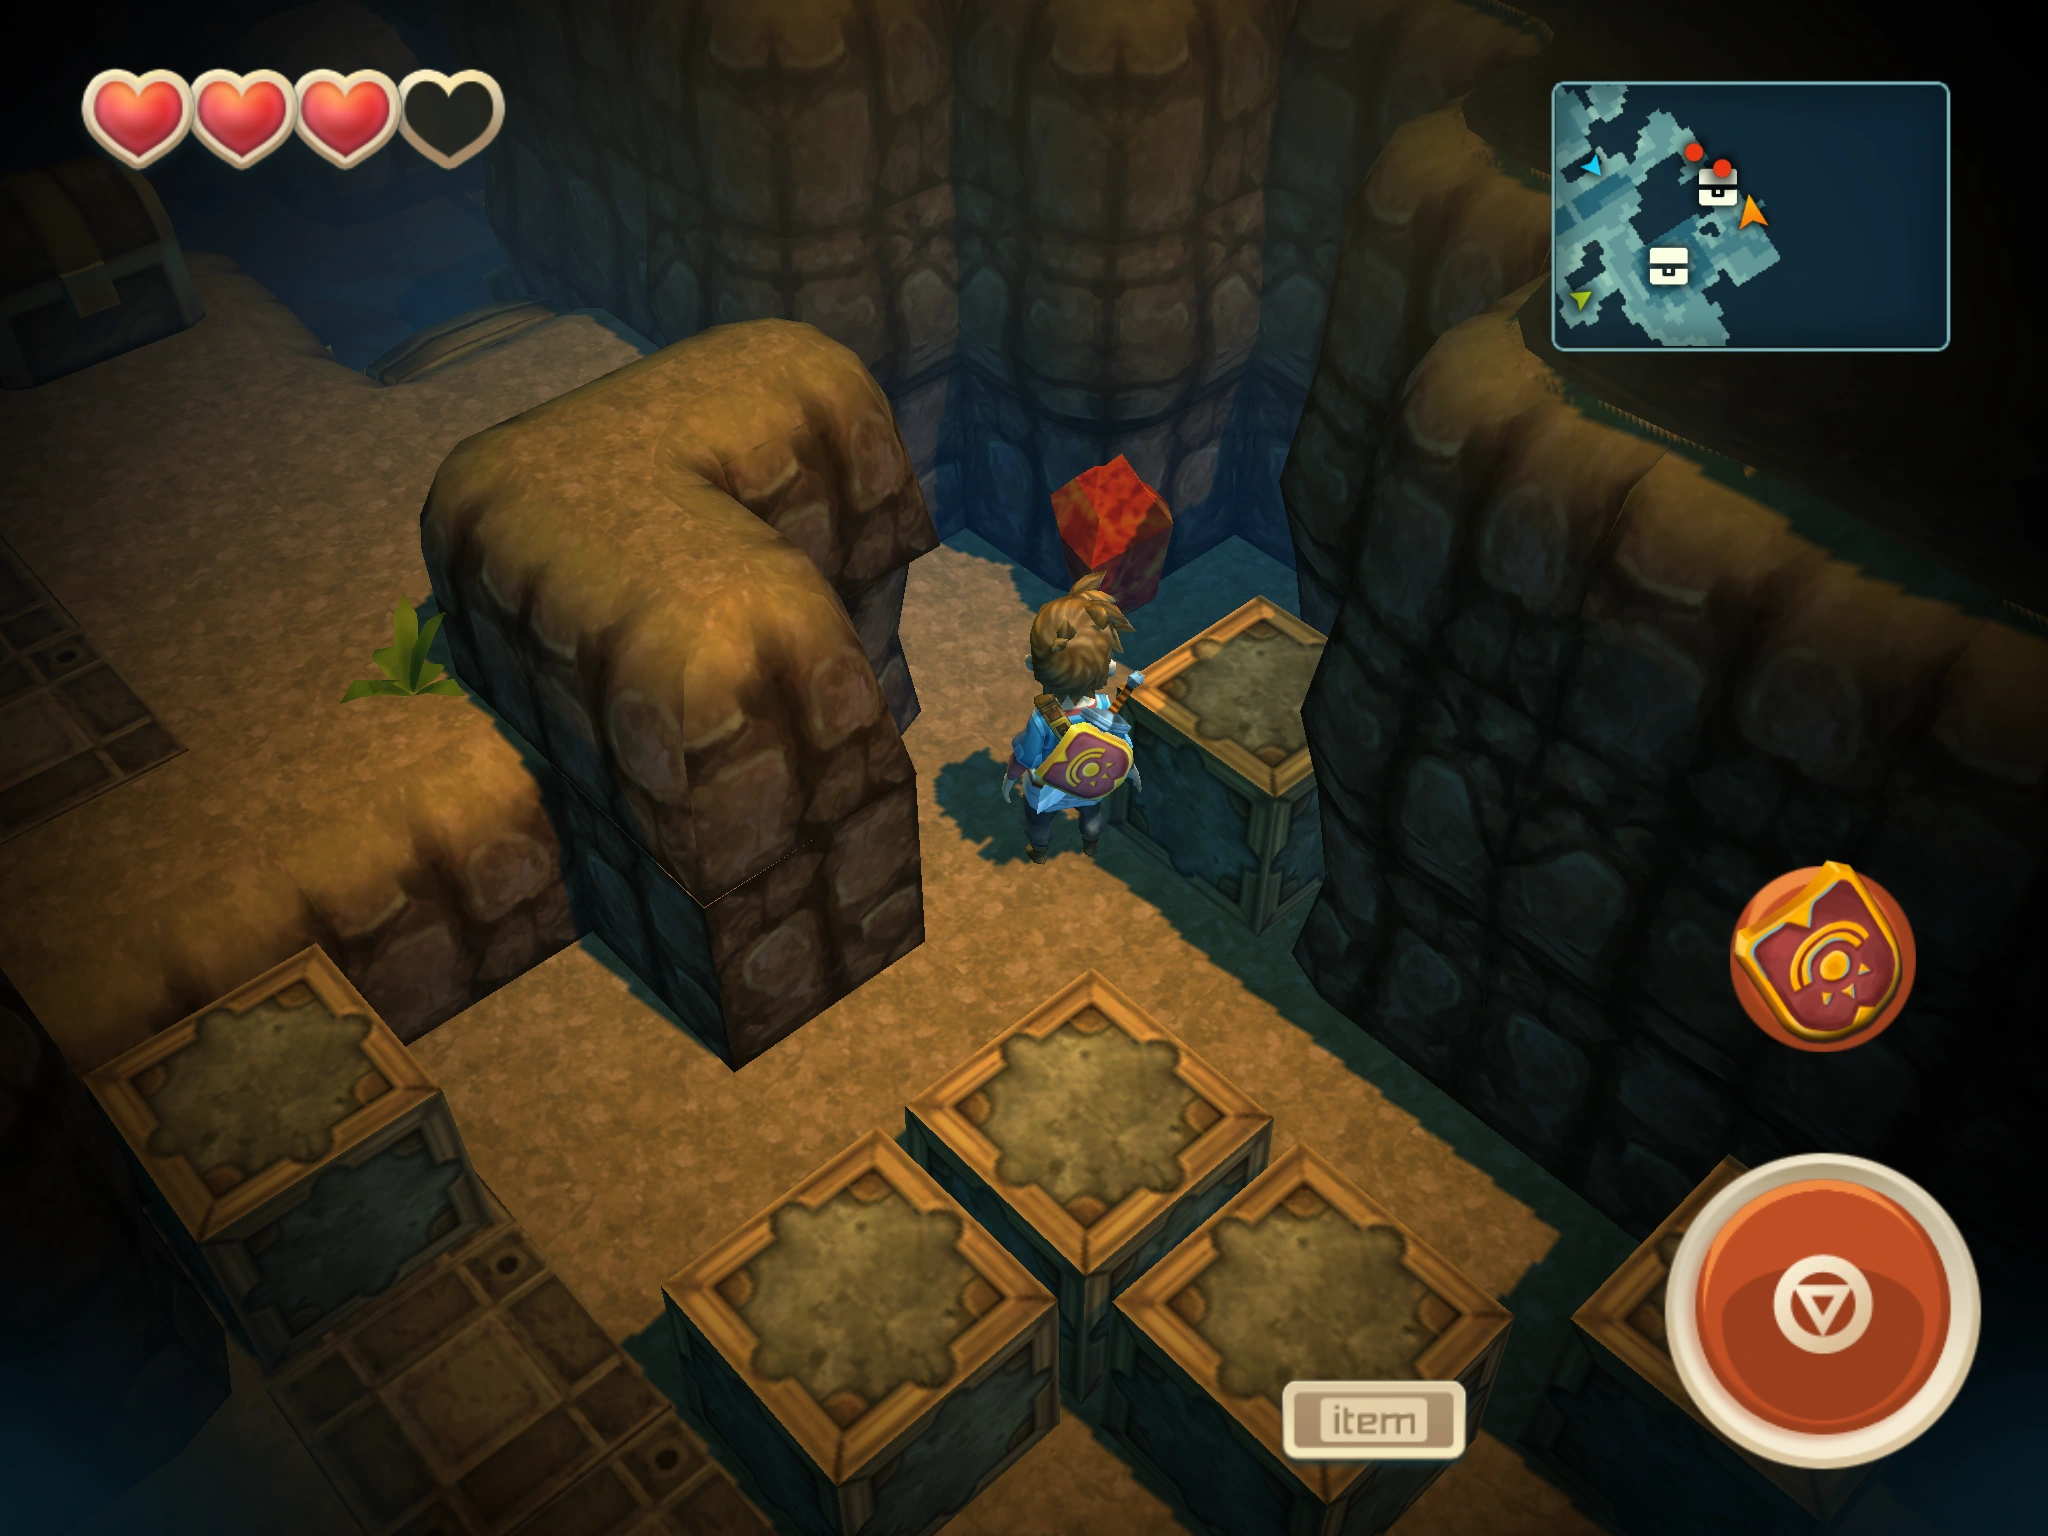
|
| 8 | Bomb Island | Cave | You need to bomb a wall to find this Bloodstone. | 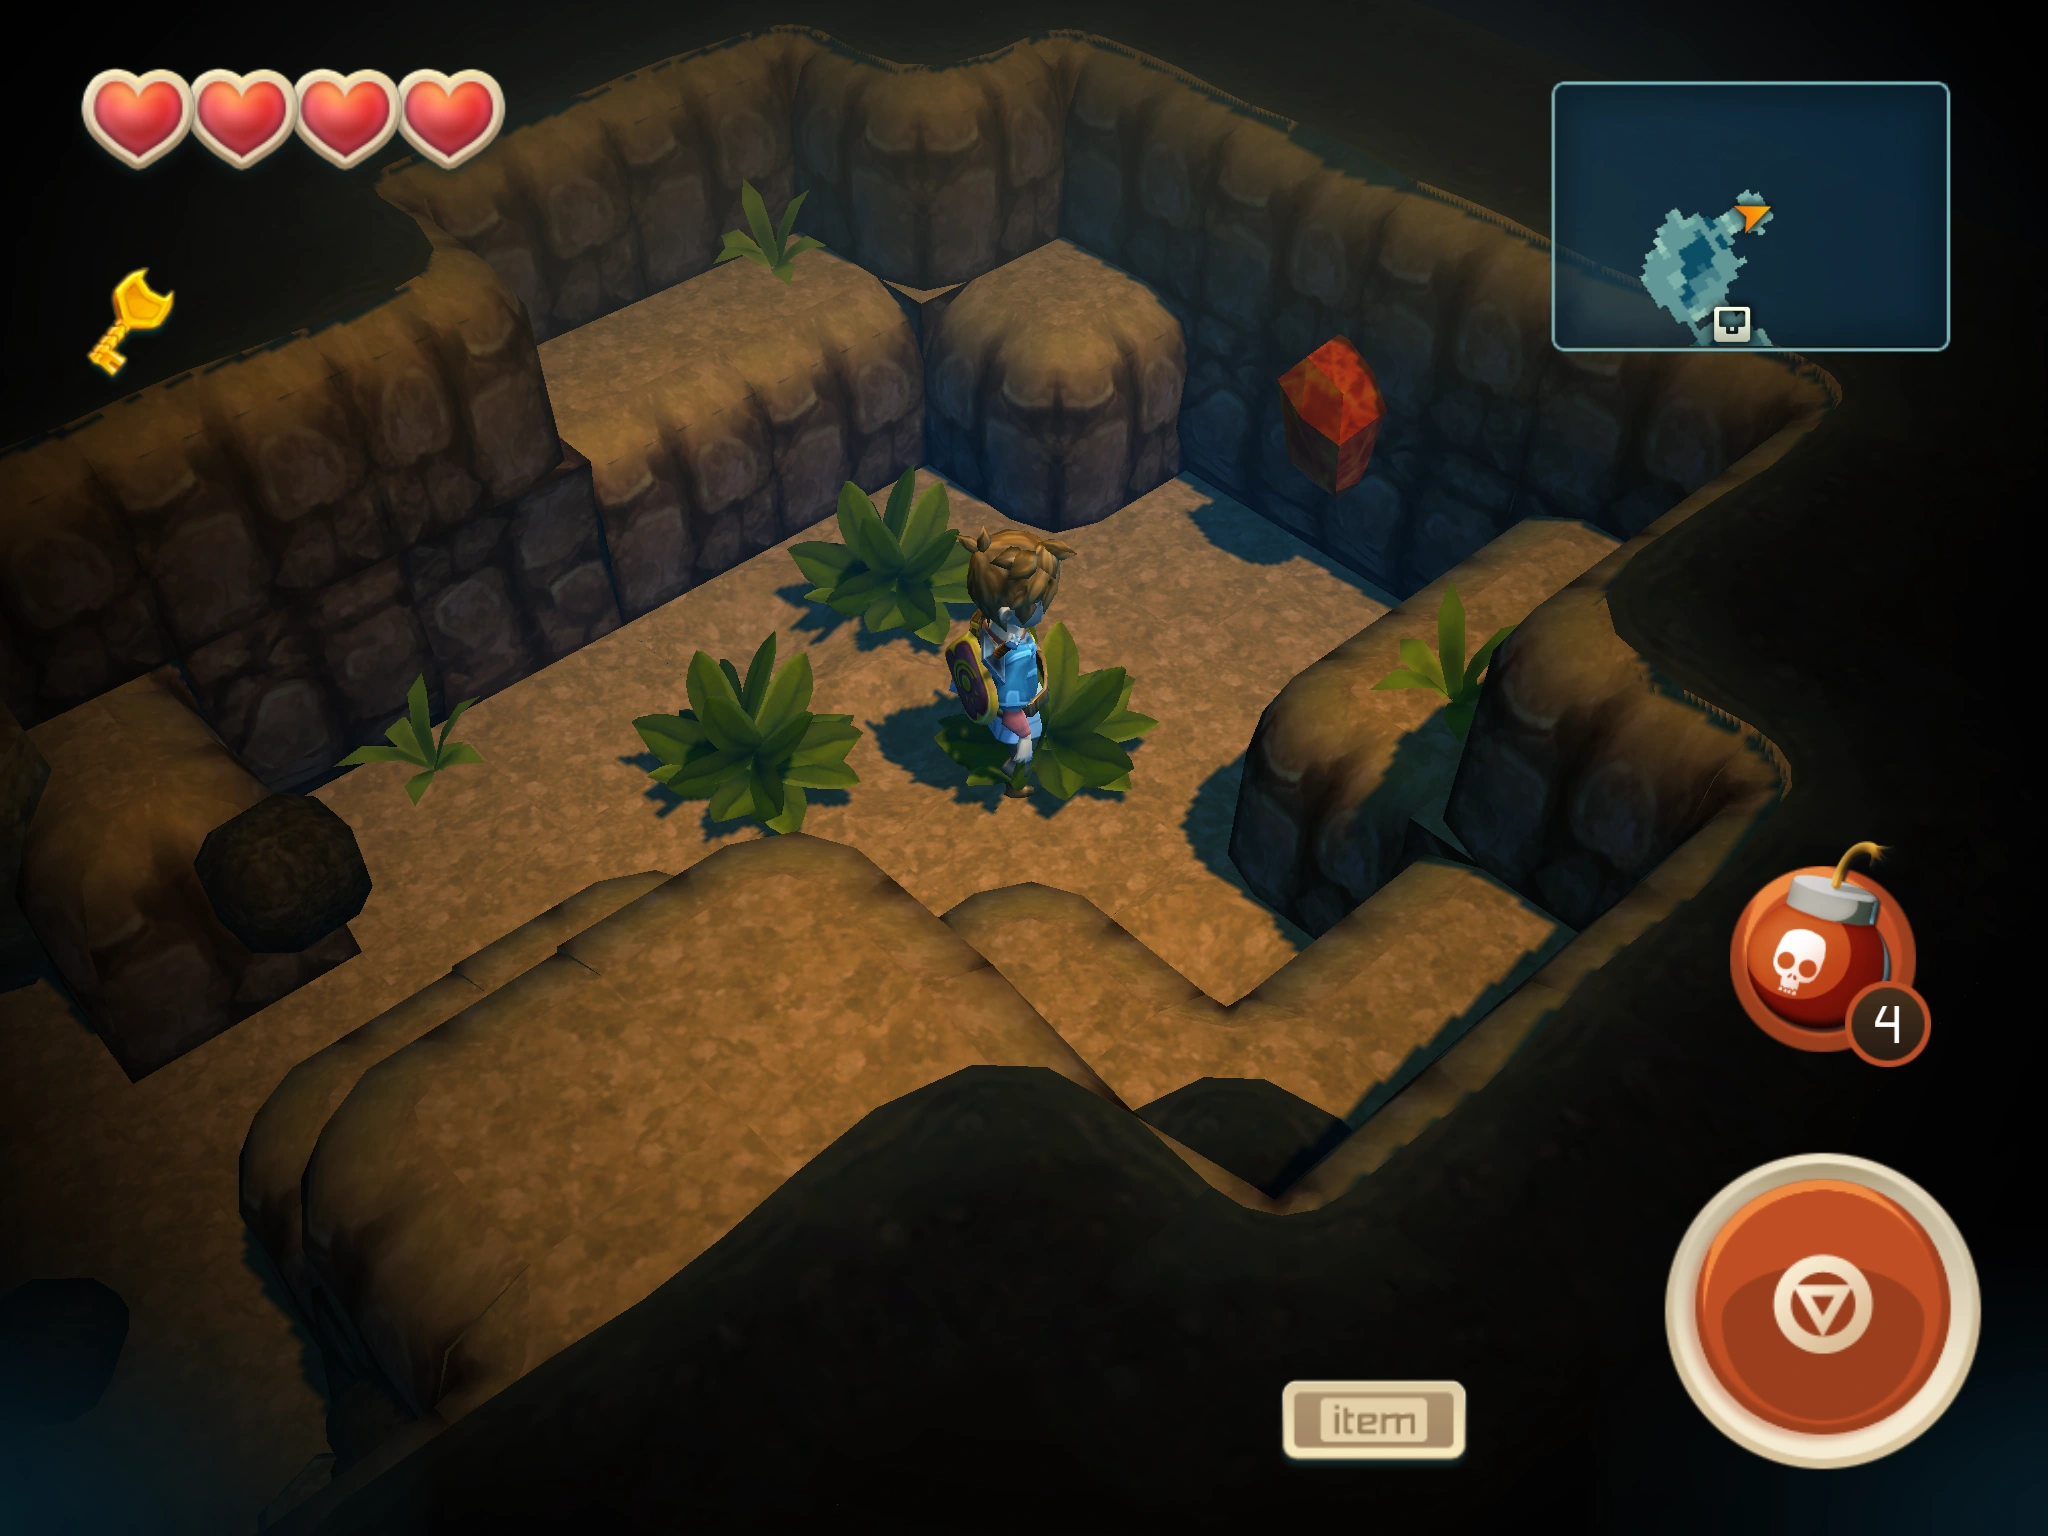
|
| 9 | Gillfolk's Drop | 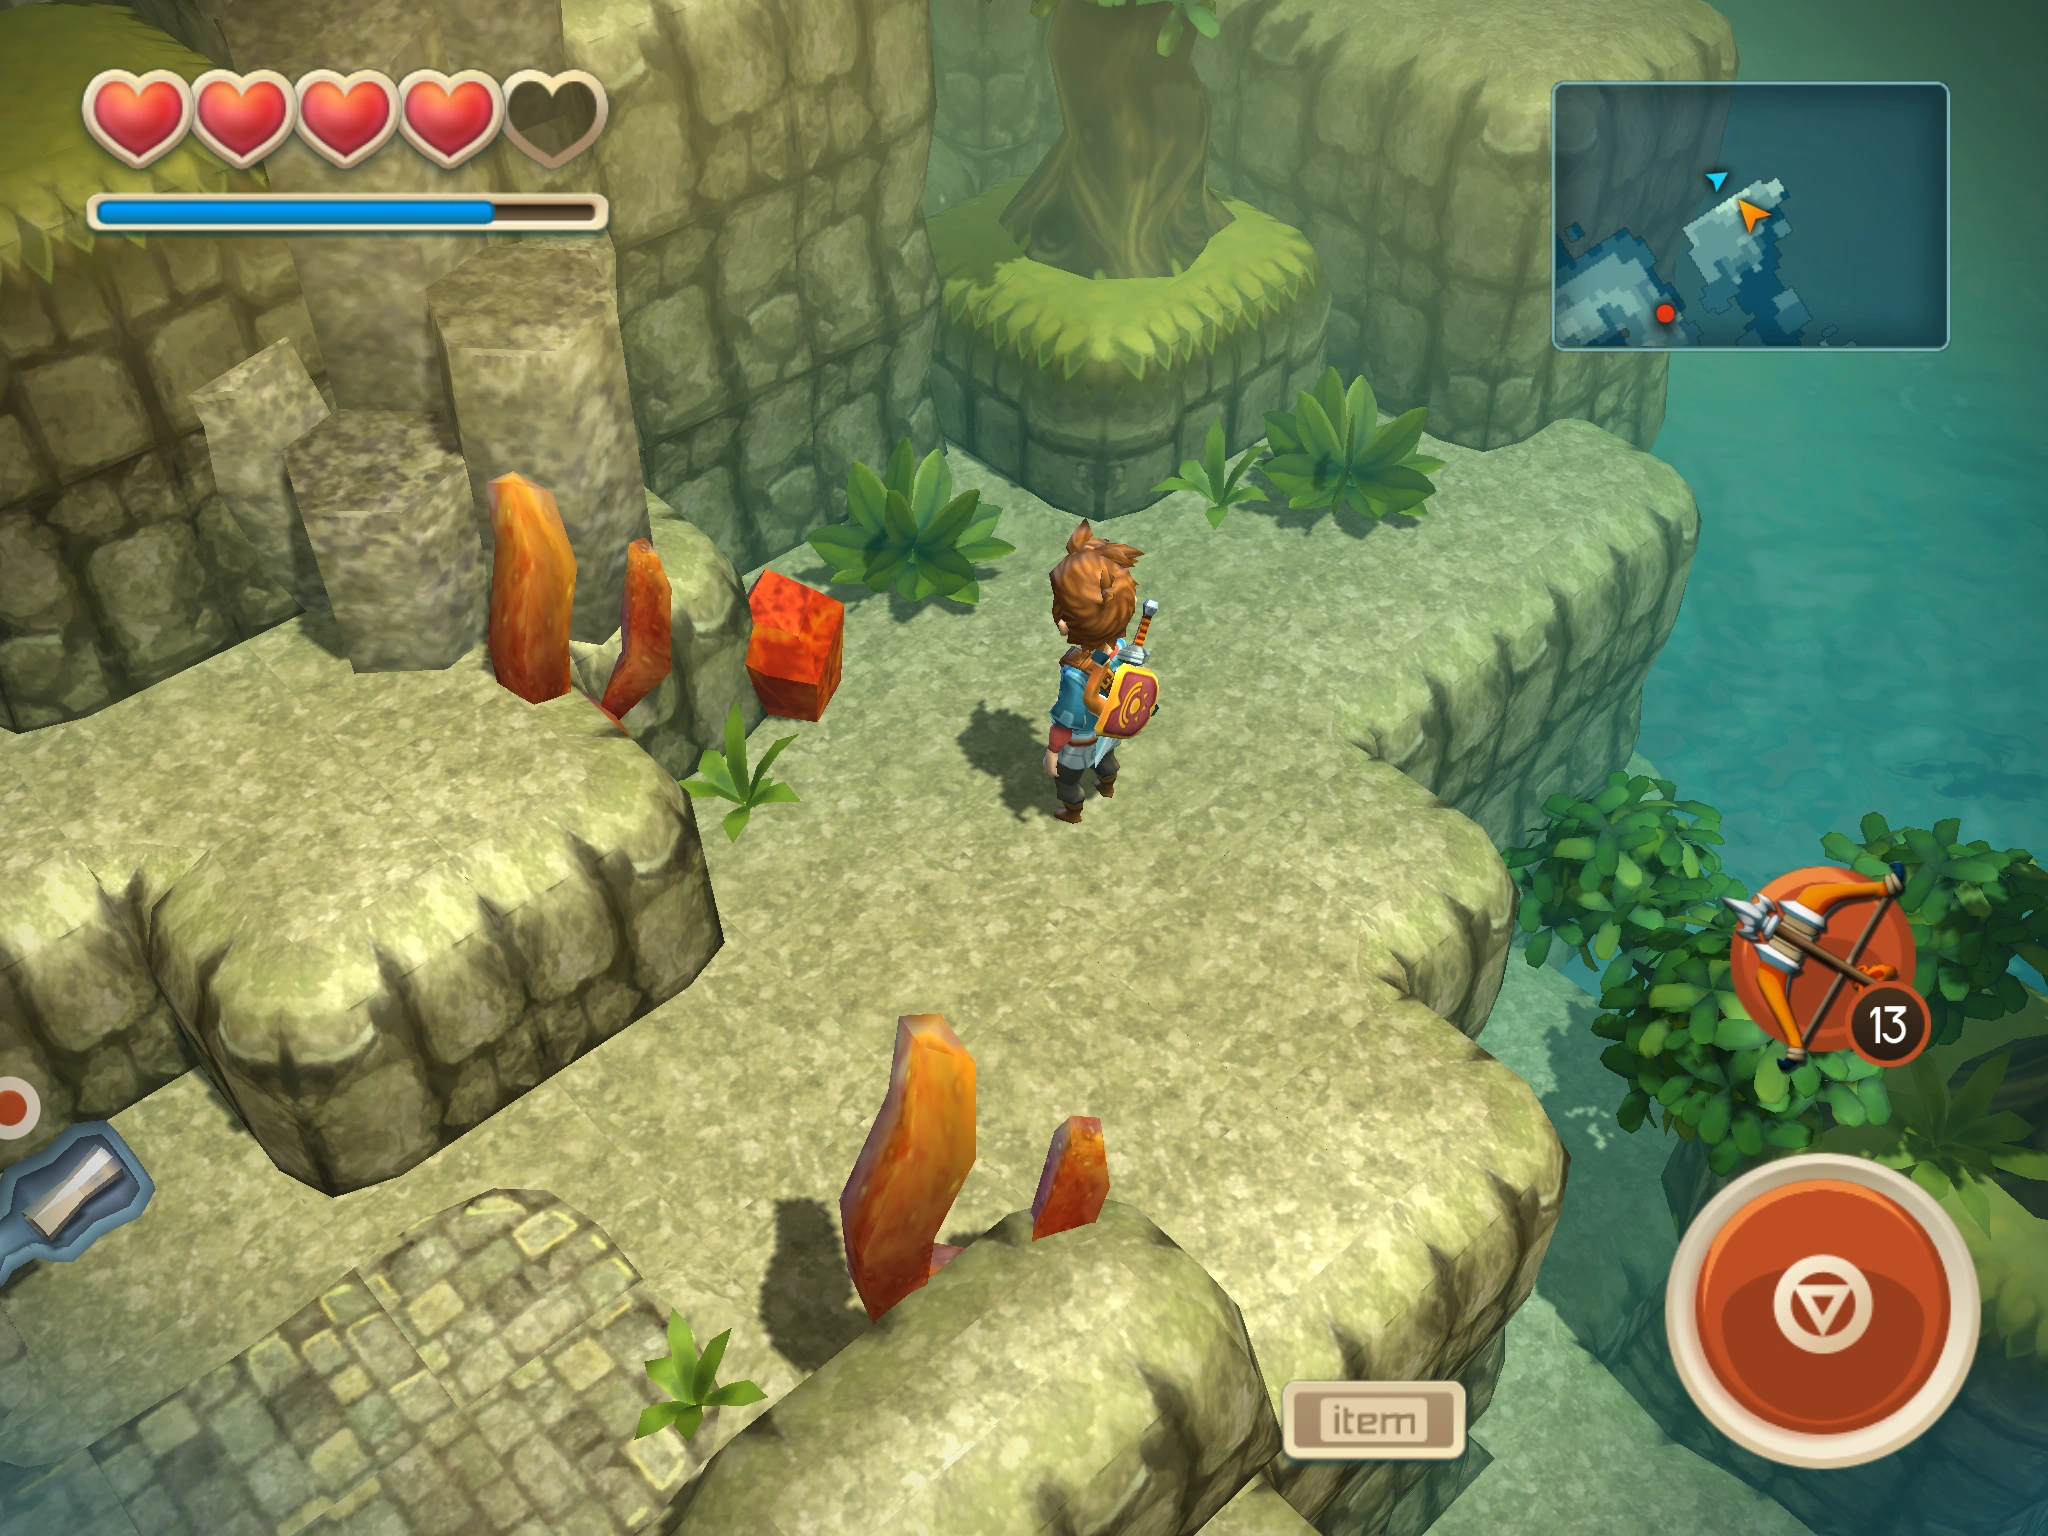
| ||
| 10 | Gillfolk's Drop | 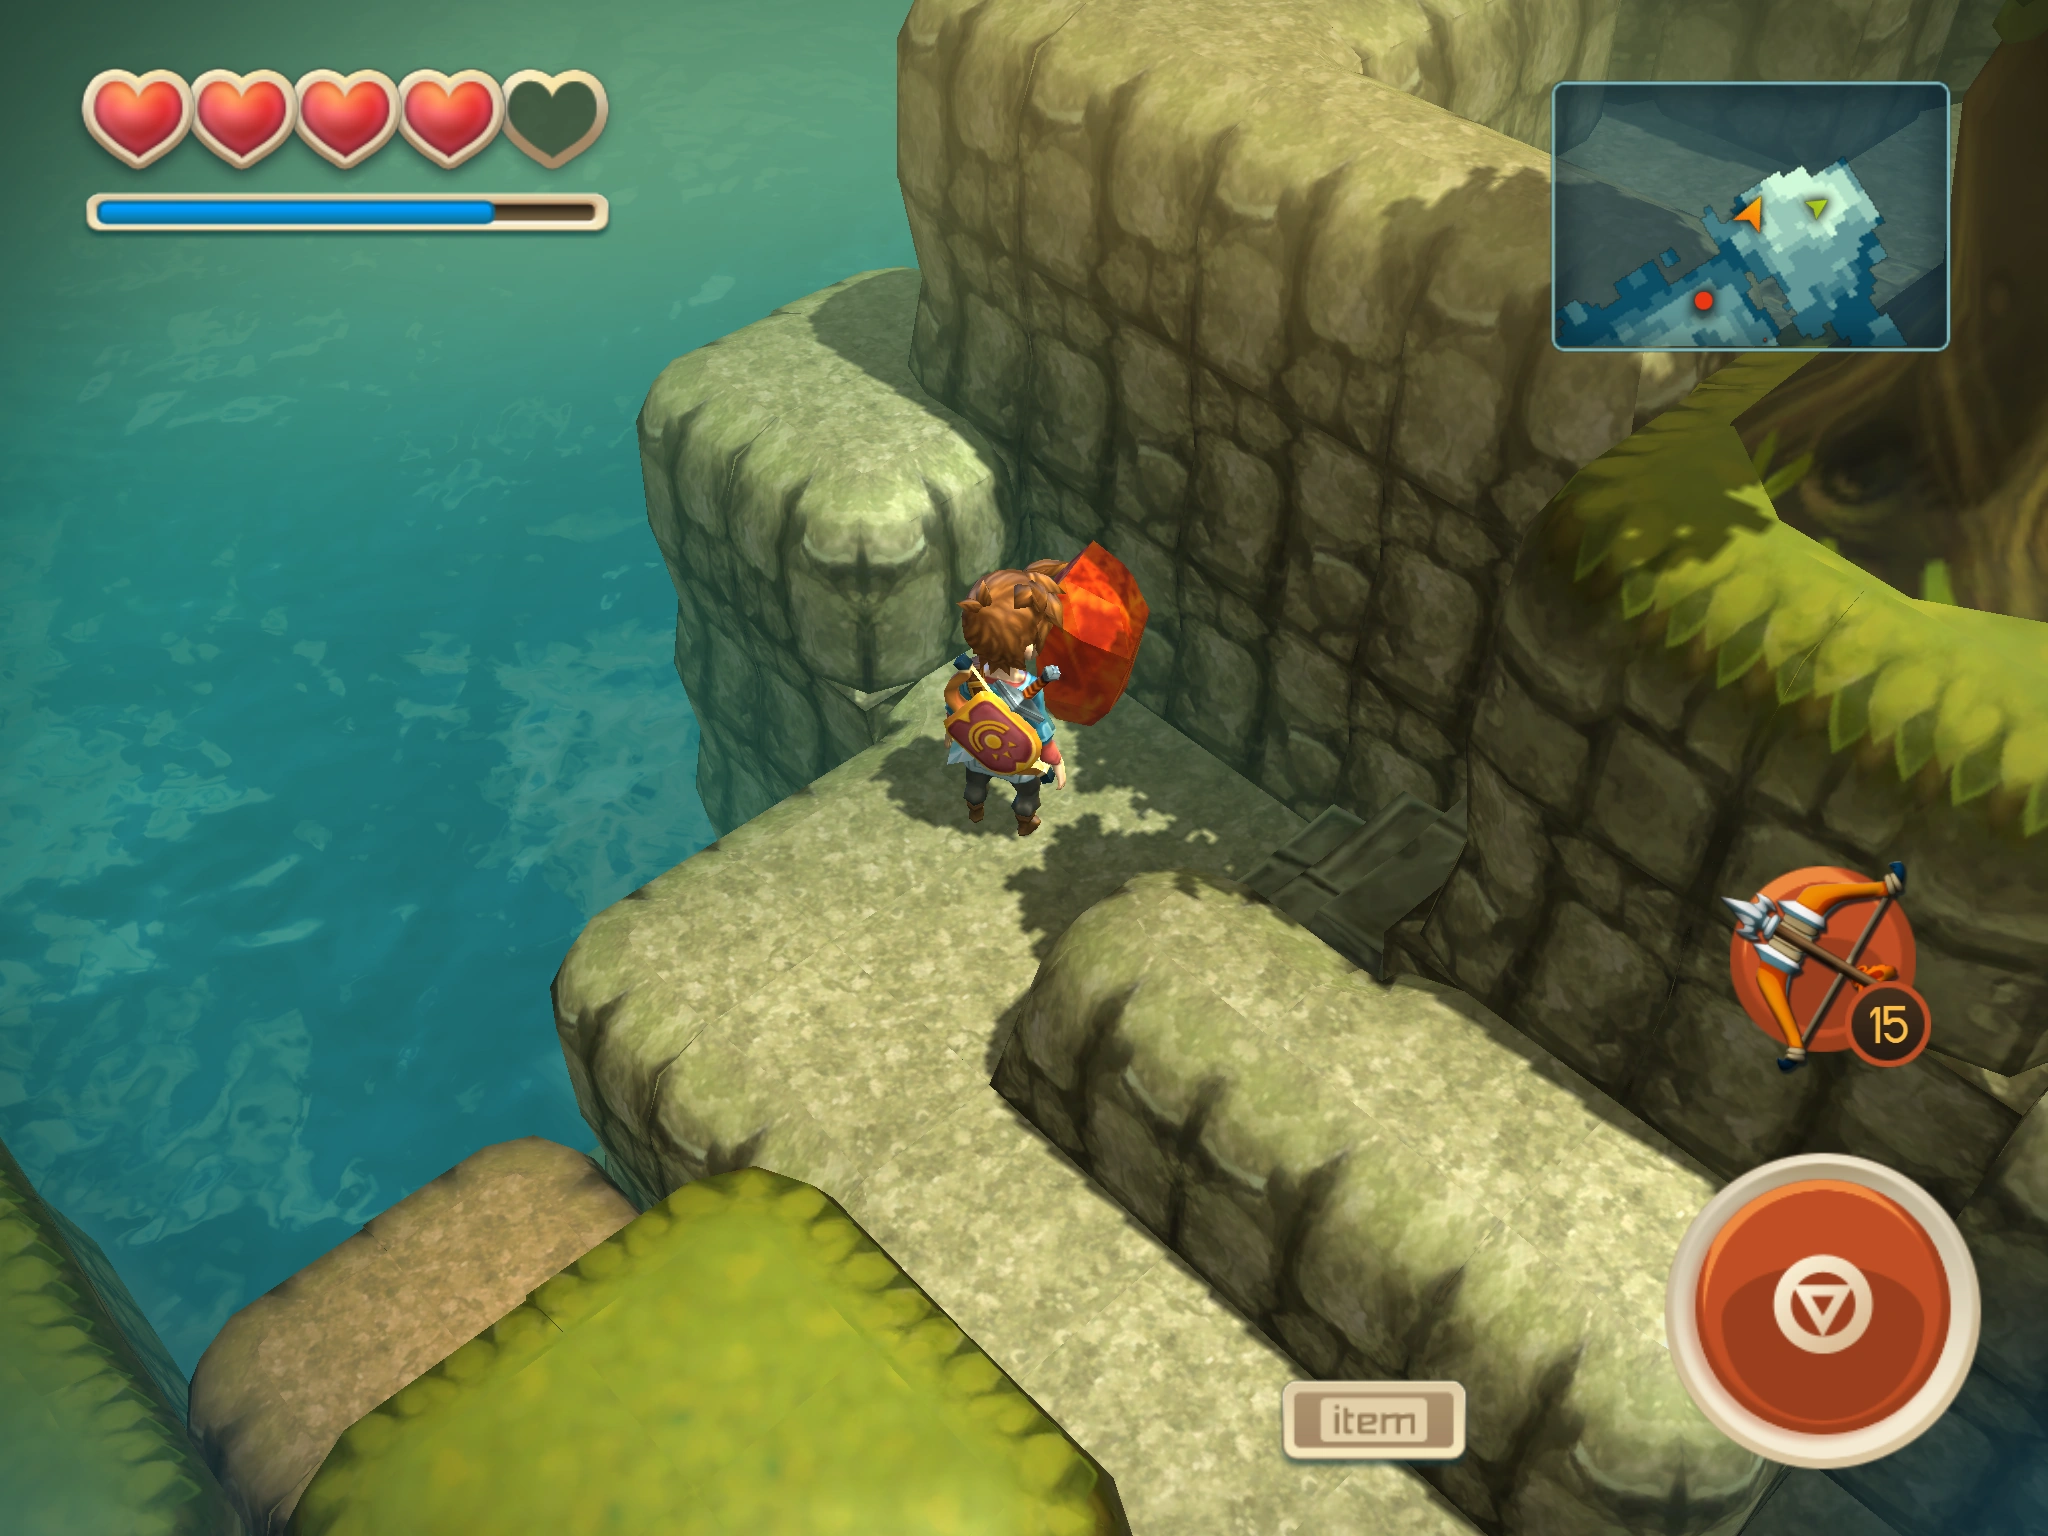
| ||
| 11 | Gillfolk's Drop | Deep Cove | Bombs, Trencher Boots | 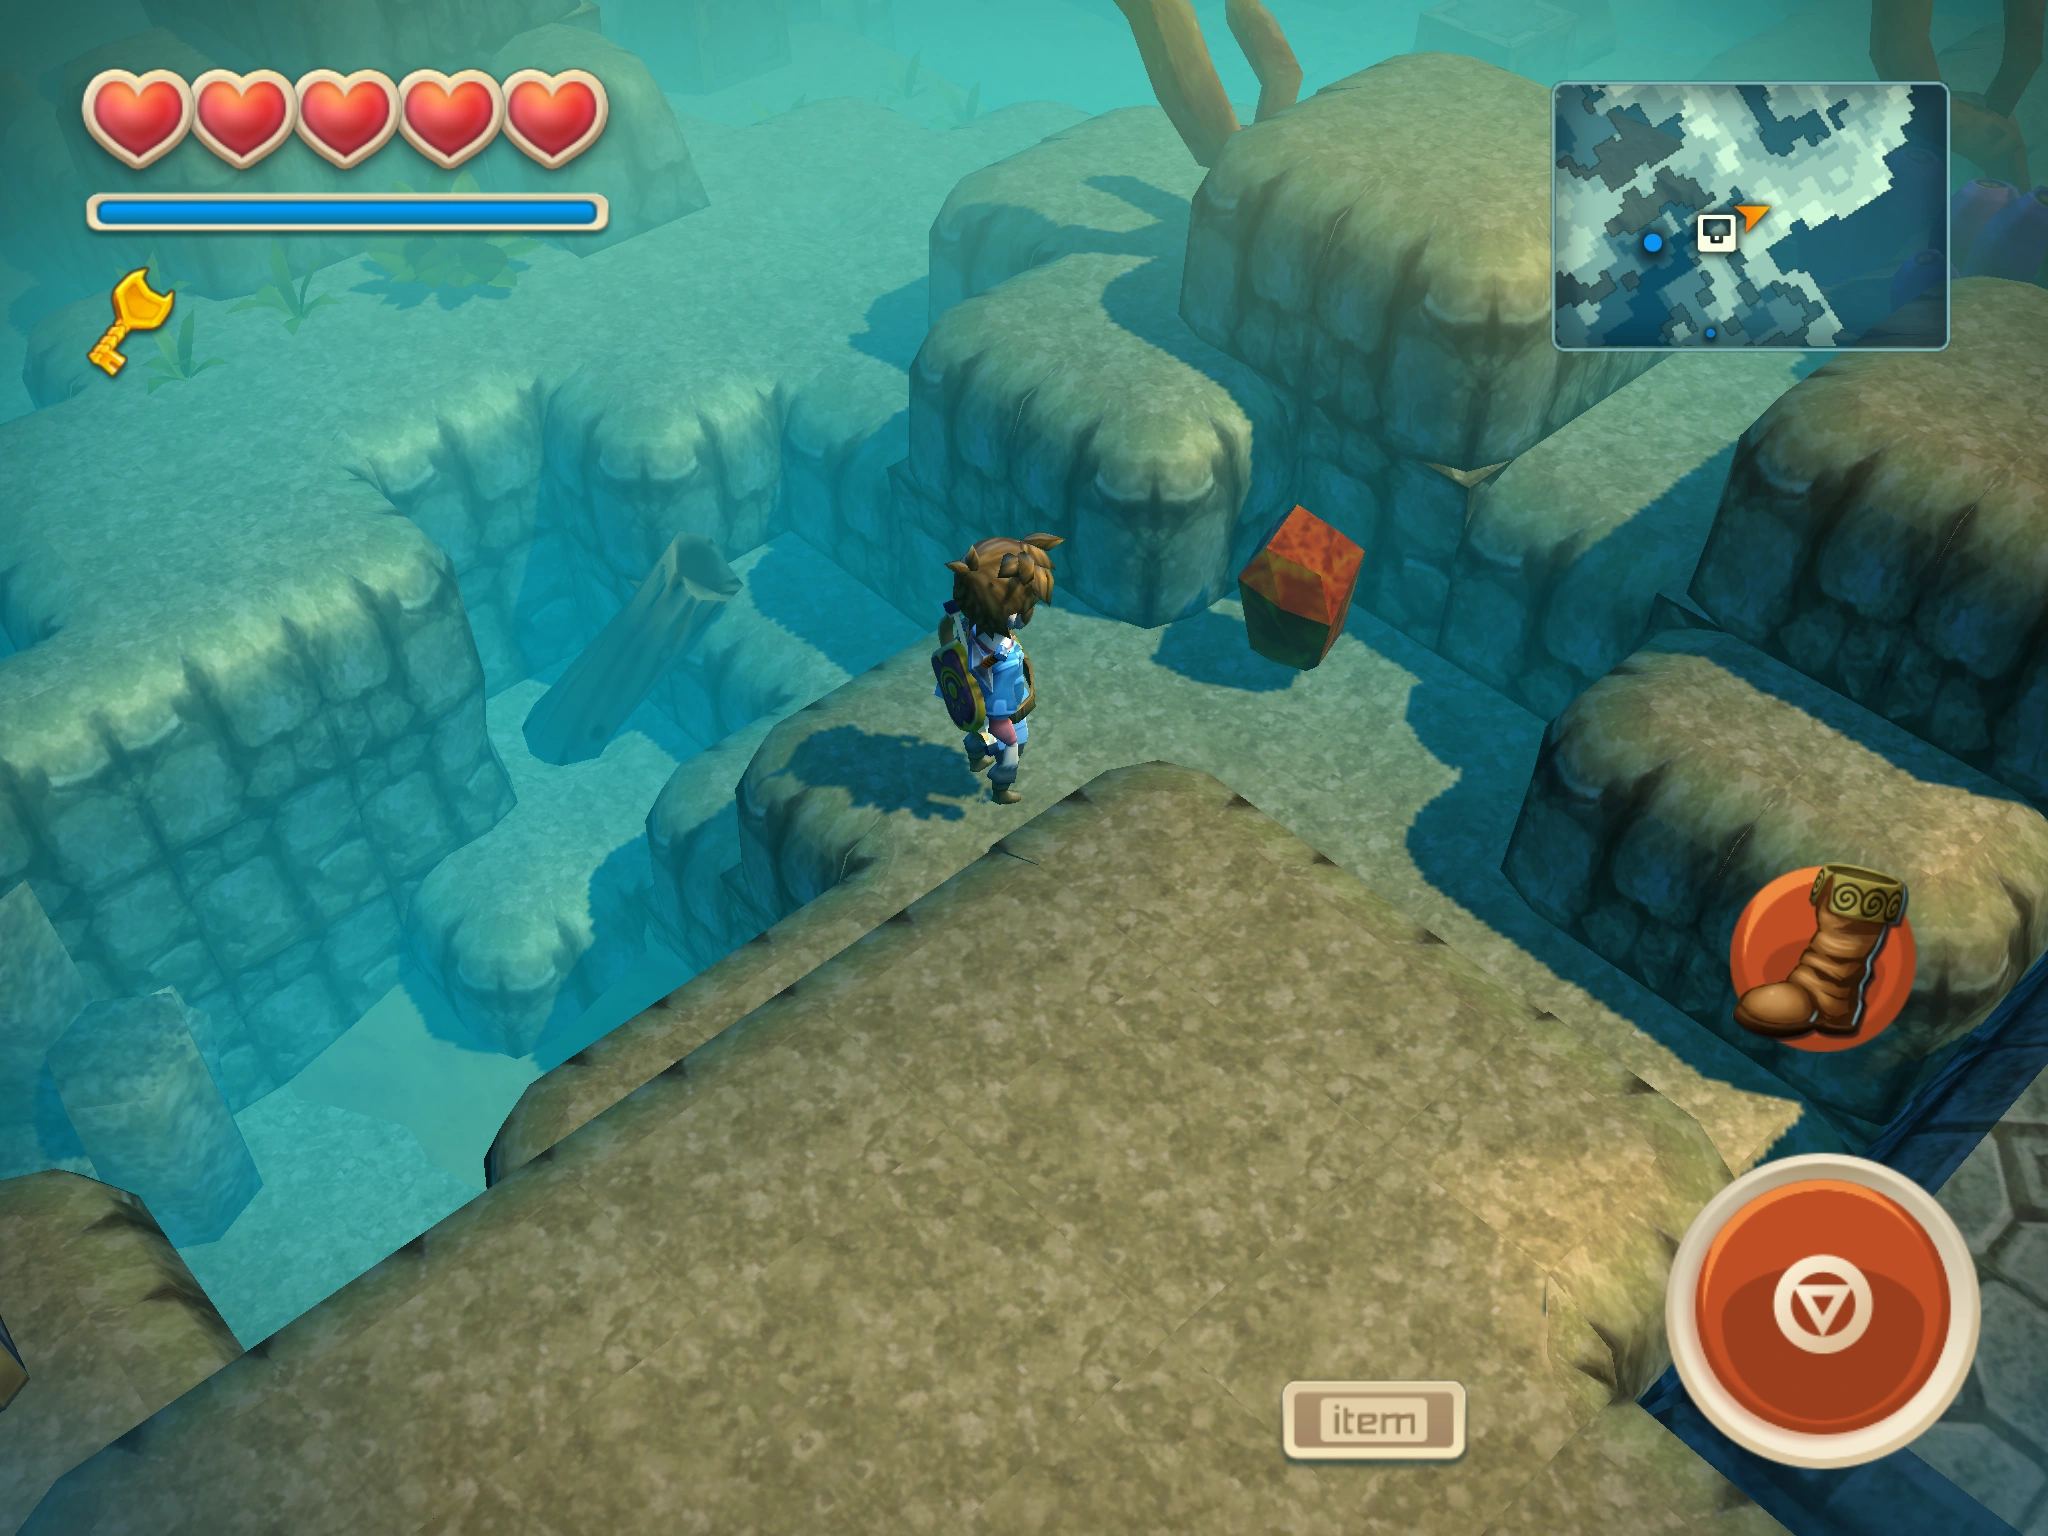
|
| 12 | Gillfolk's Drop | Frozen Palace - Main Hall | 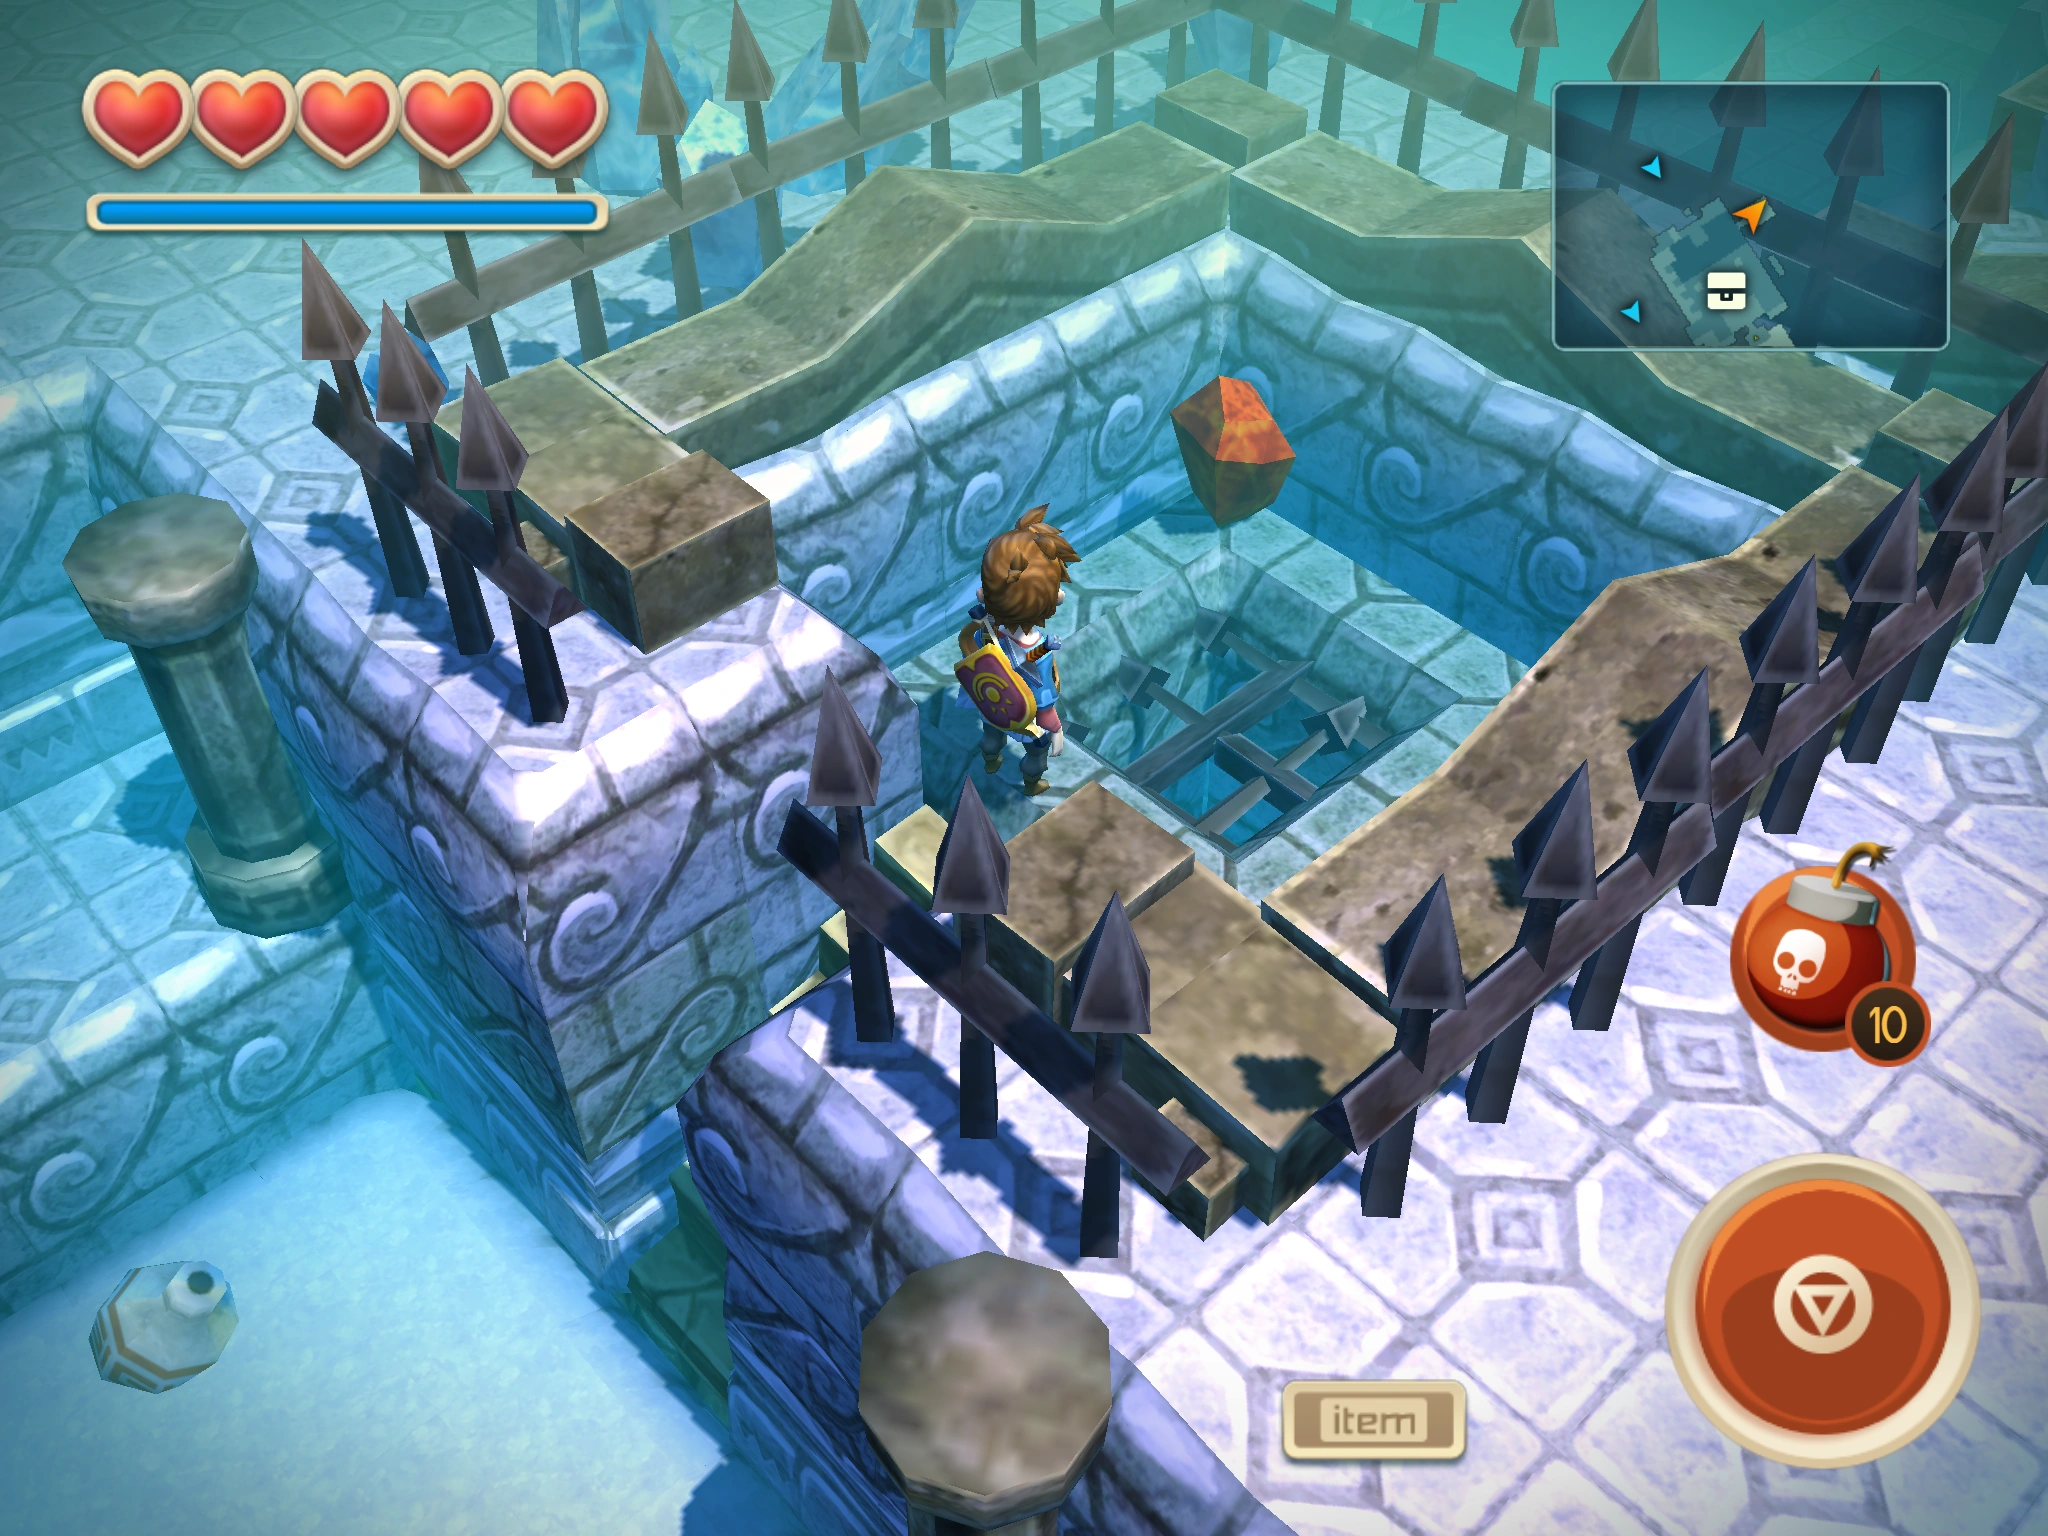
| |
| 13 | Gillfolk's Drop | Frozen Palace - Main Hall | Trencher Boots | 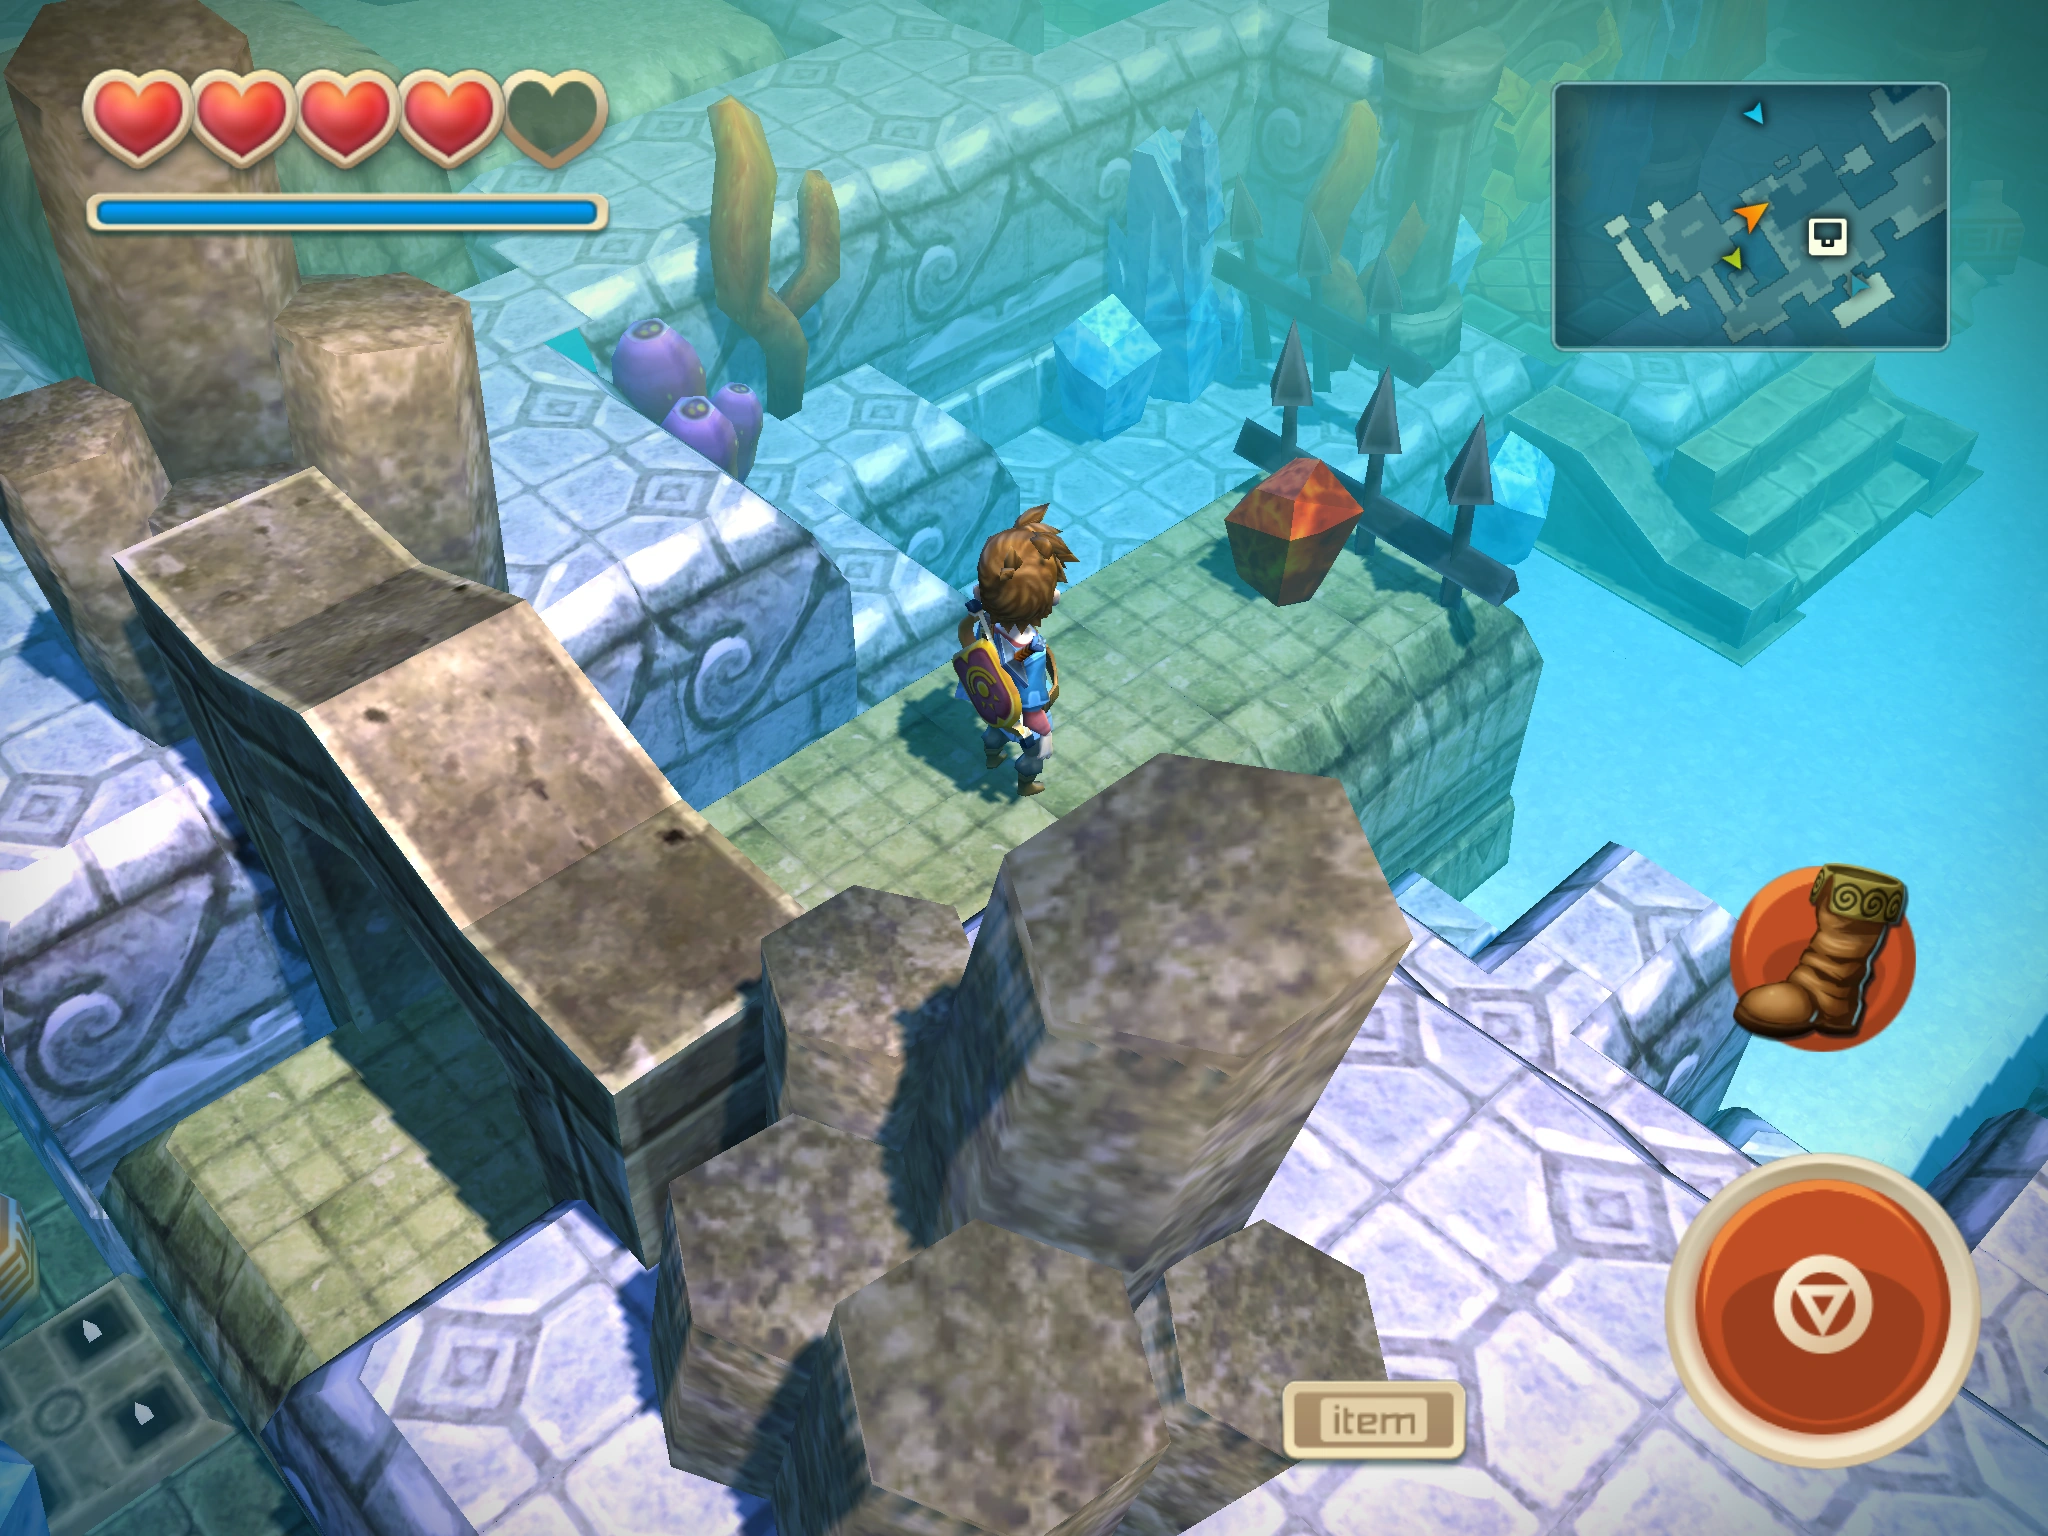
|
| 14 | Graveyard Island | 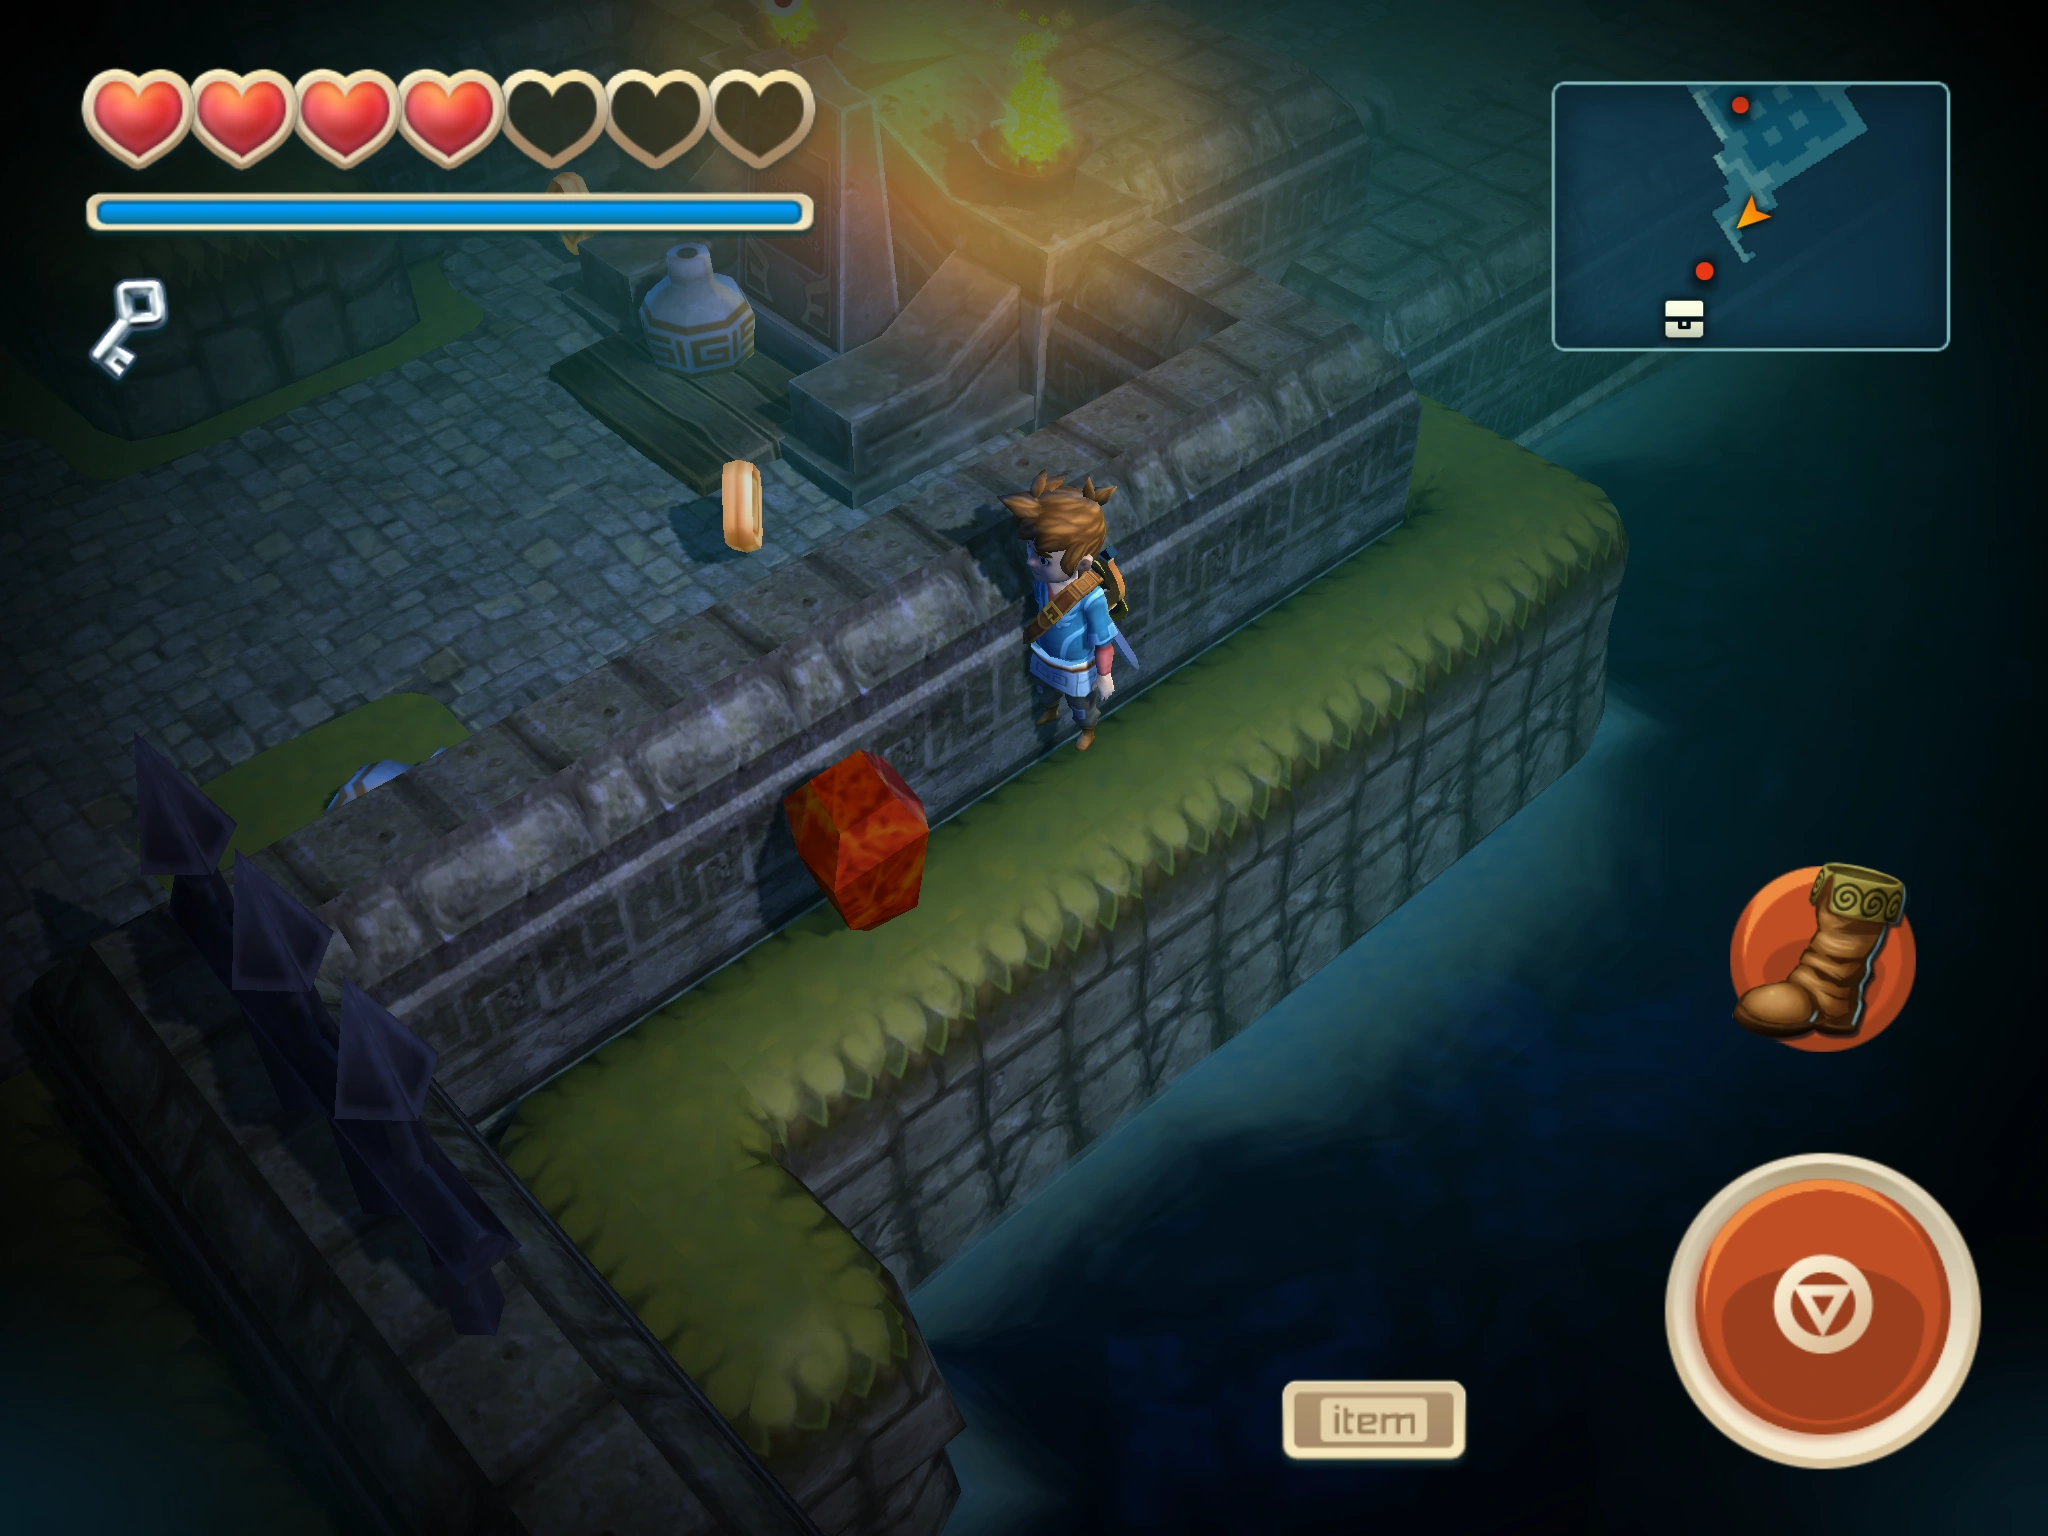
| ||
| 15 | Graveyard Island | 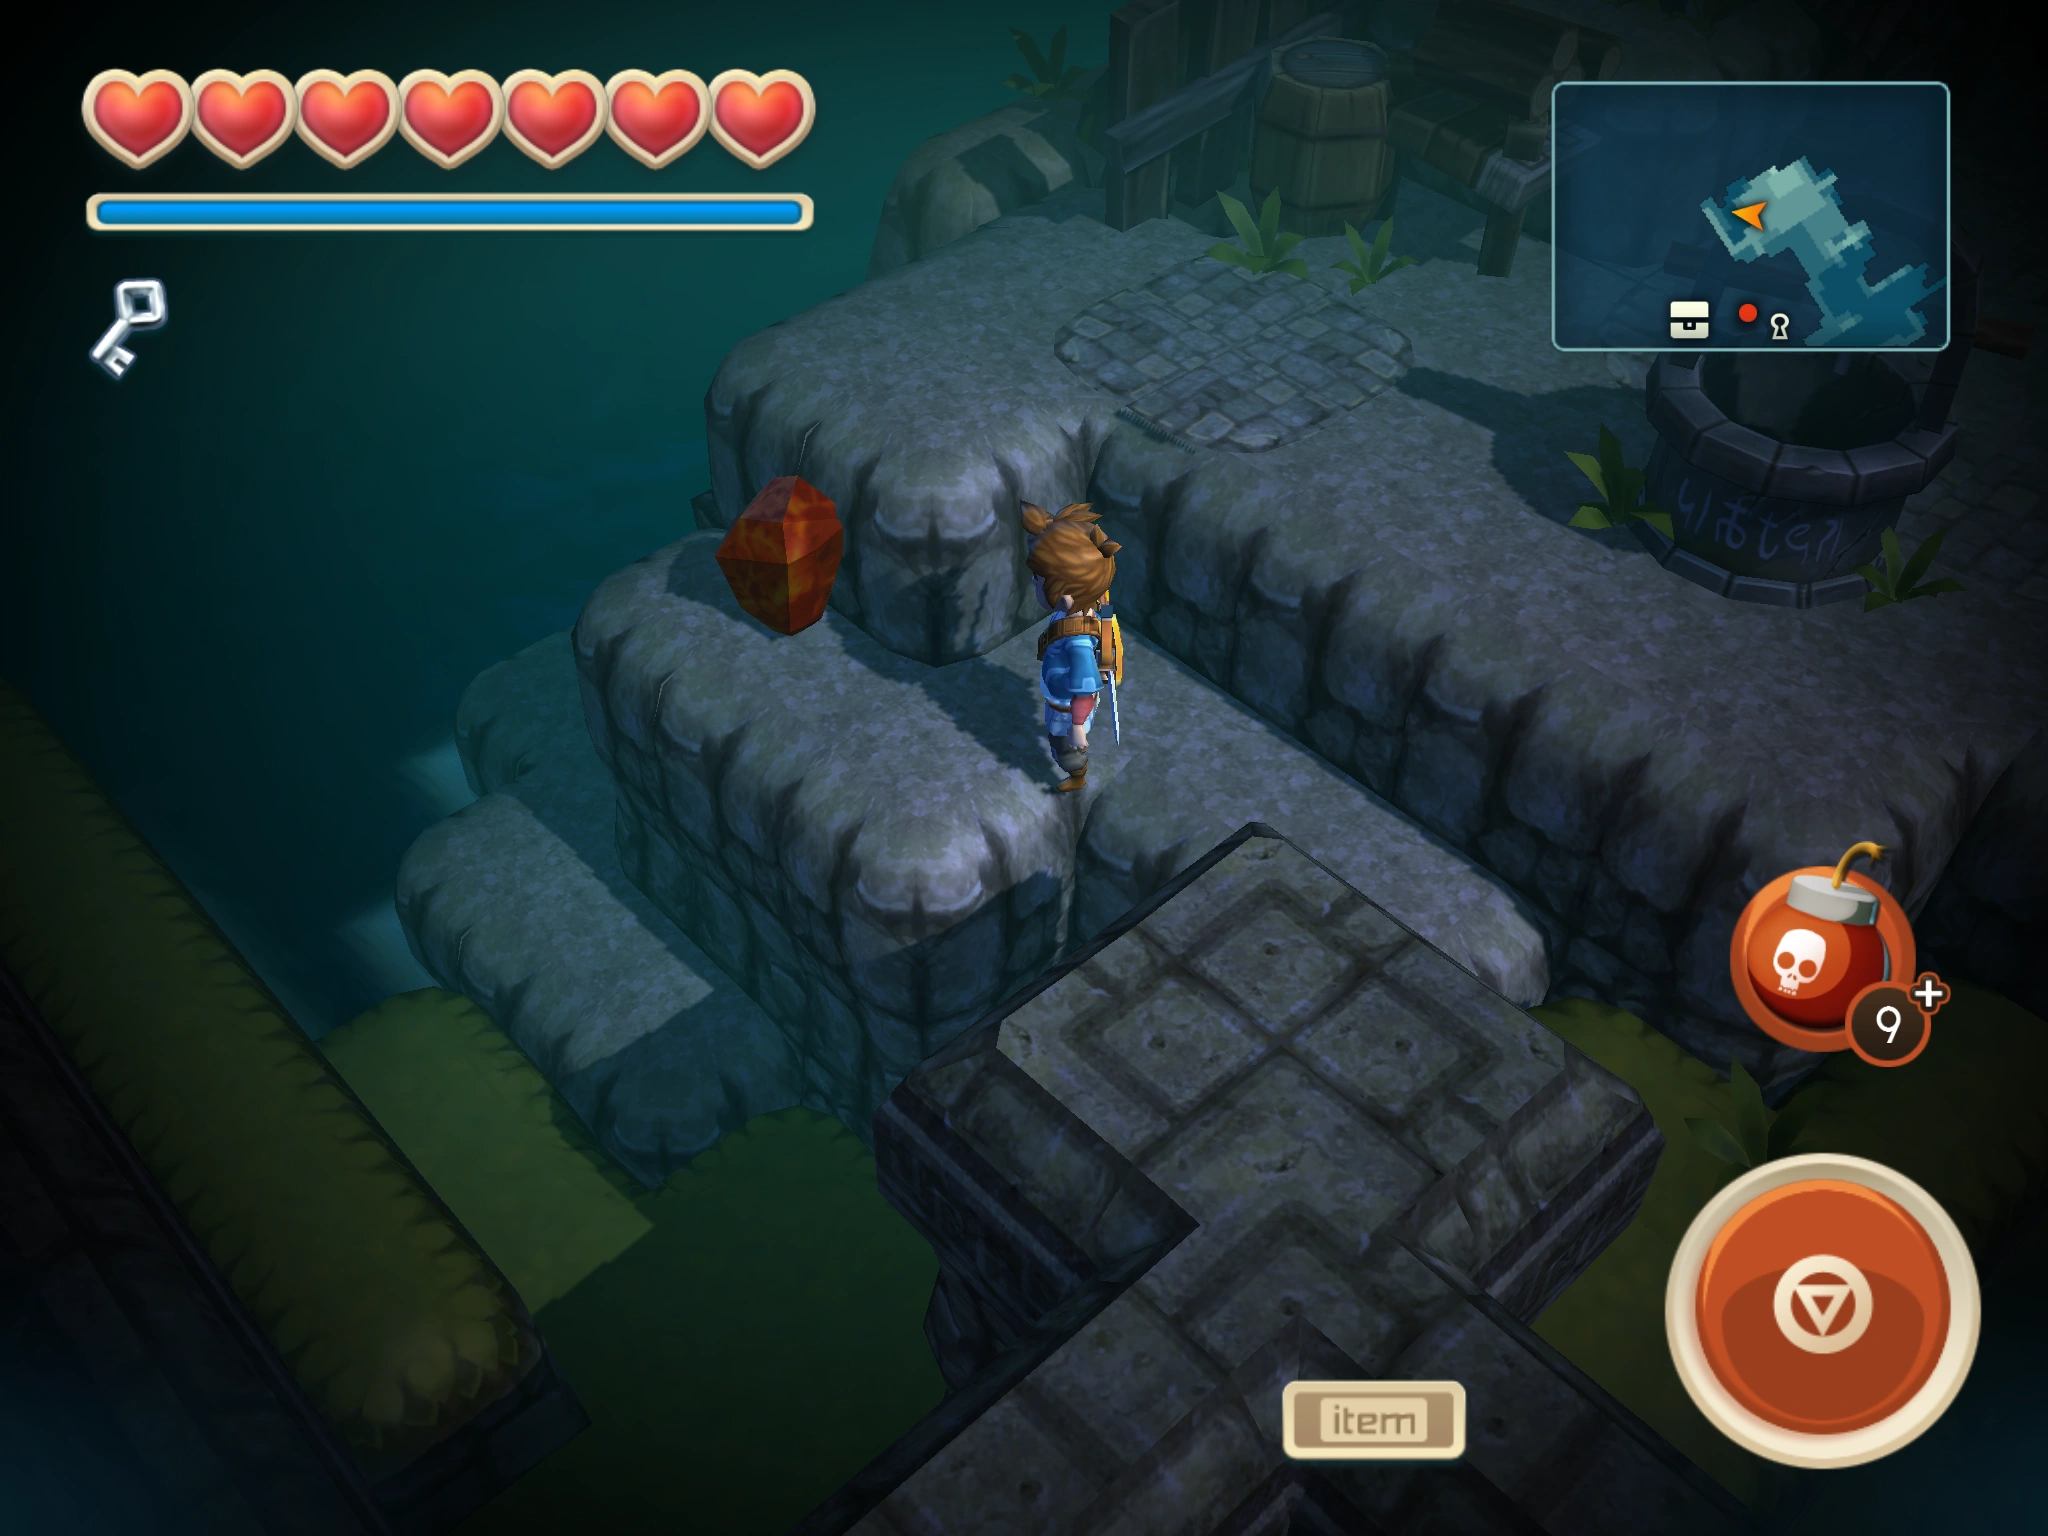
| ||
| 16 | Graveyard Island | 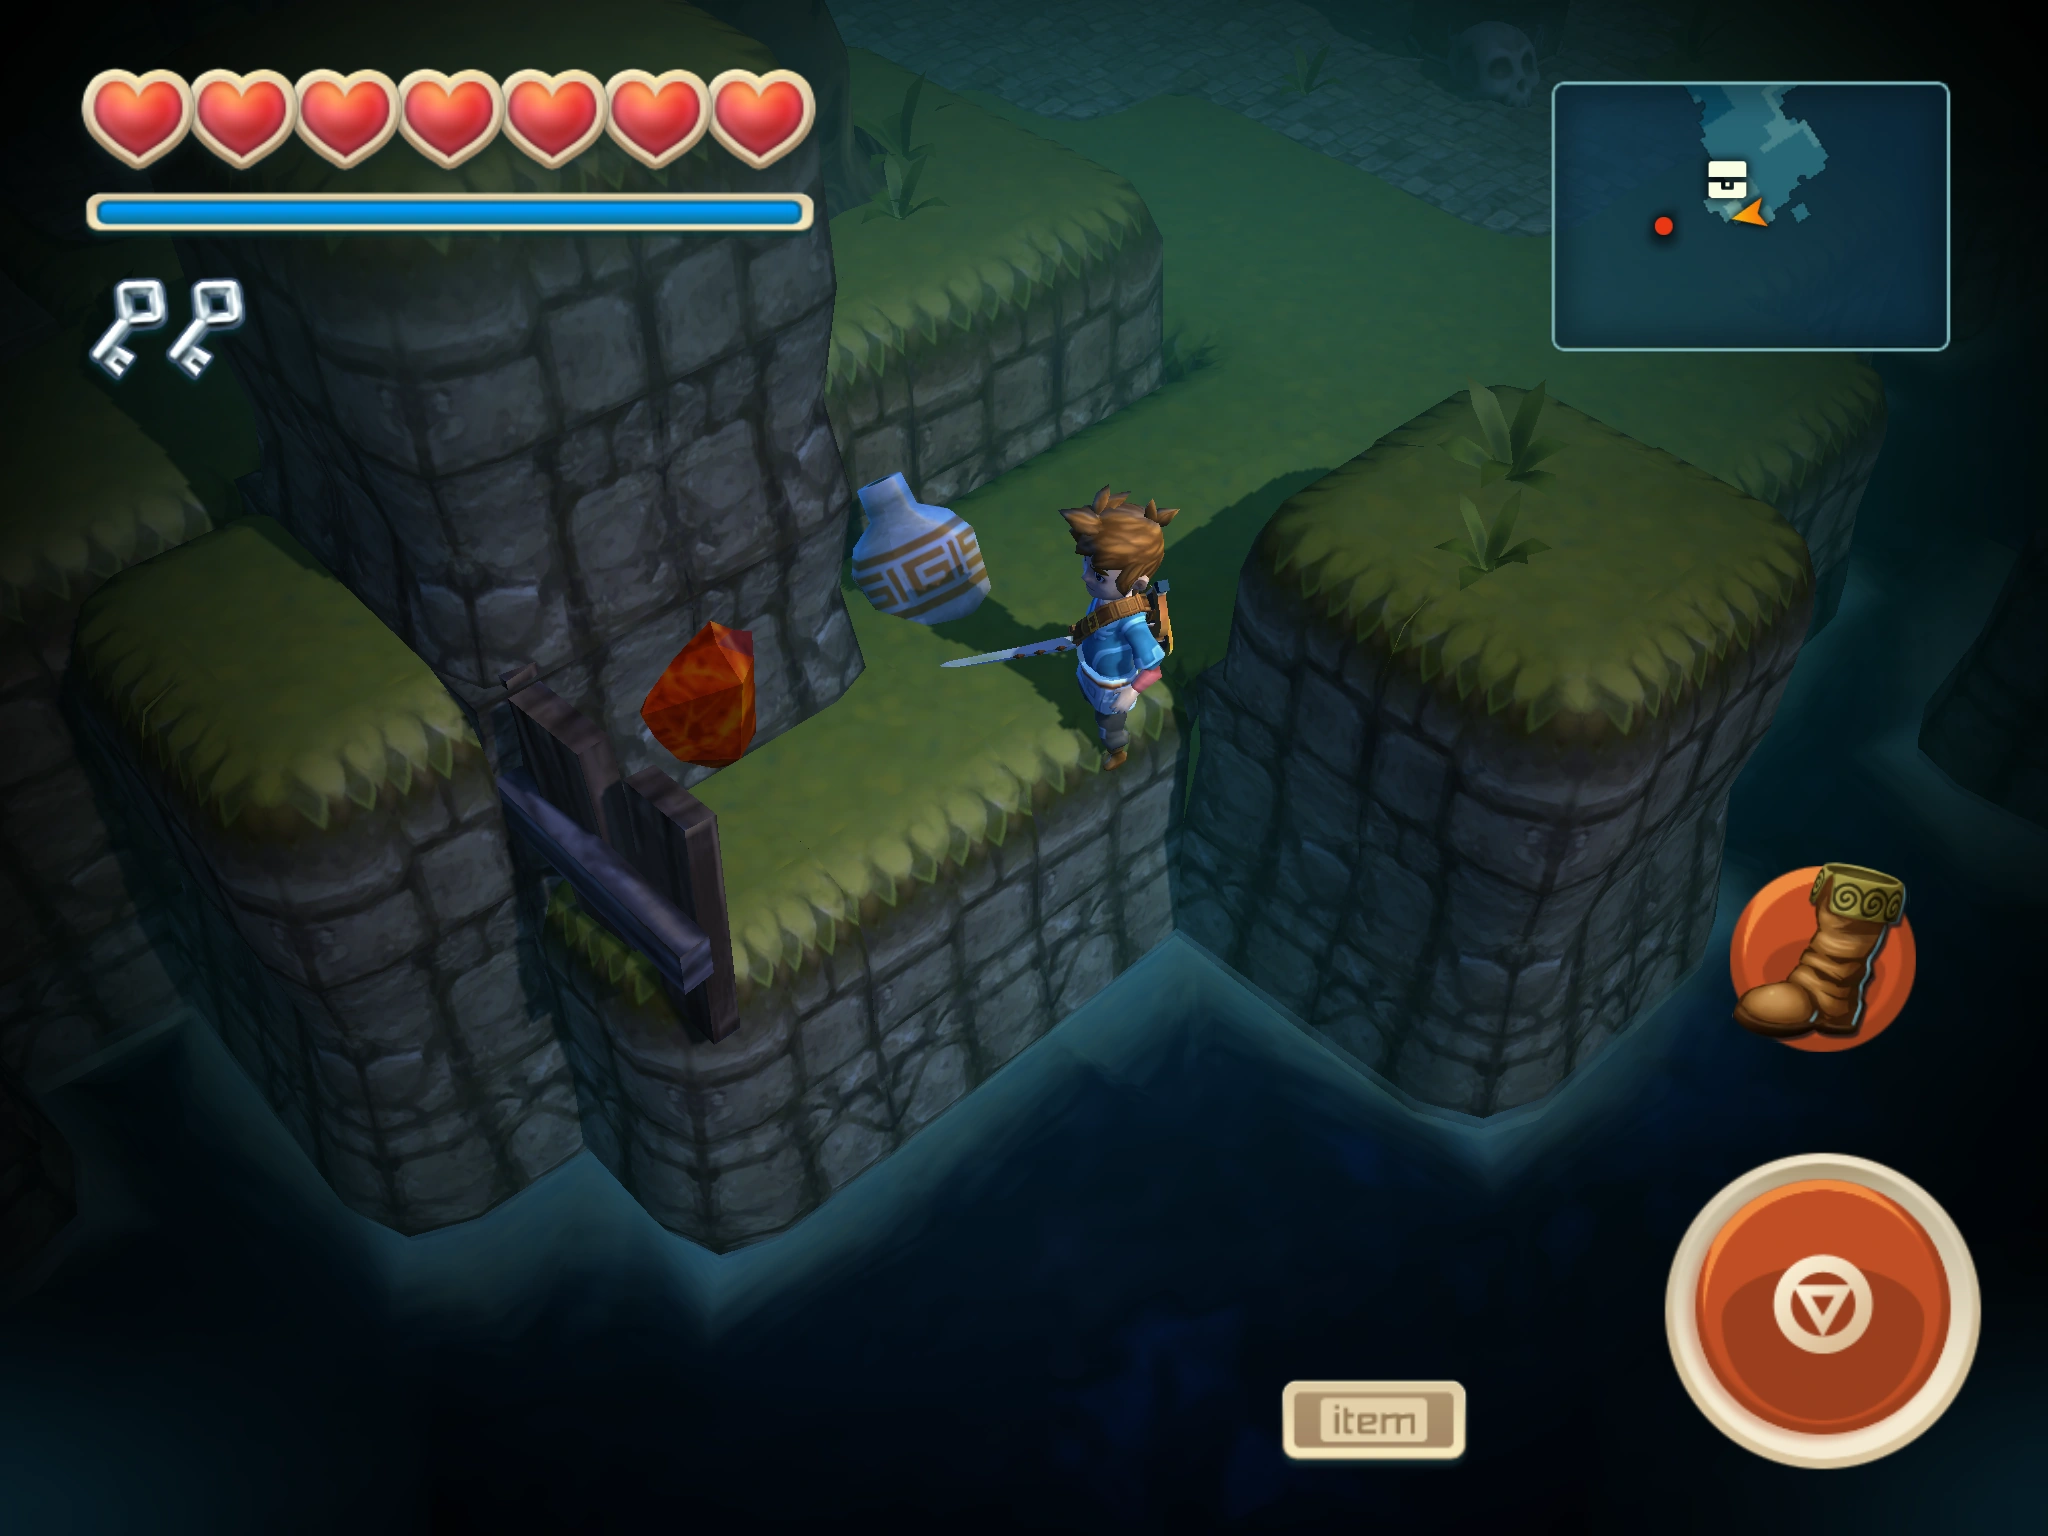
| ||
| 17 | Graveyard Island | 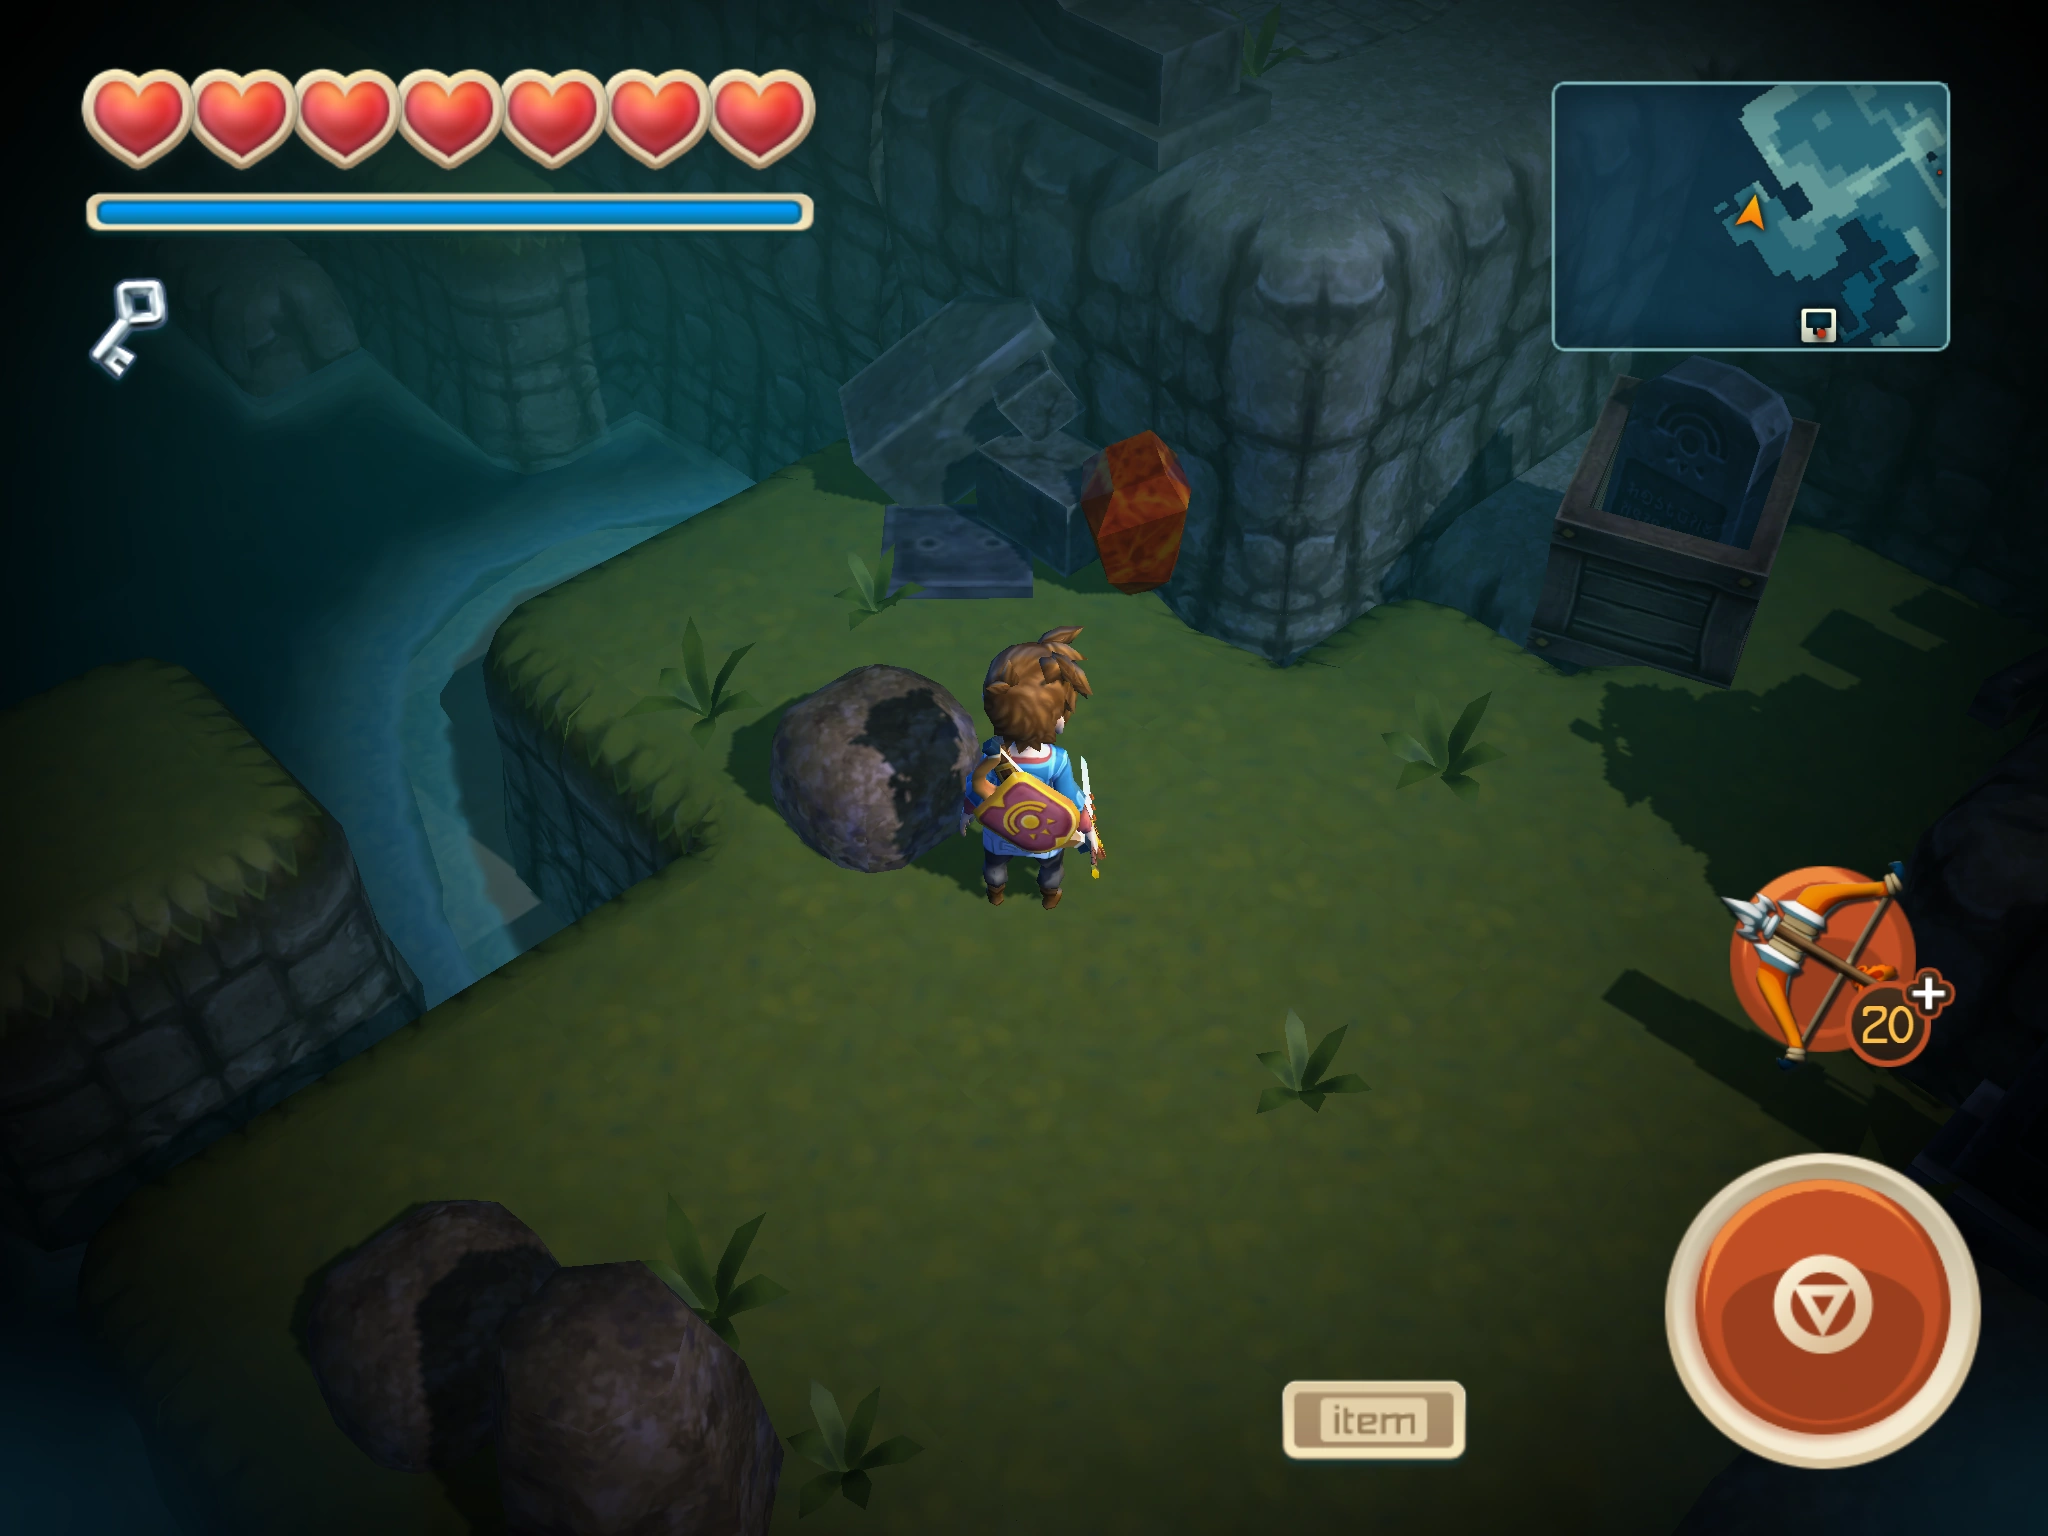
| ||
| 18 | Great Forest | Trencher Boots | 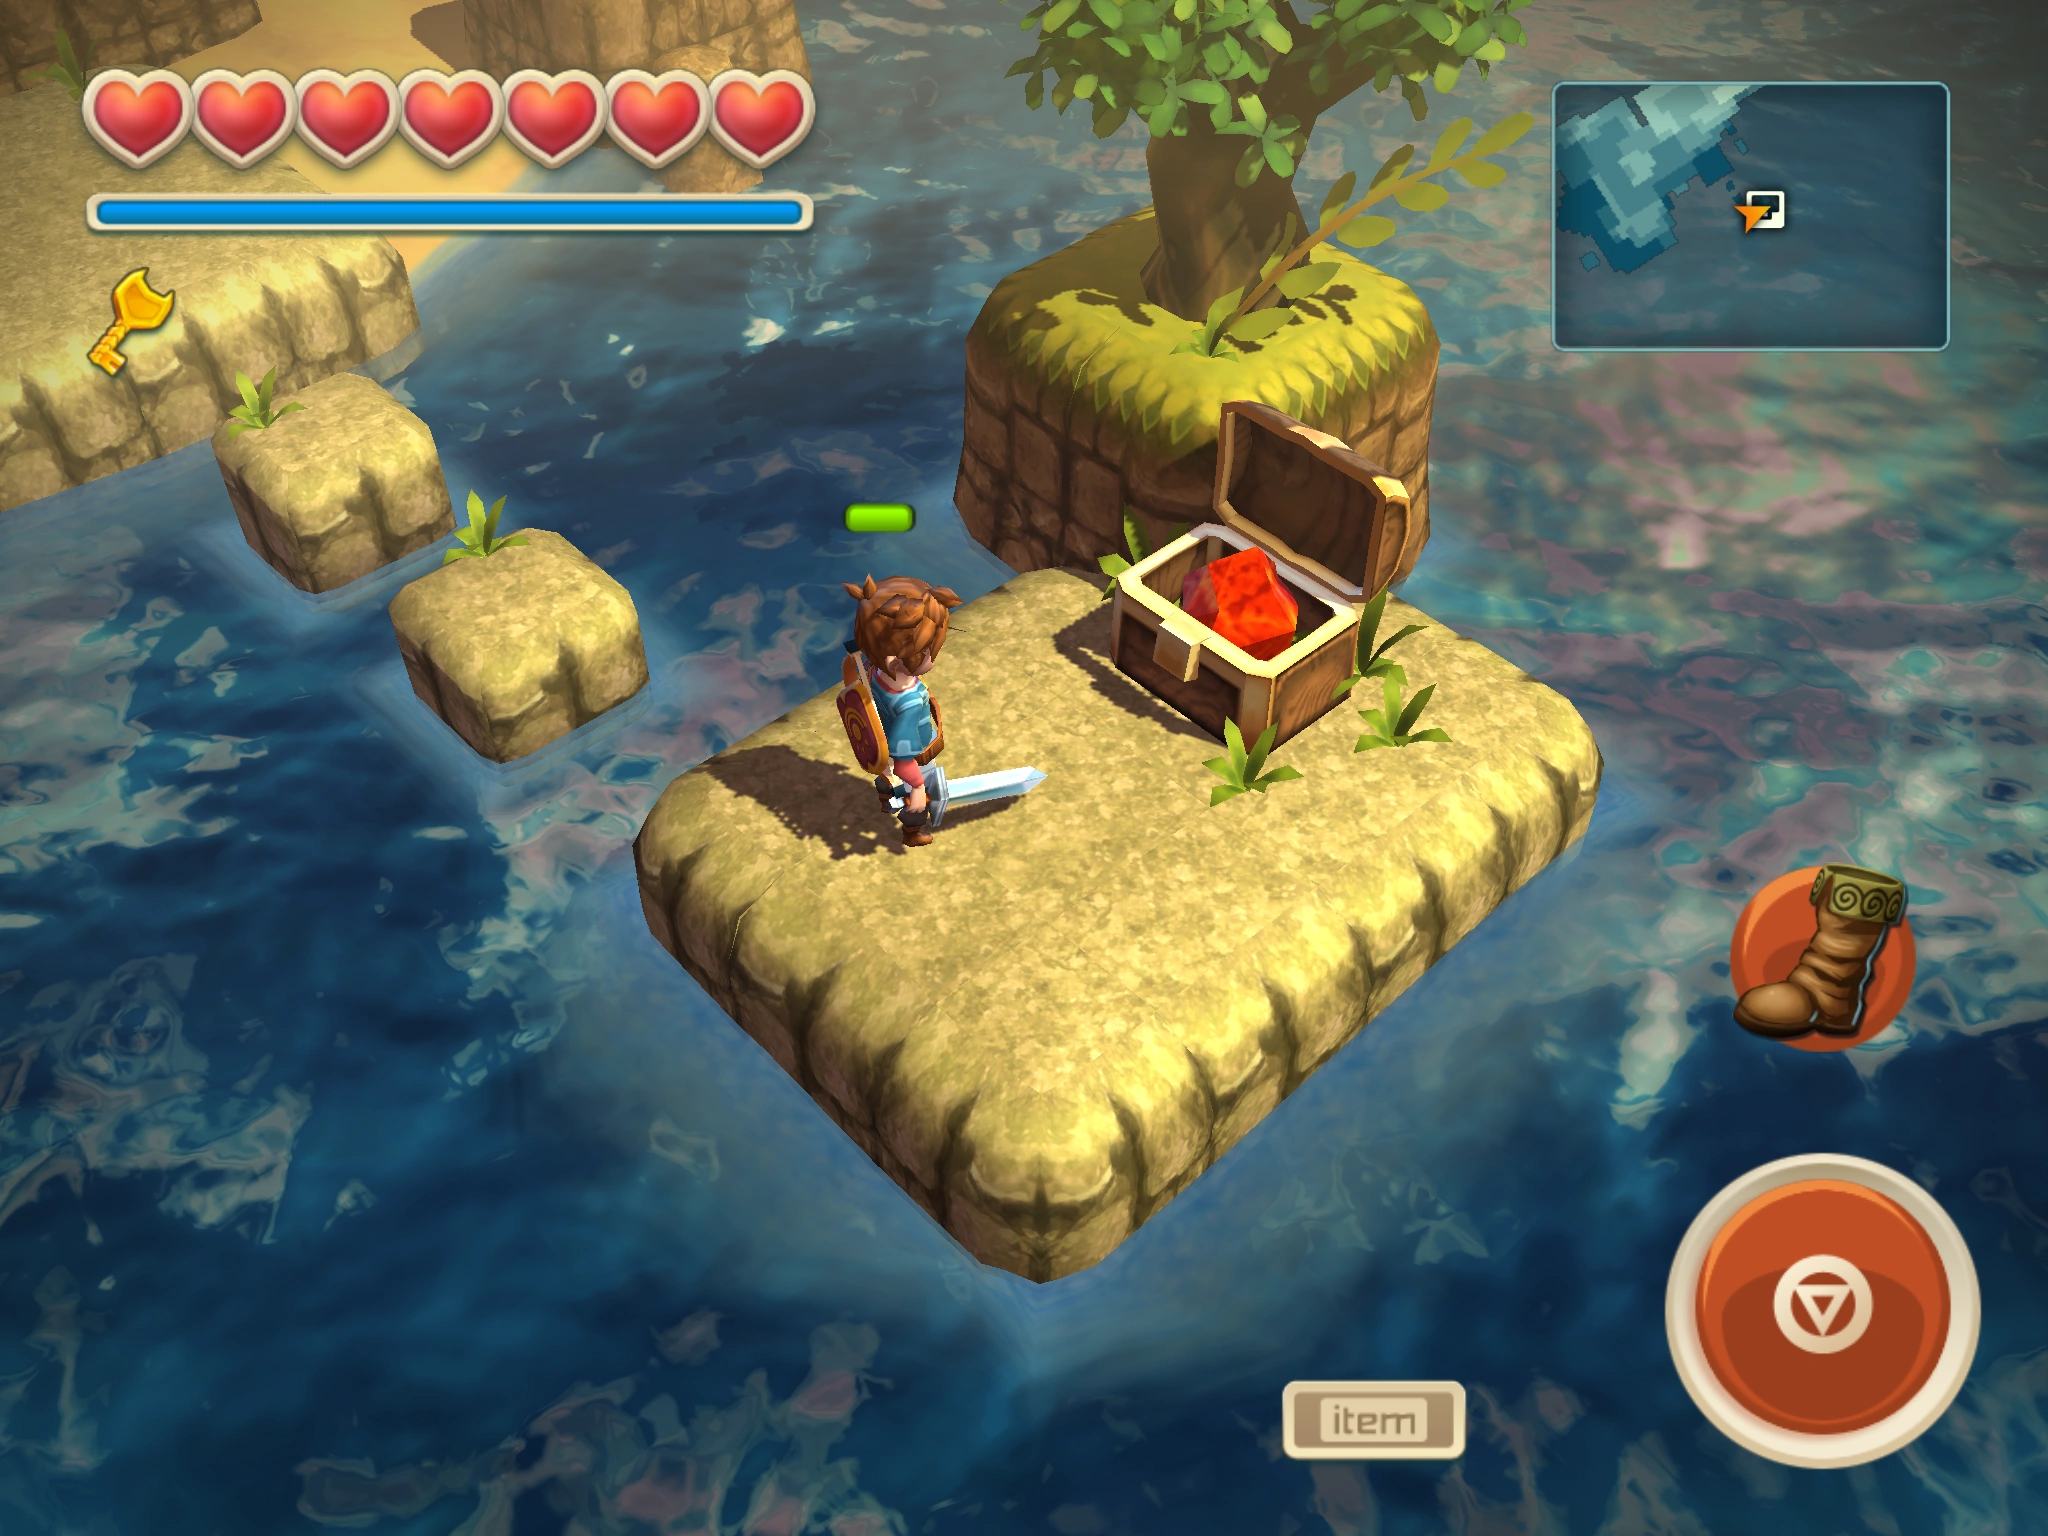
| |
| 19 | Great Forest | Forest Shrine - Outside | 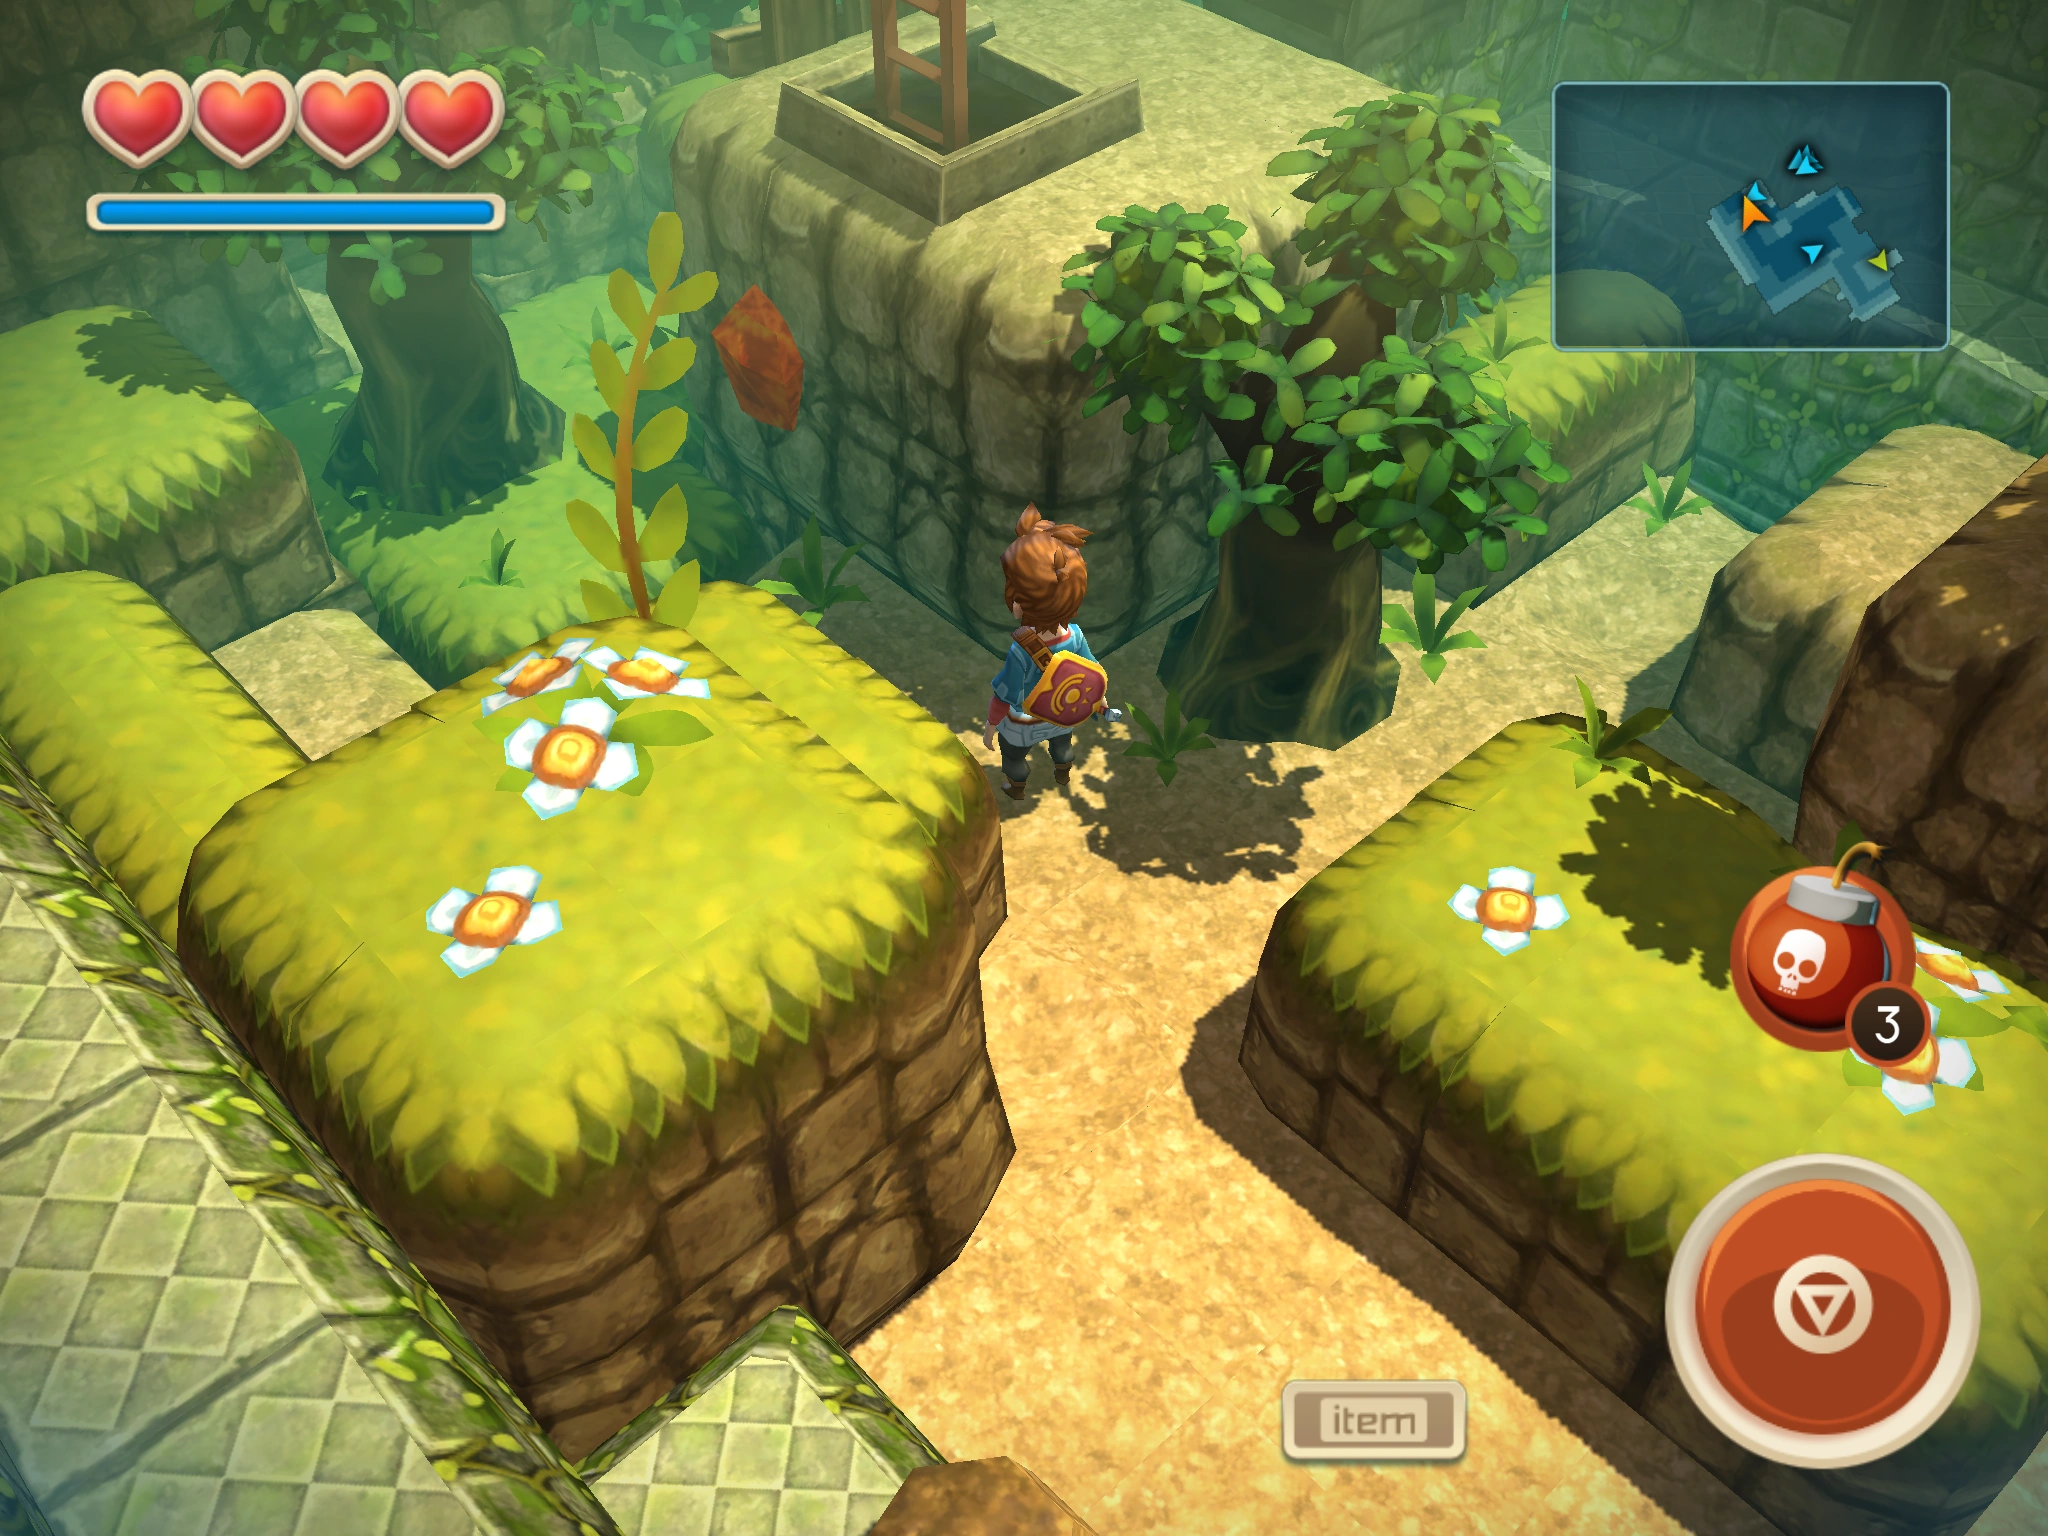
| |
| 20 | Great Forest | Heart of Pirta | Trencher Boots | 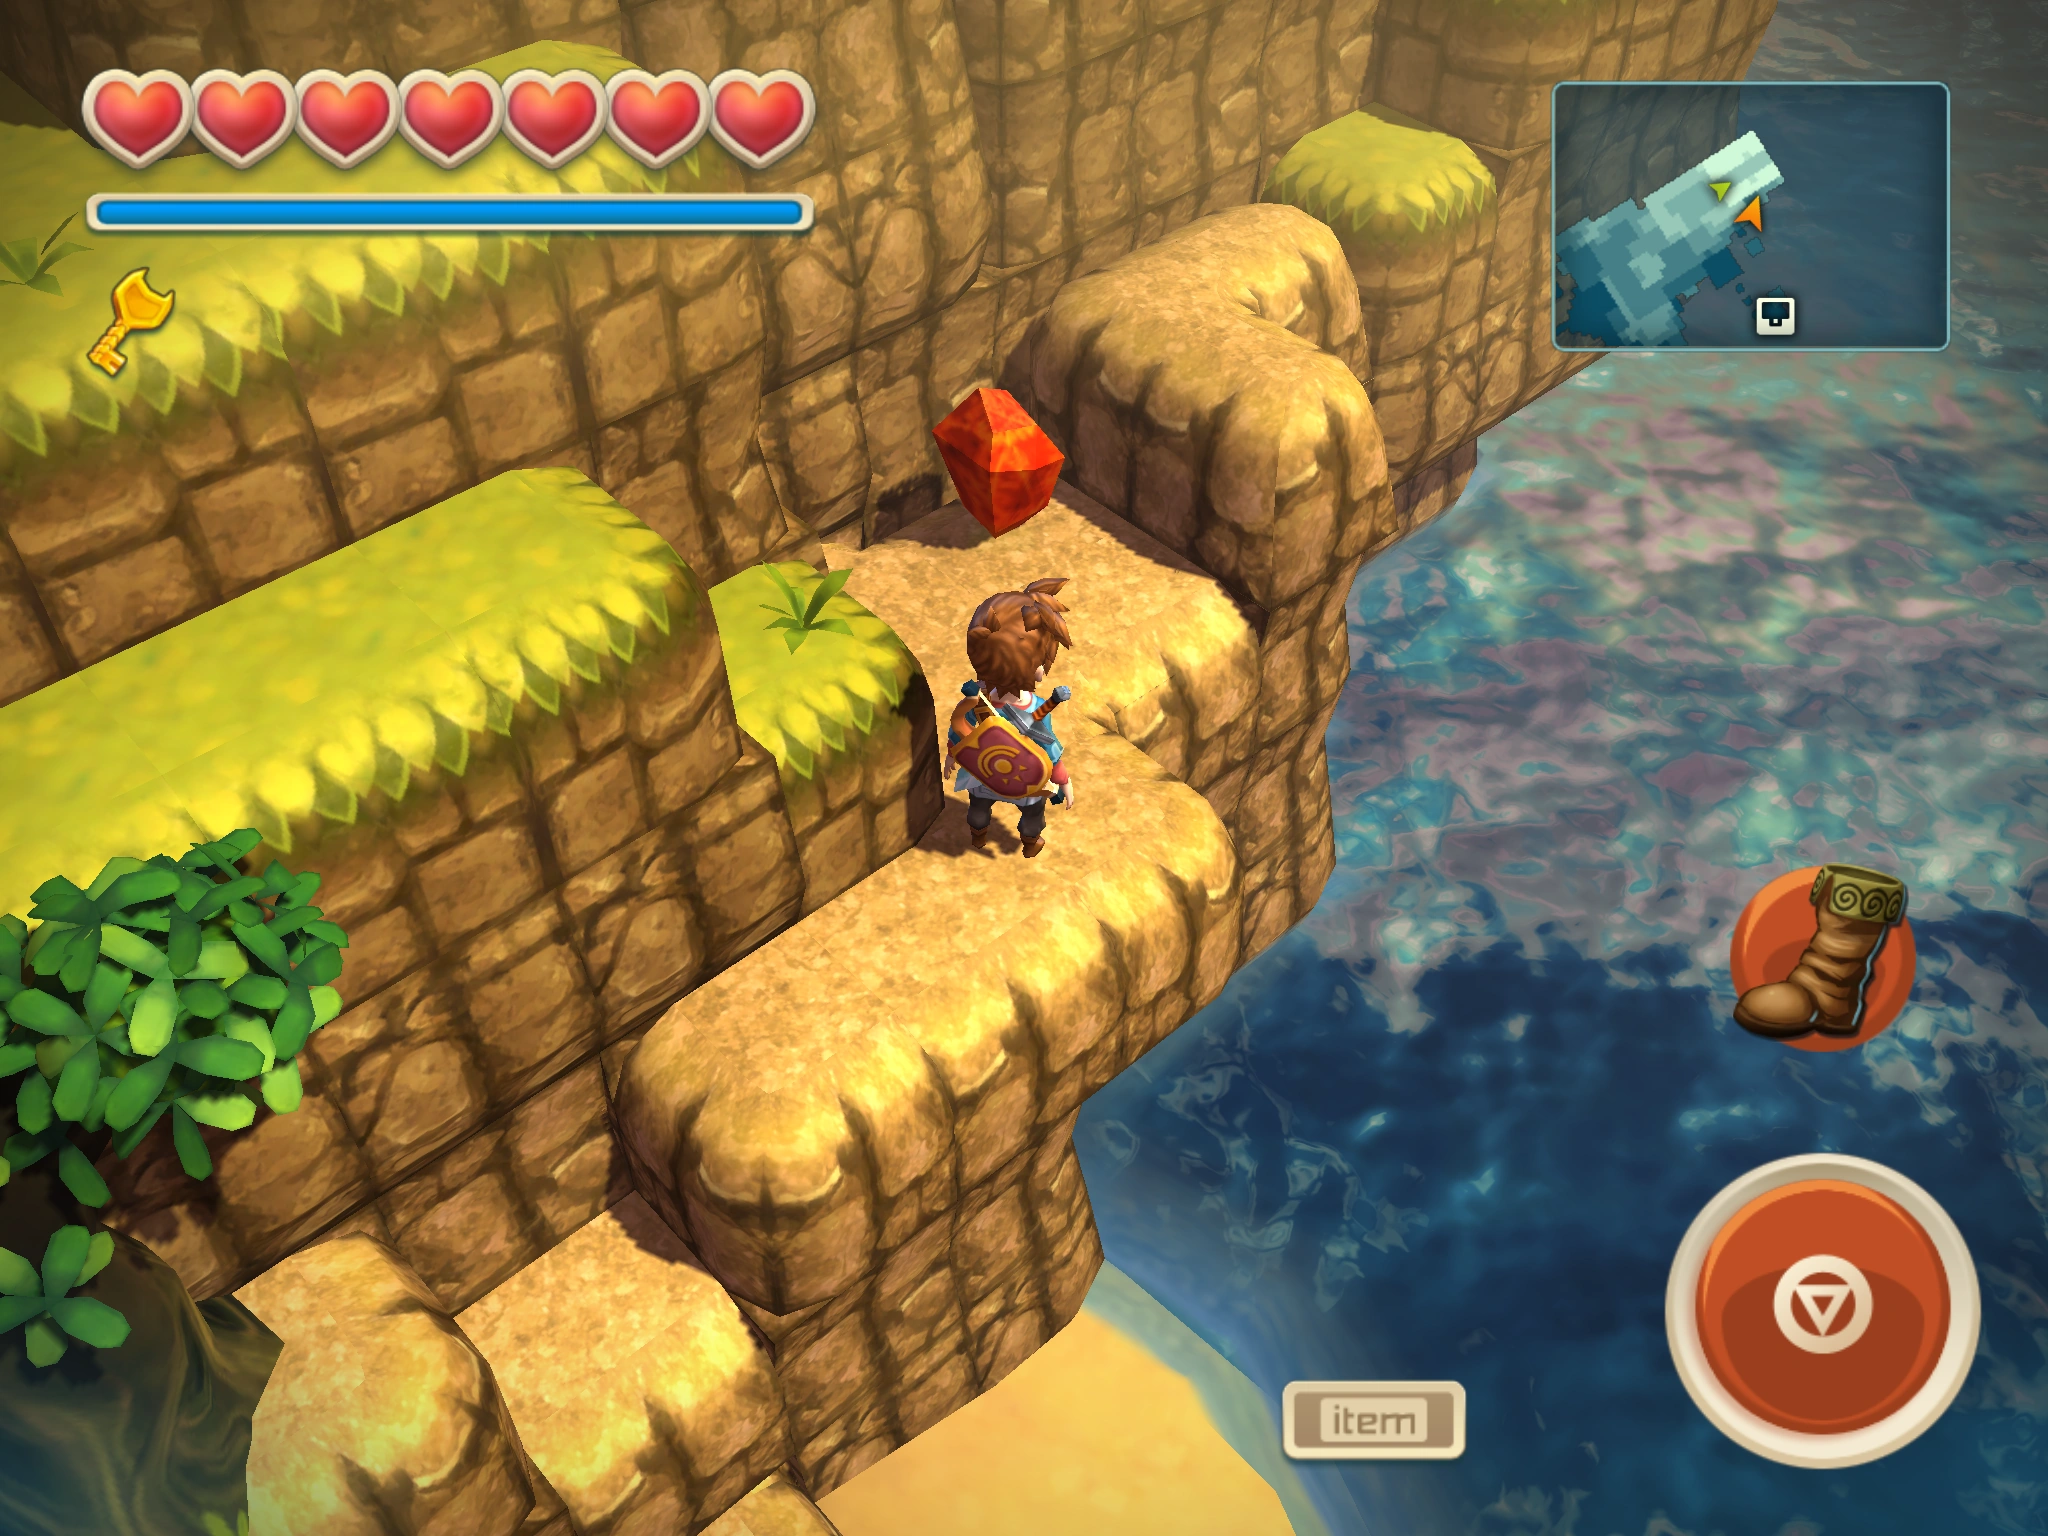
|
| 21 | Great Forest | Restless Grove | You need to bomb a wall to reach this Bloodstone. | 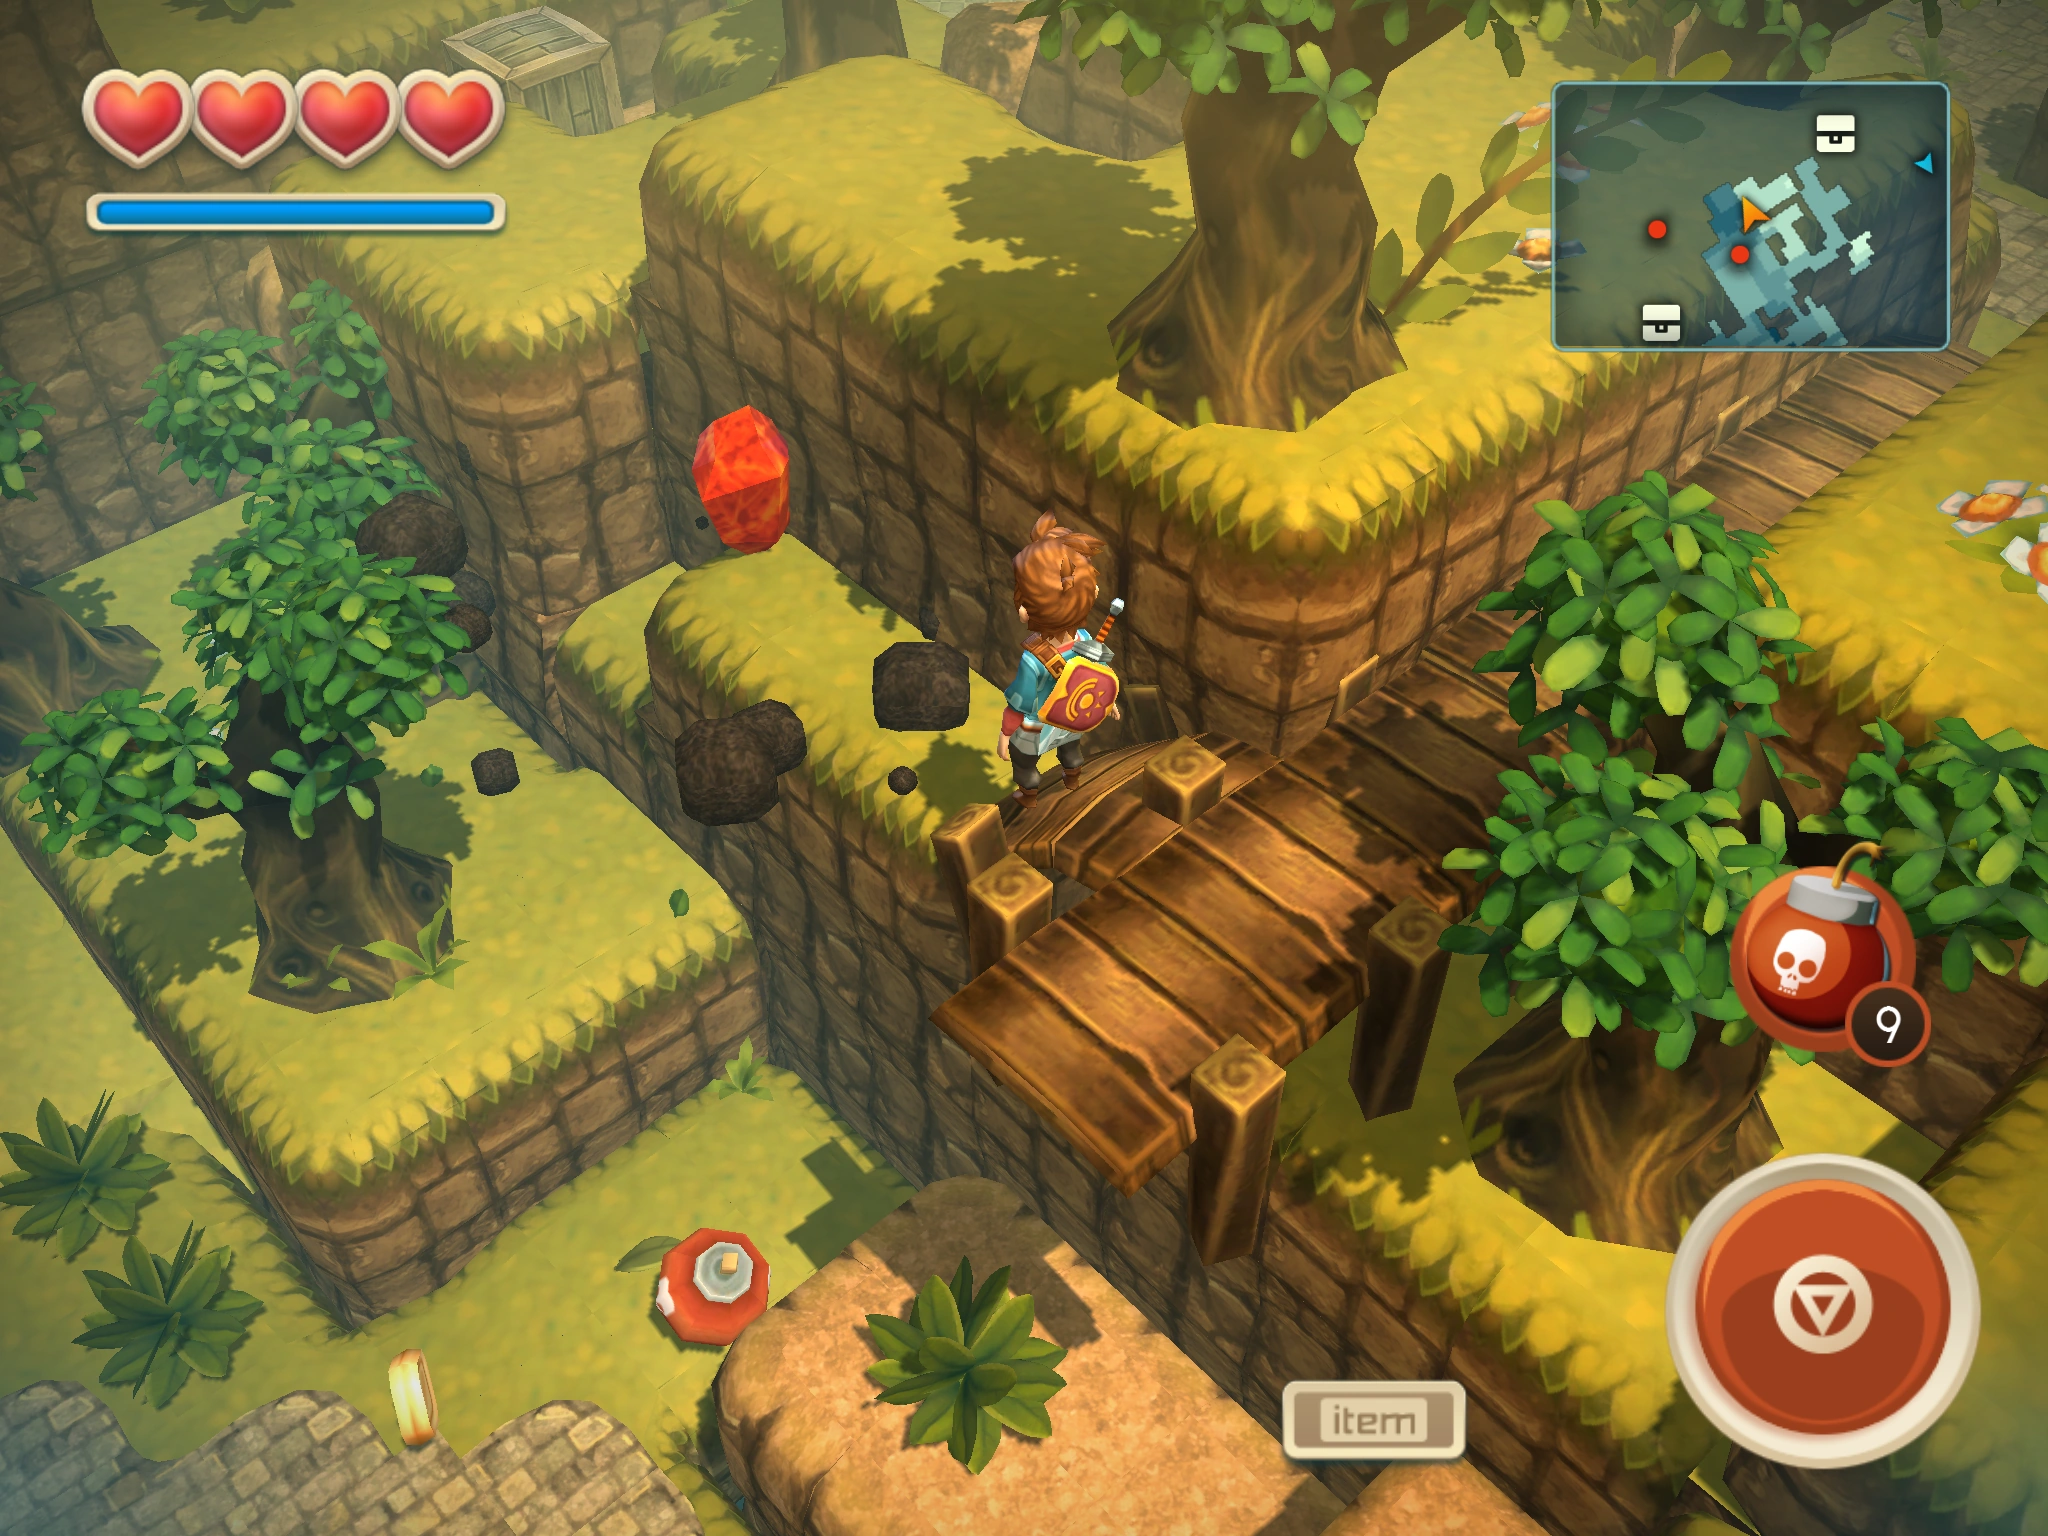
|
| 22 | Hermit's Island | Trencher Boots | 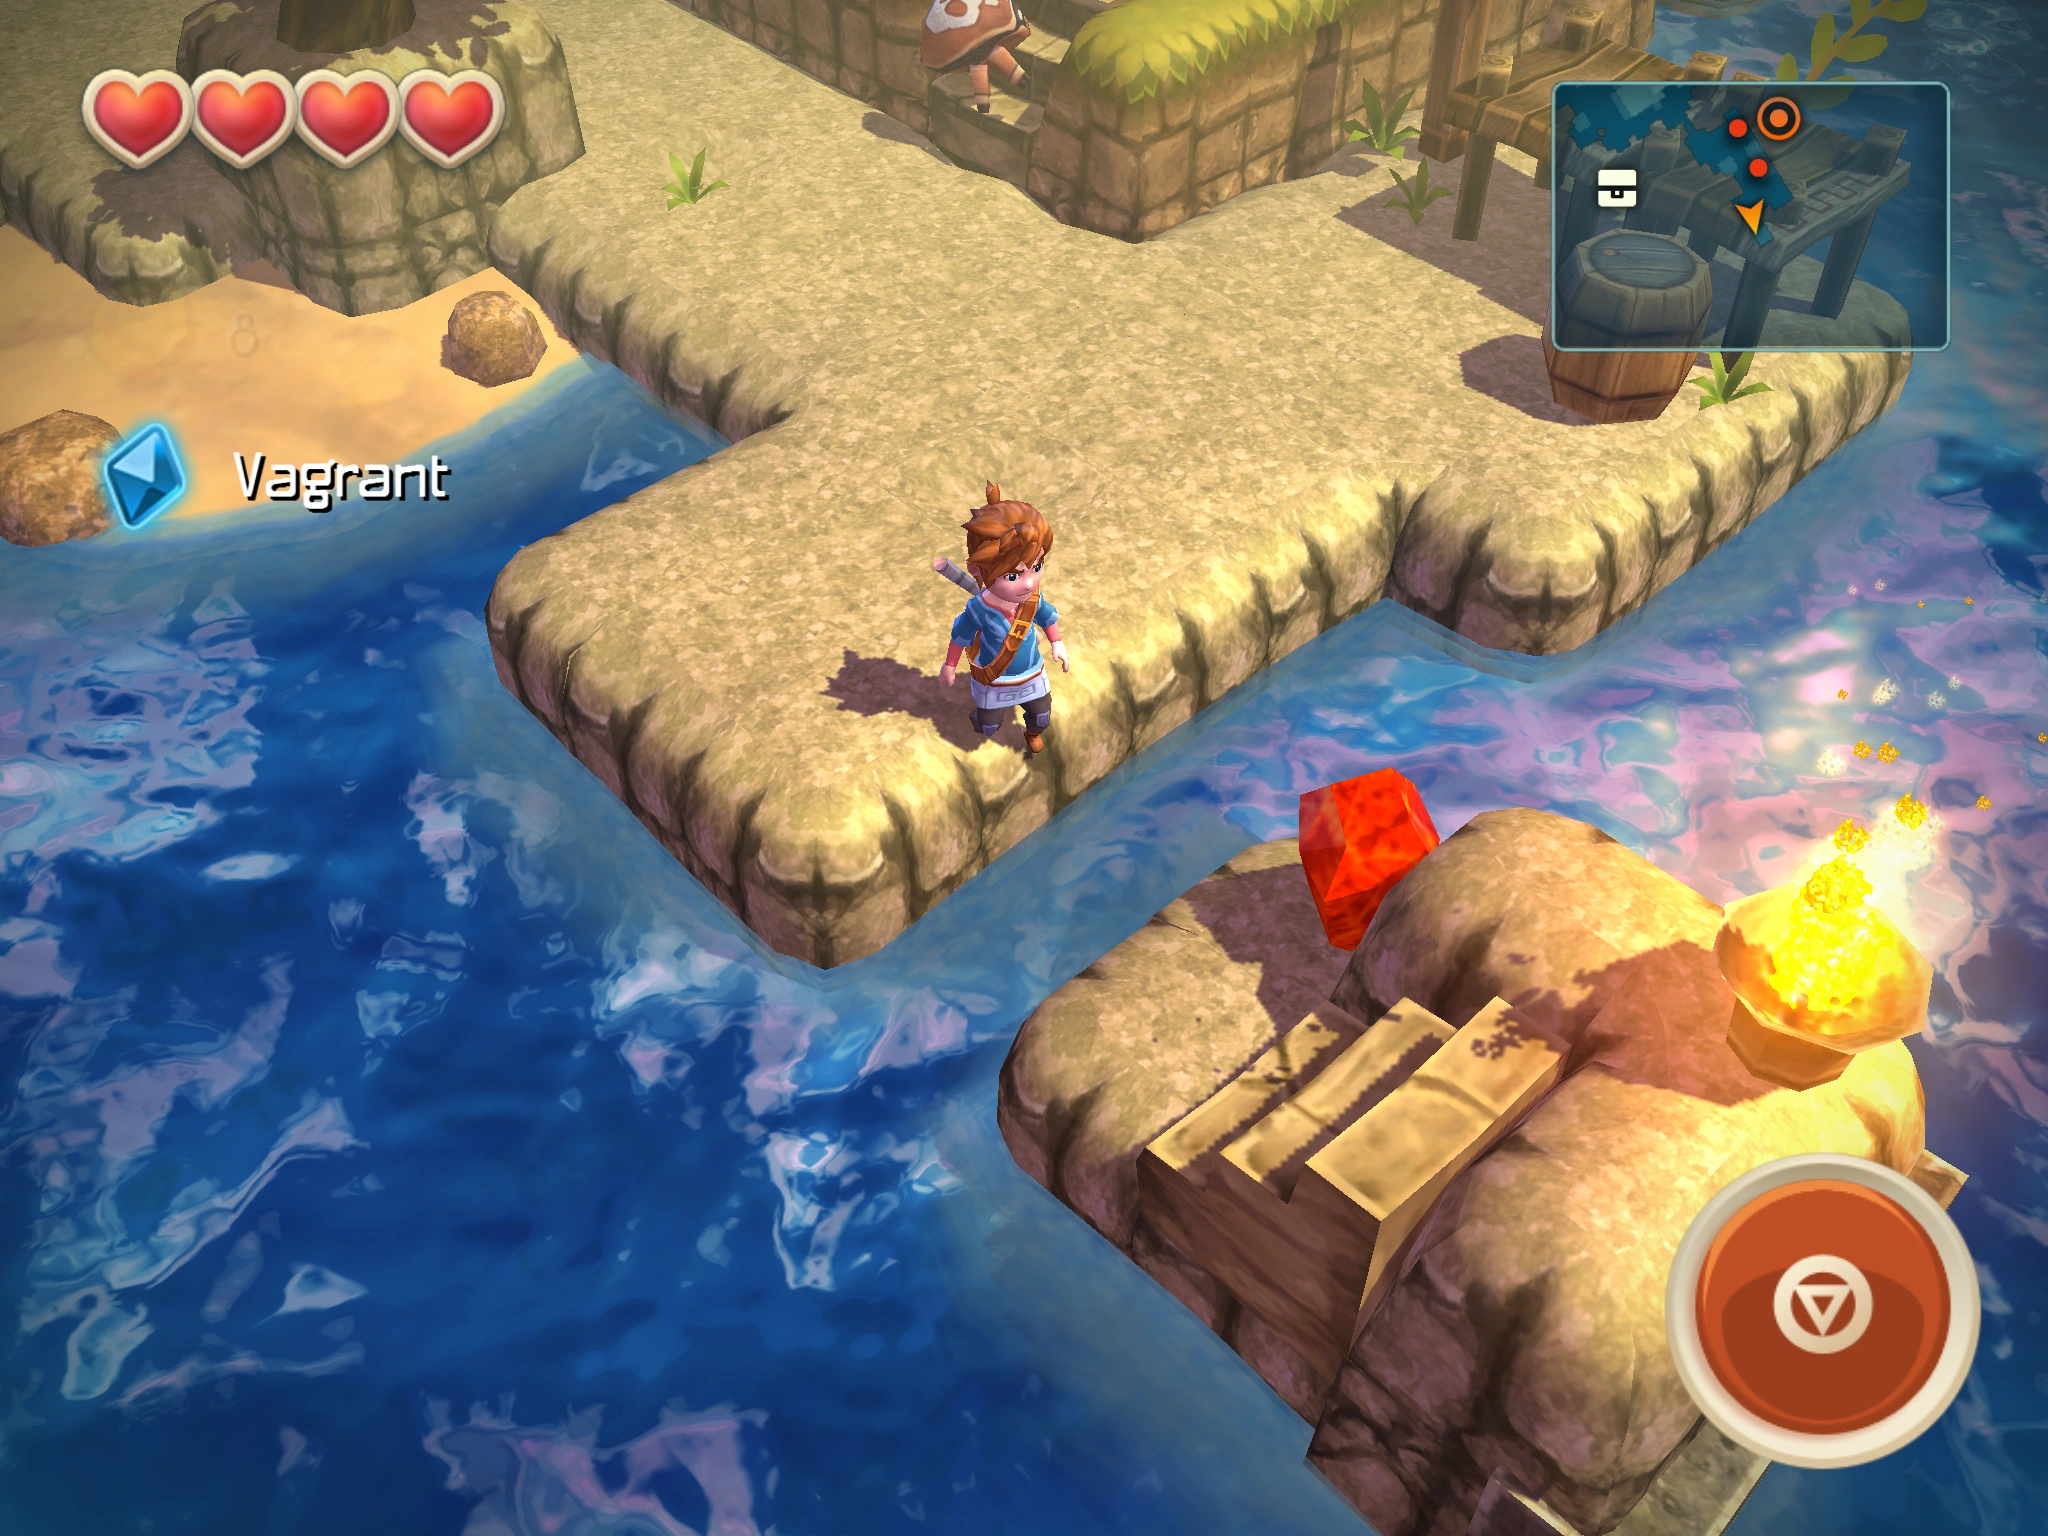
| |
| 23 | Hermit's Island | Great Chronicler's Grave | 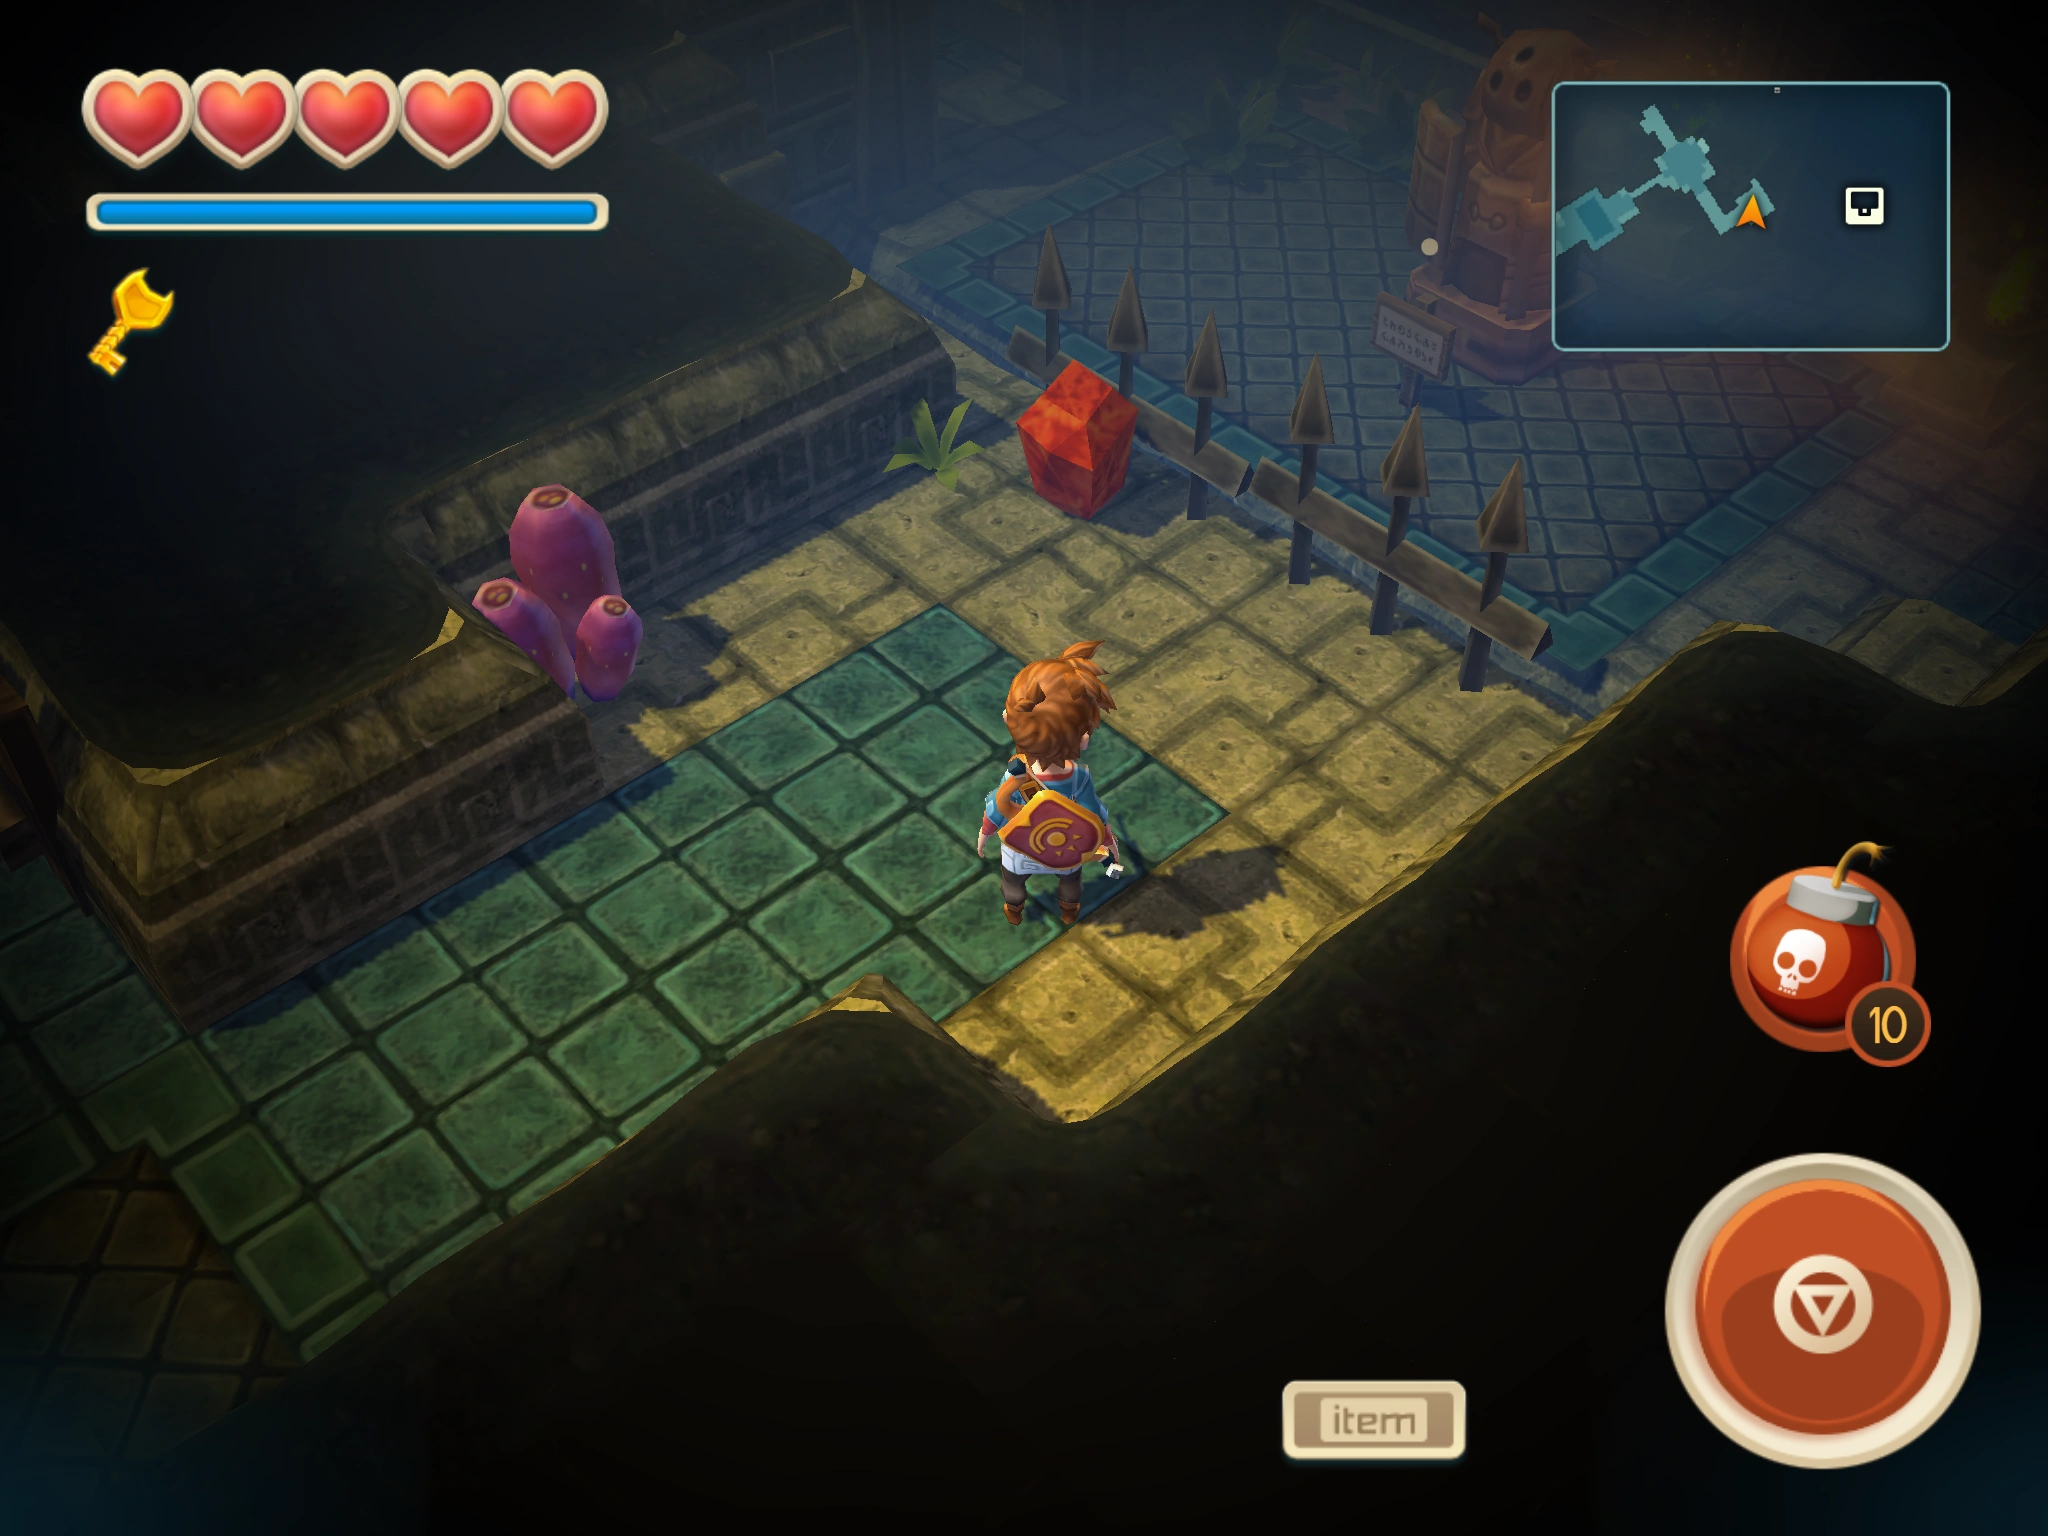
| |
| 24 | Home Island | 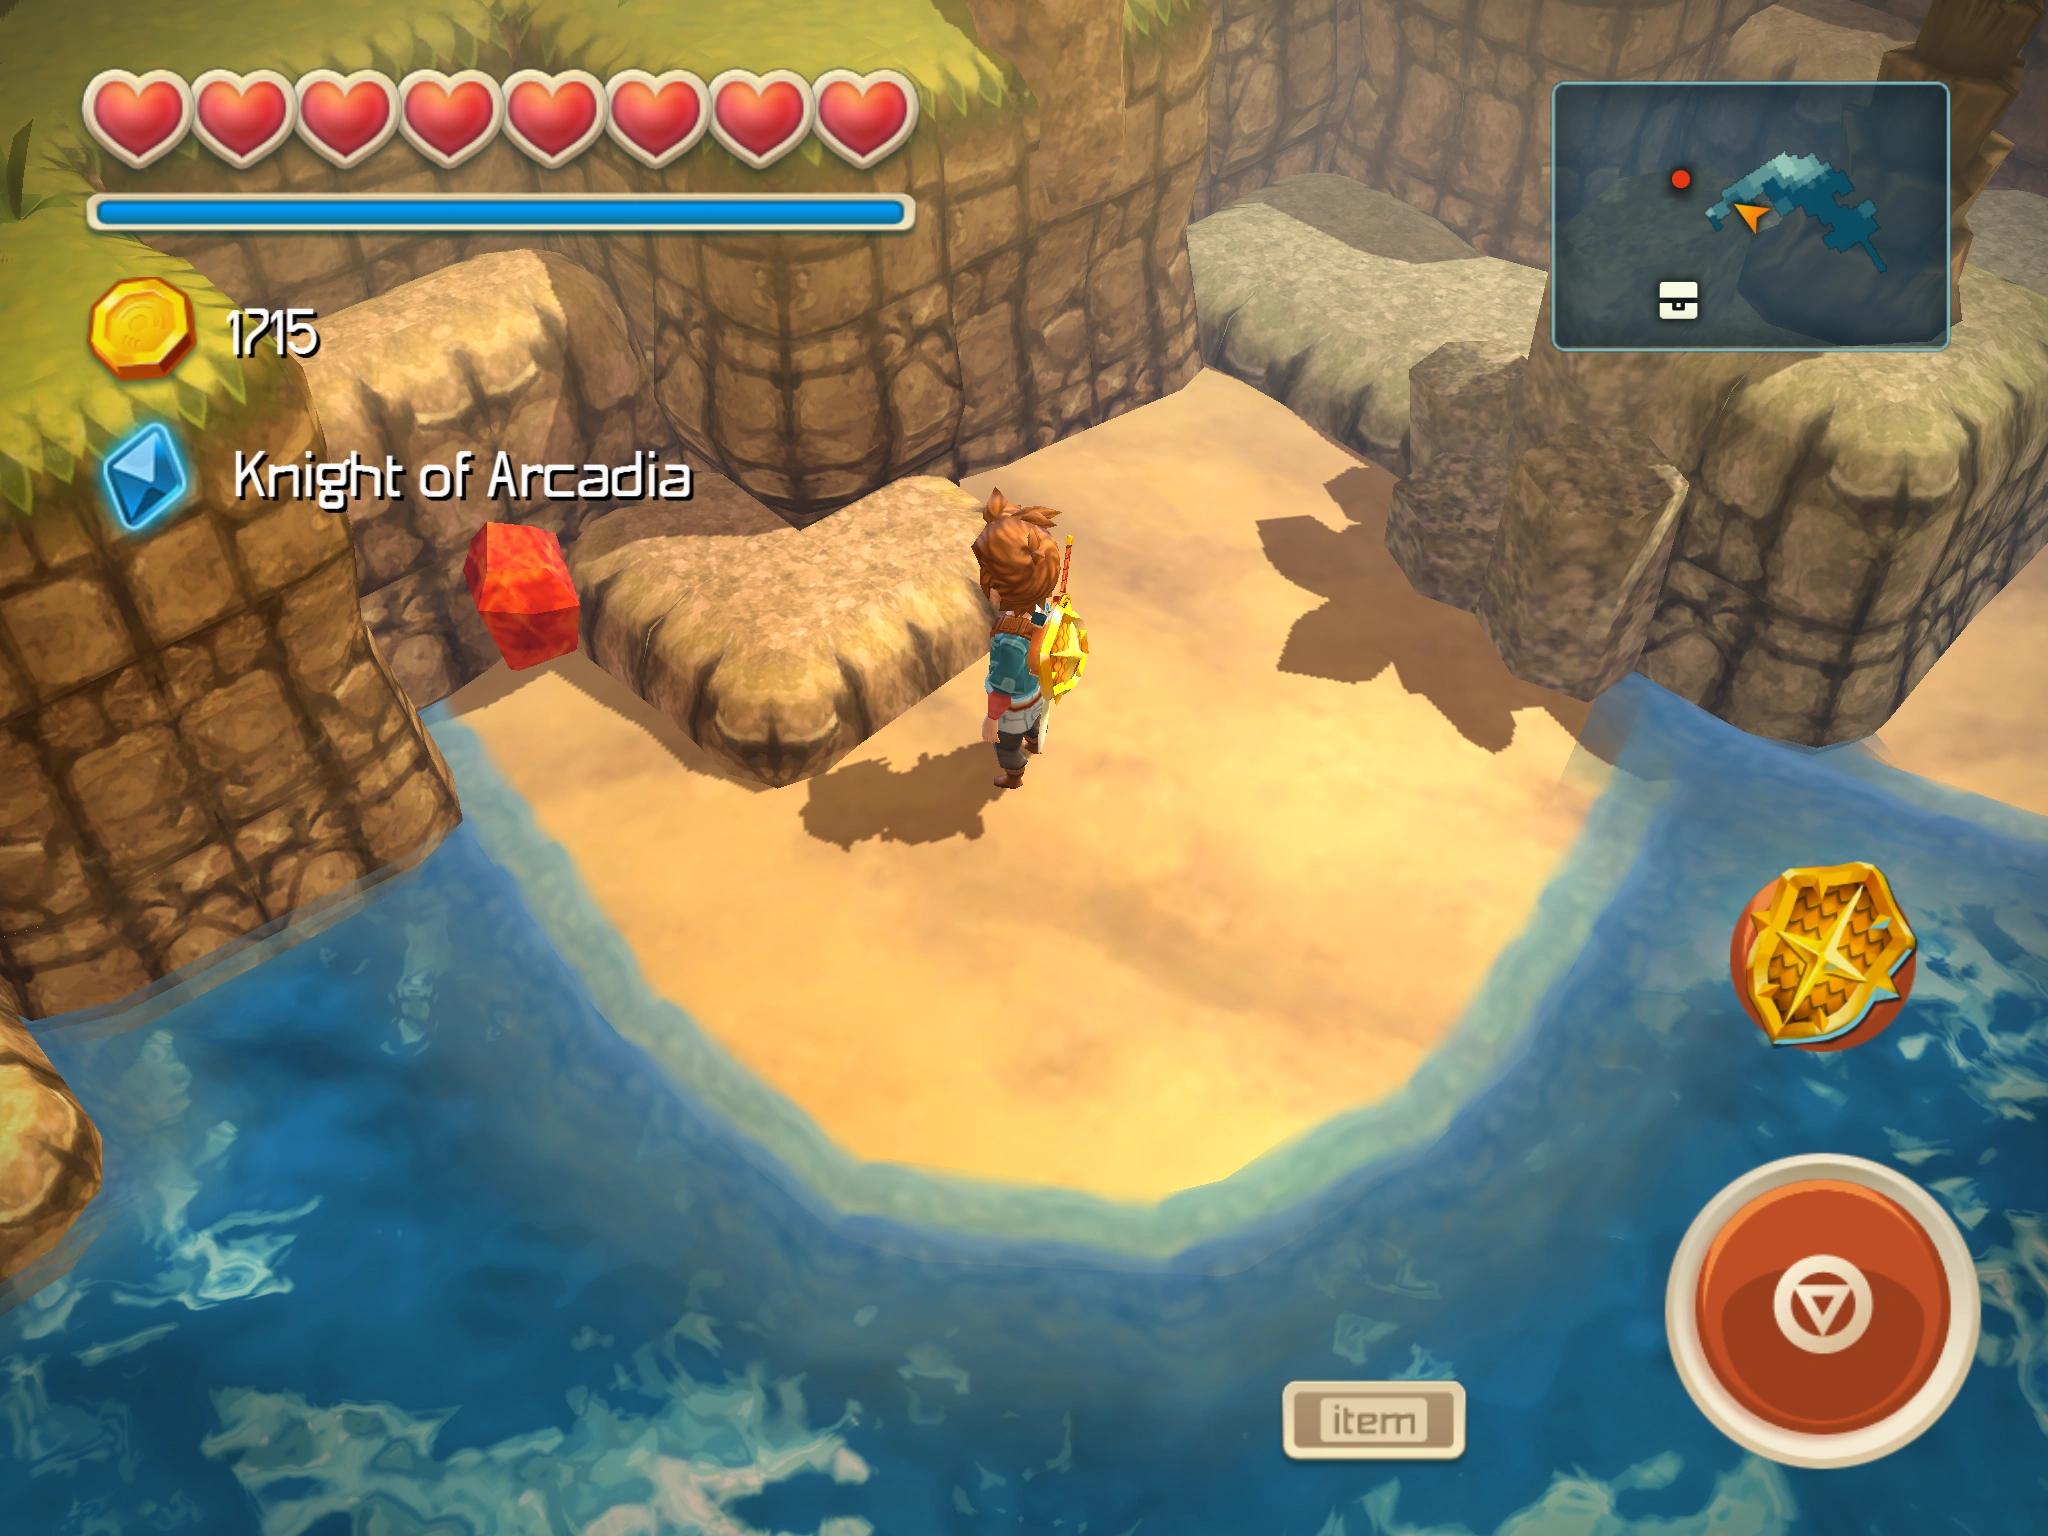
| ||
| 25 | Home Island | 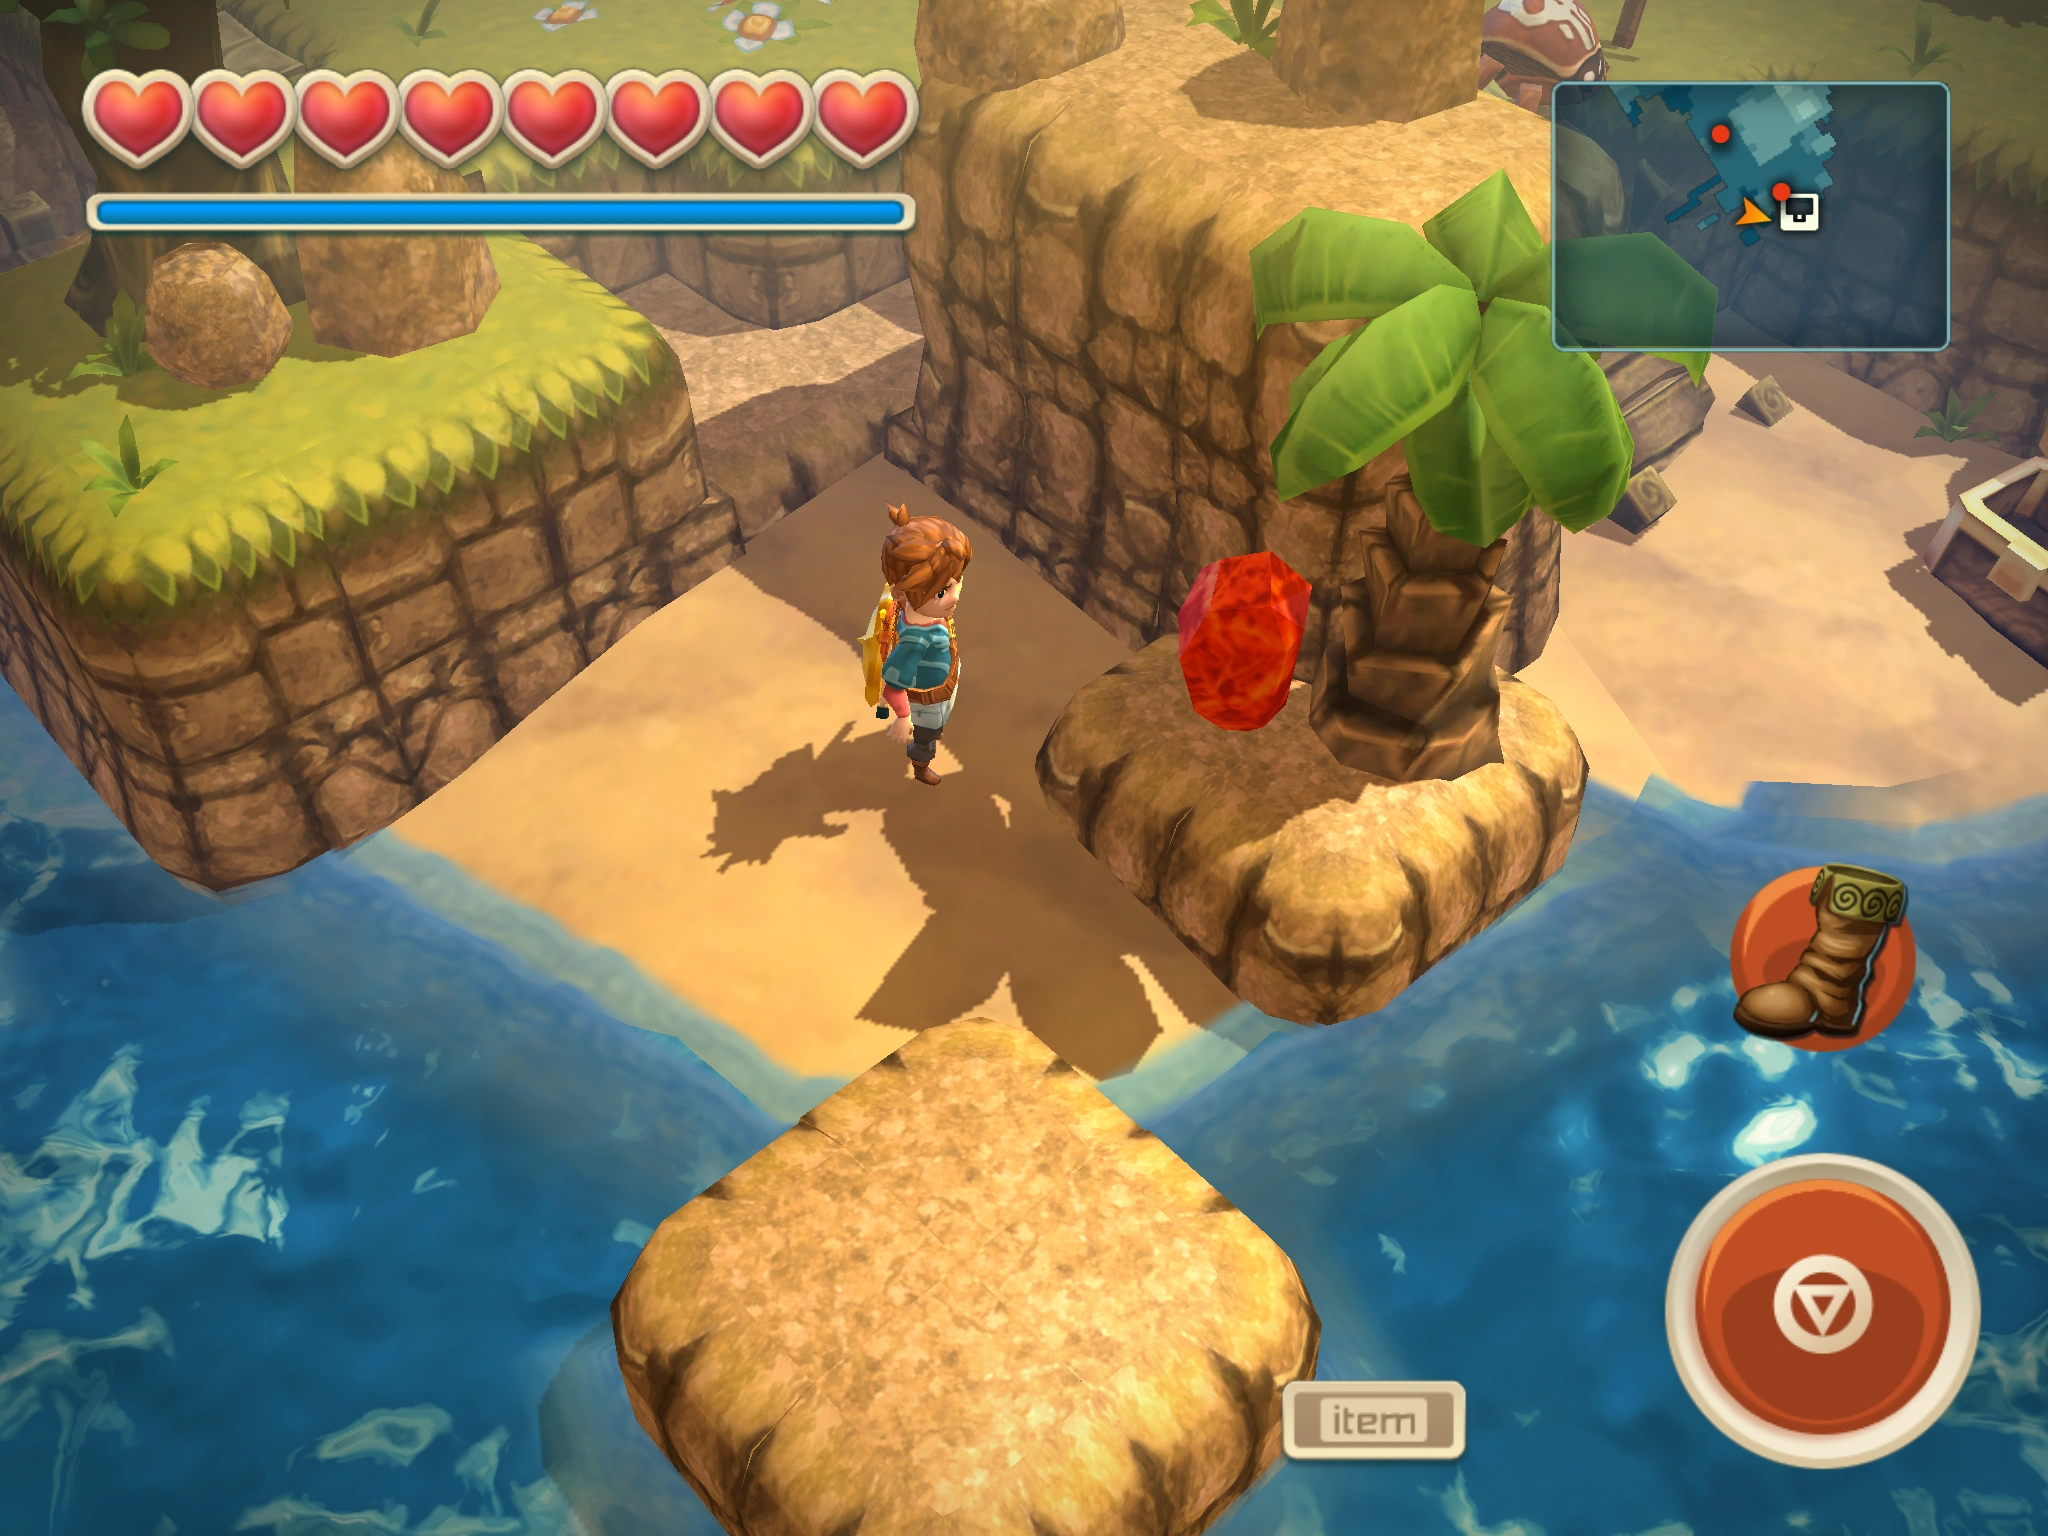
| ||
| 26 | Home Island | 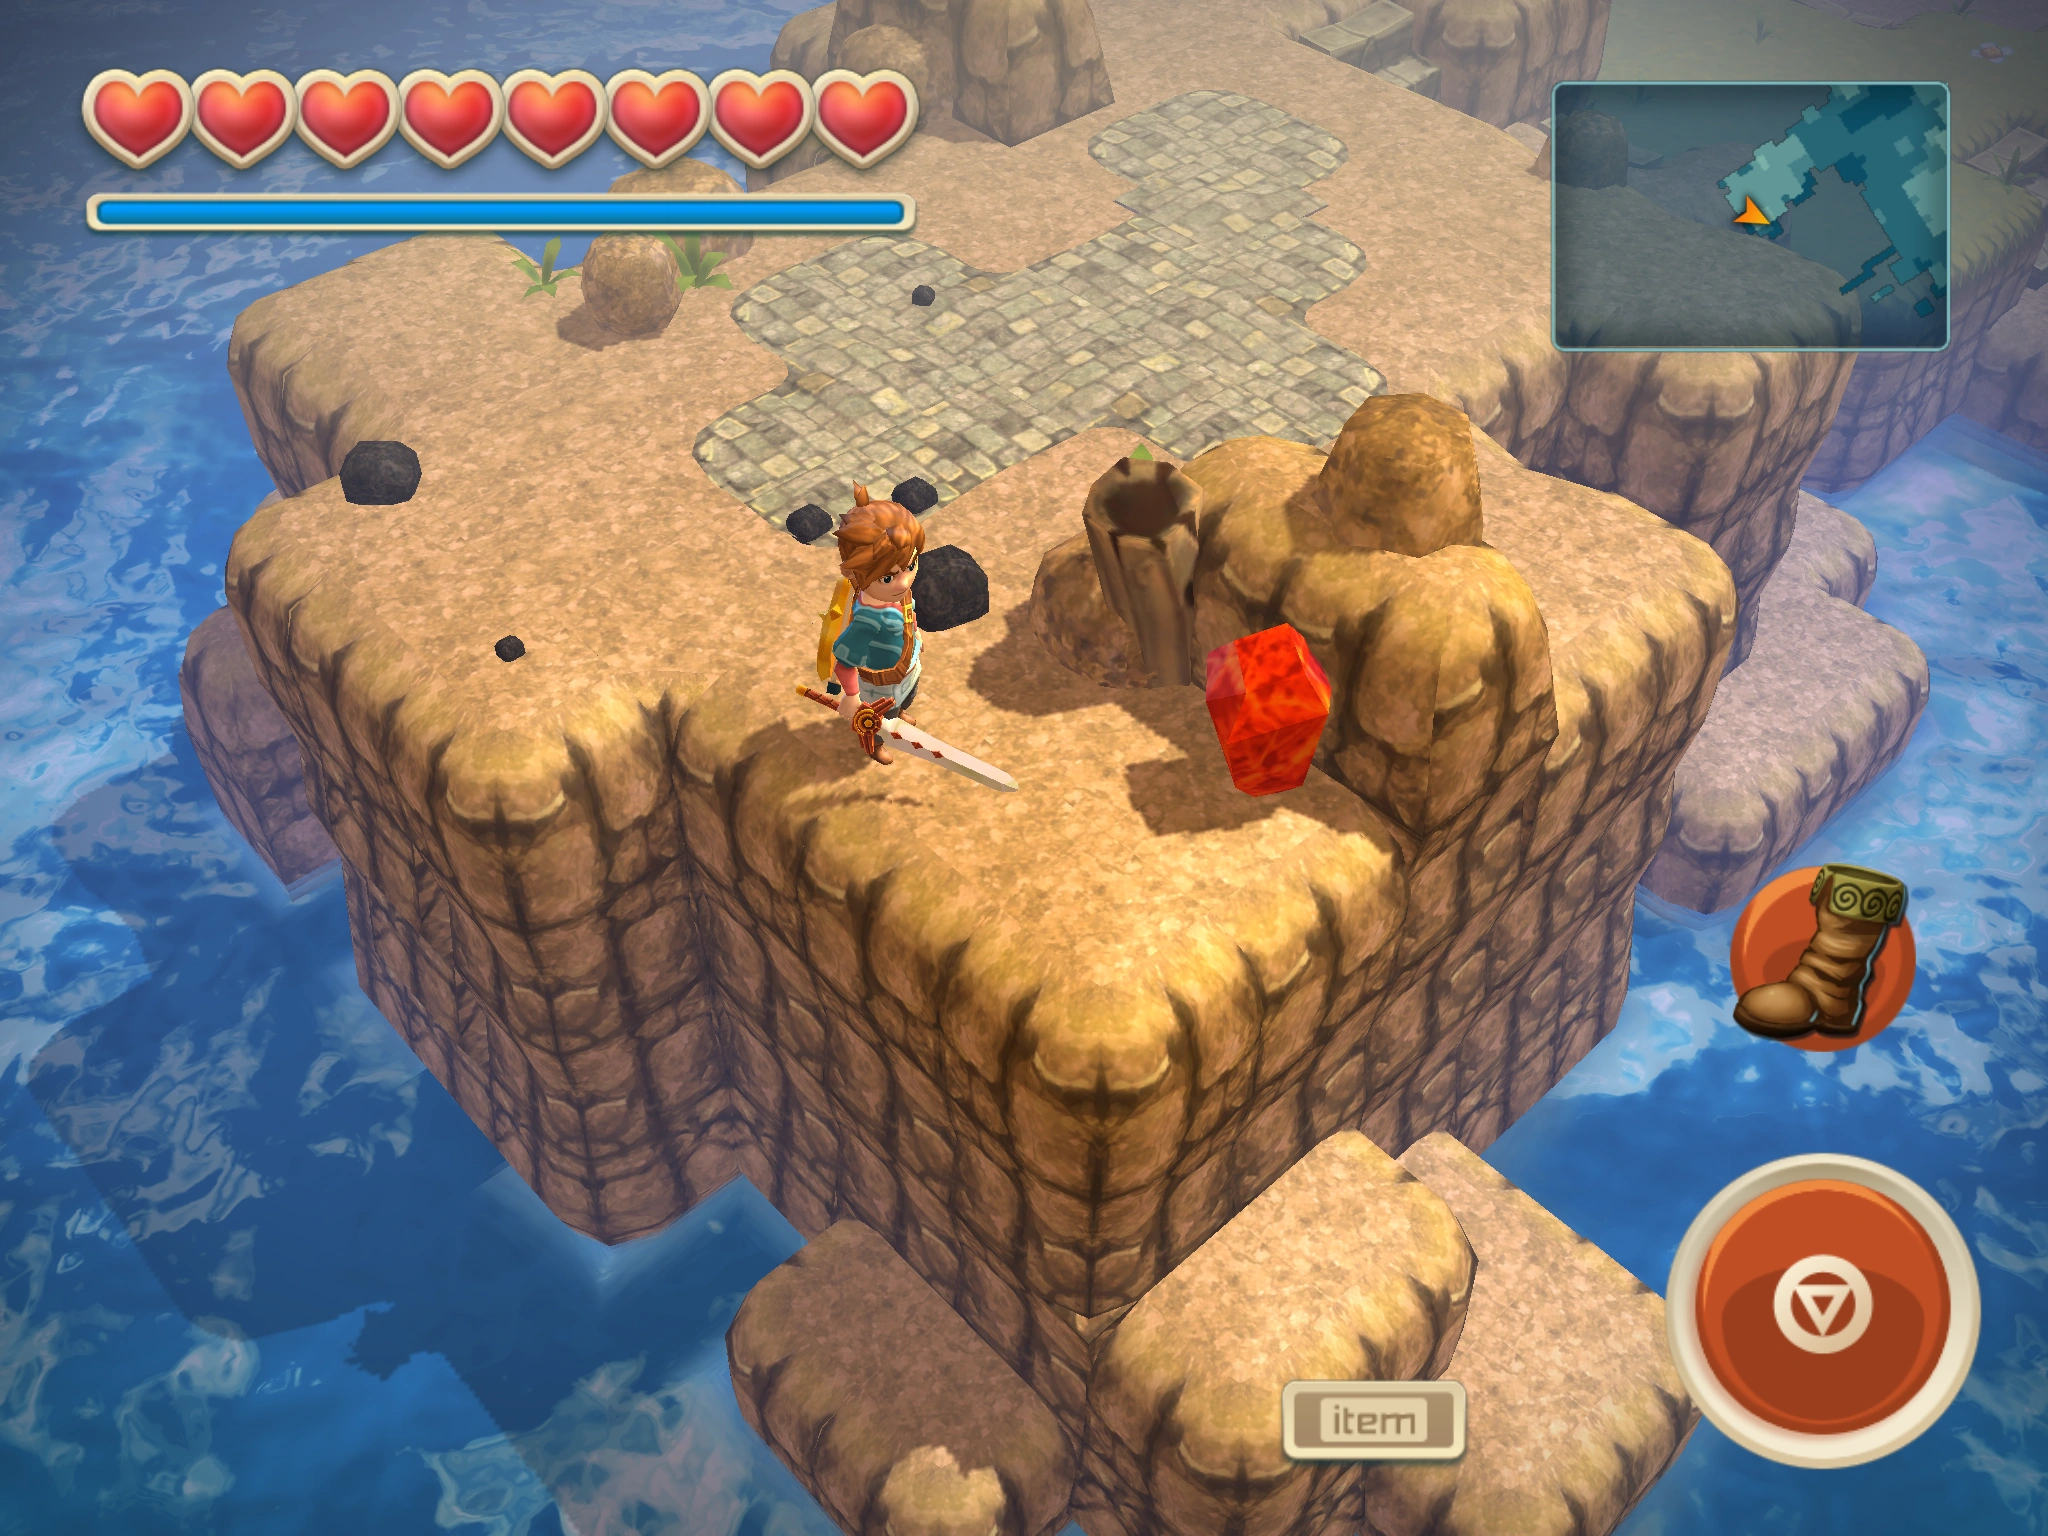
| ||
| 27 | Old Fortress | Abandoned Pier | Trencher Boots | 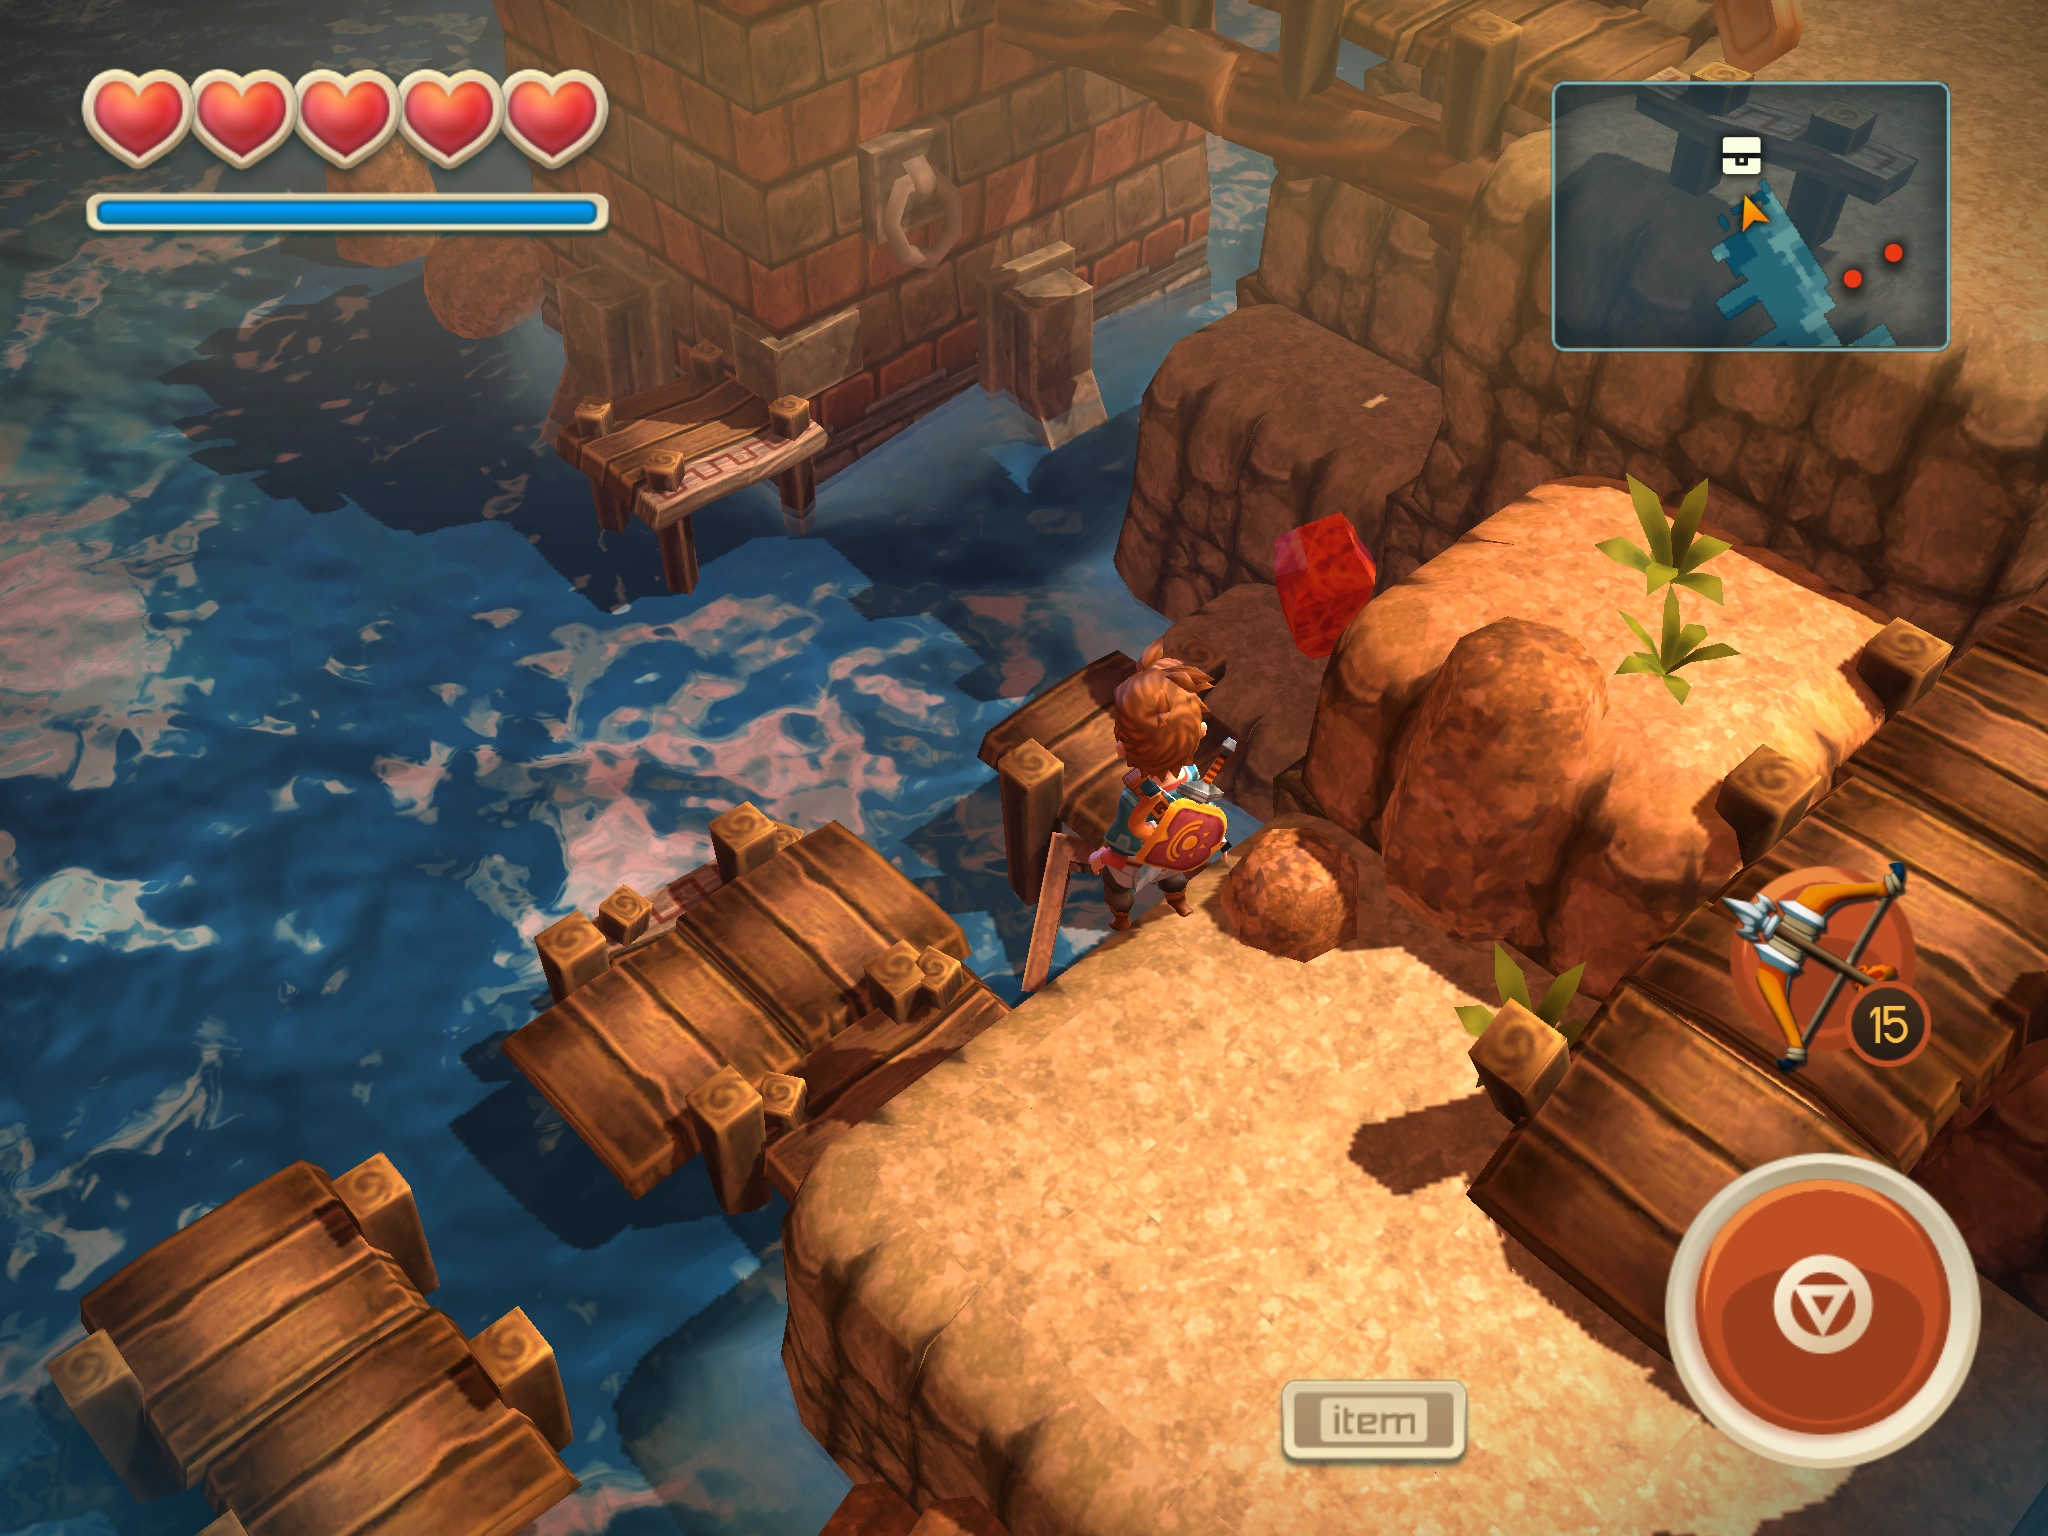
|
| 28 | Old Fortress | Abandoned Pier | 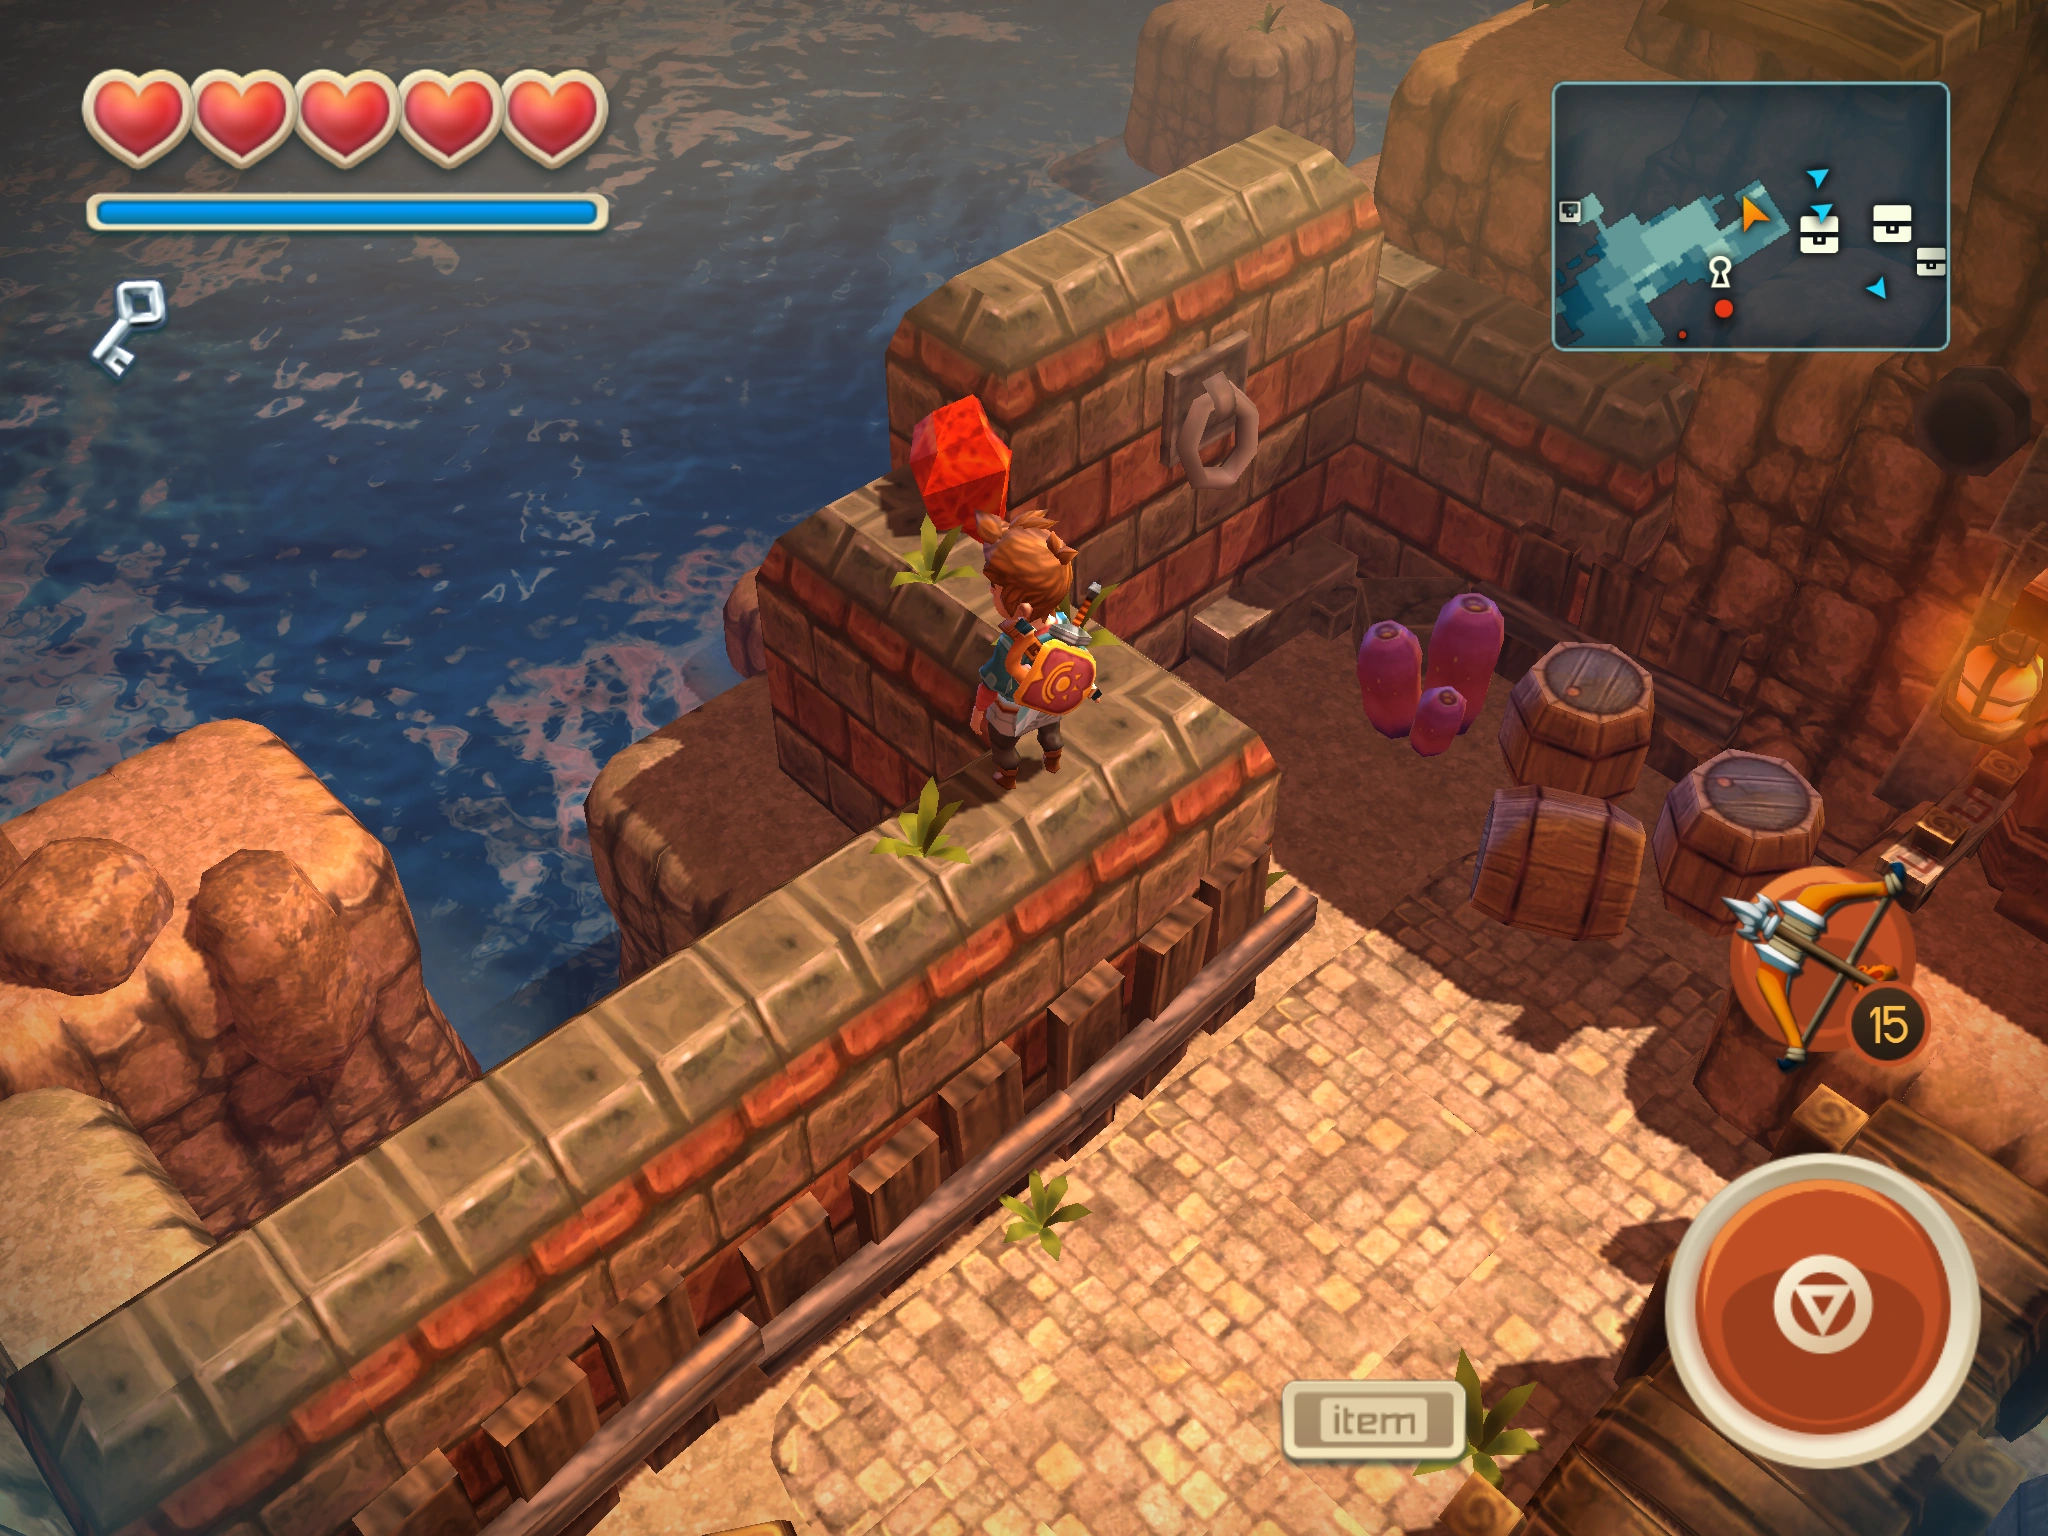
| |
| 29 | Old Fortress | Abandoned Pier | 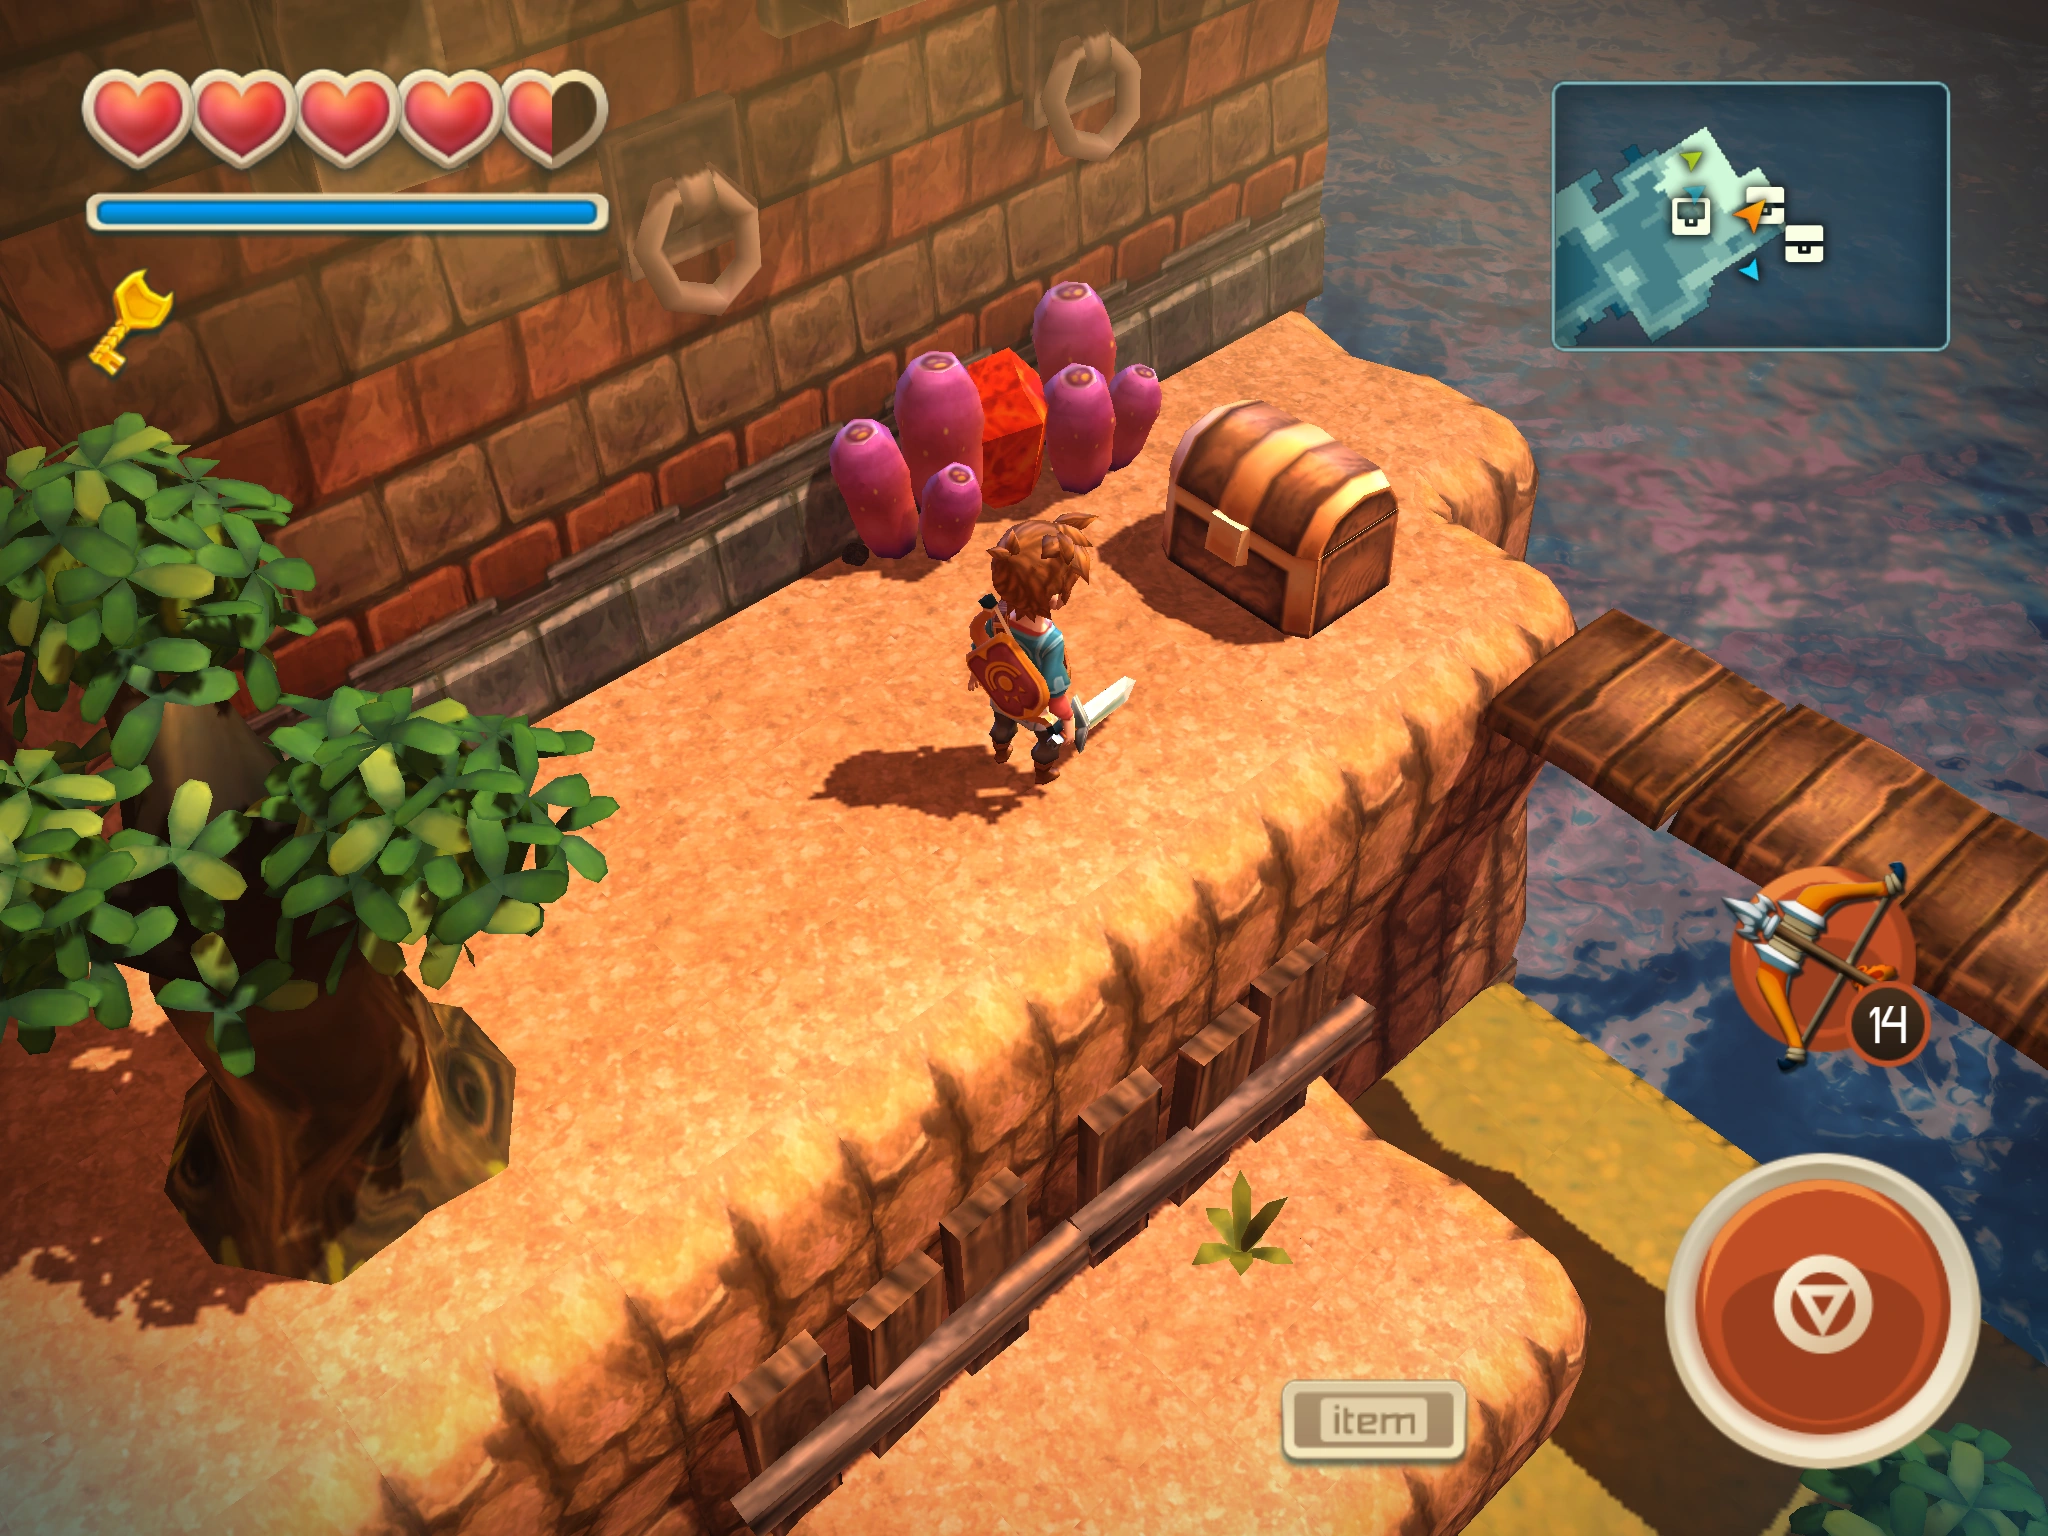
| |
| 30 | Old Fortress | Direfolk Hideout | 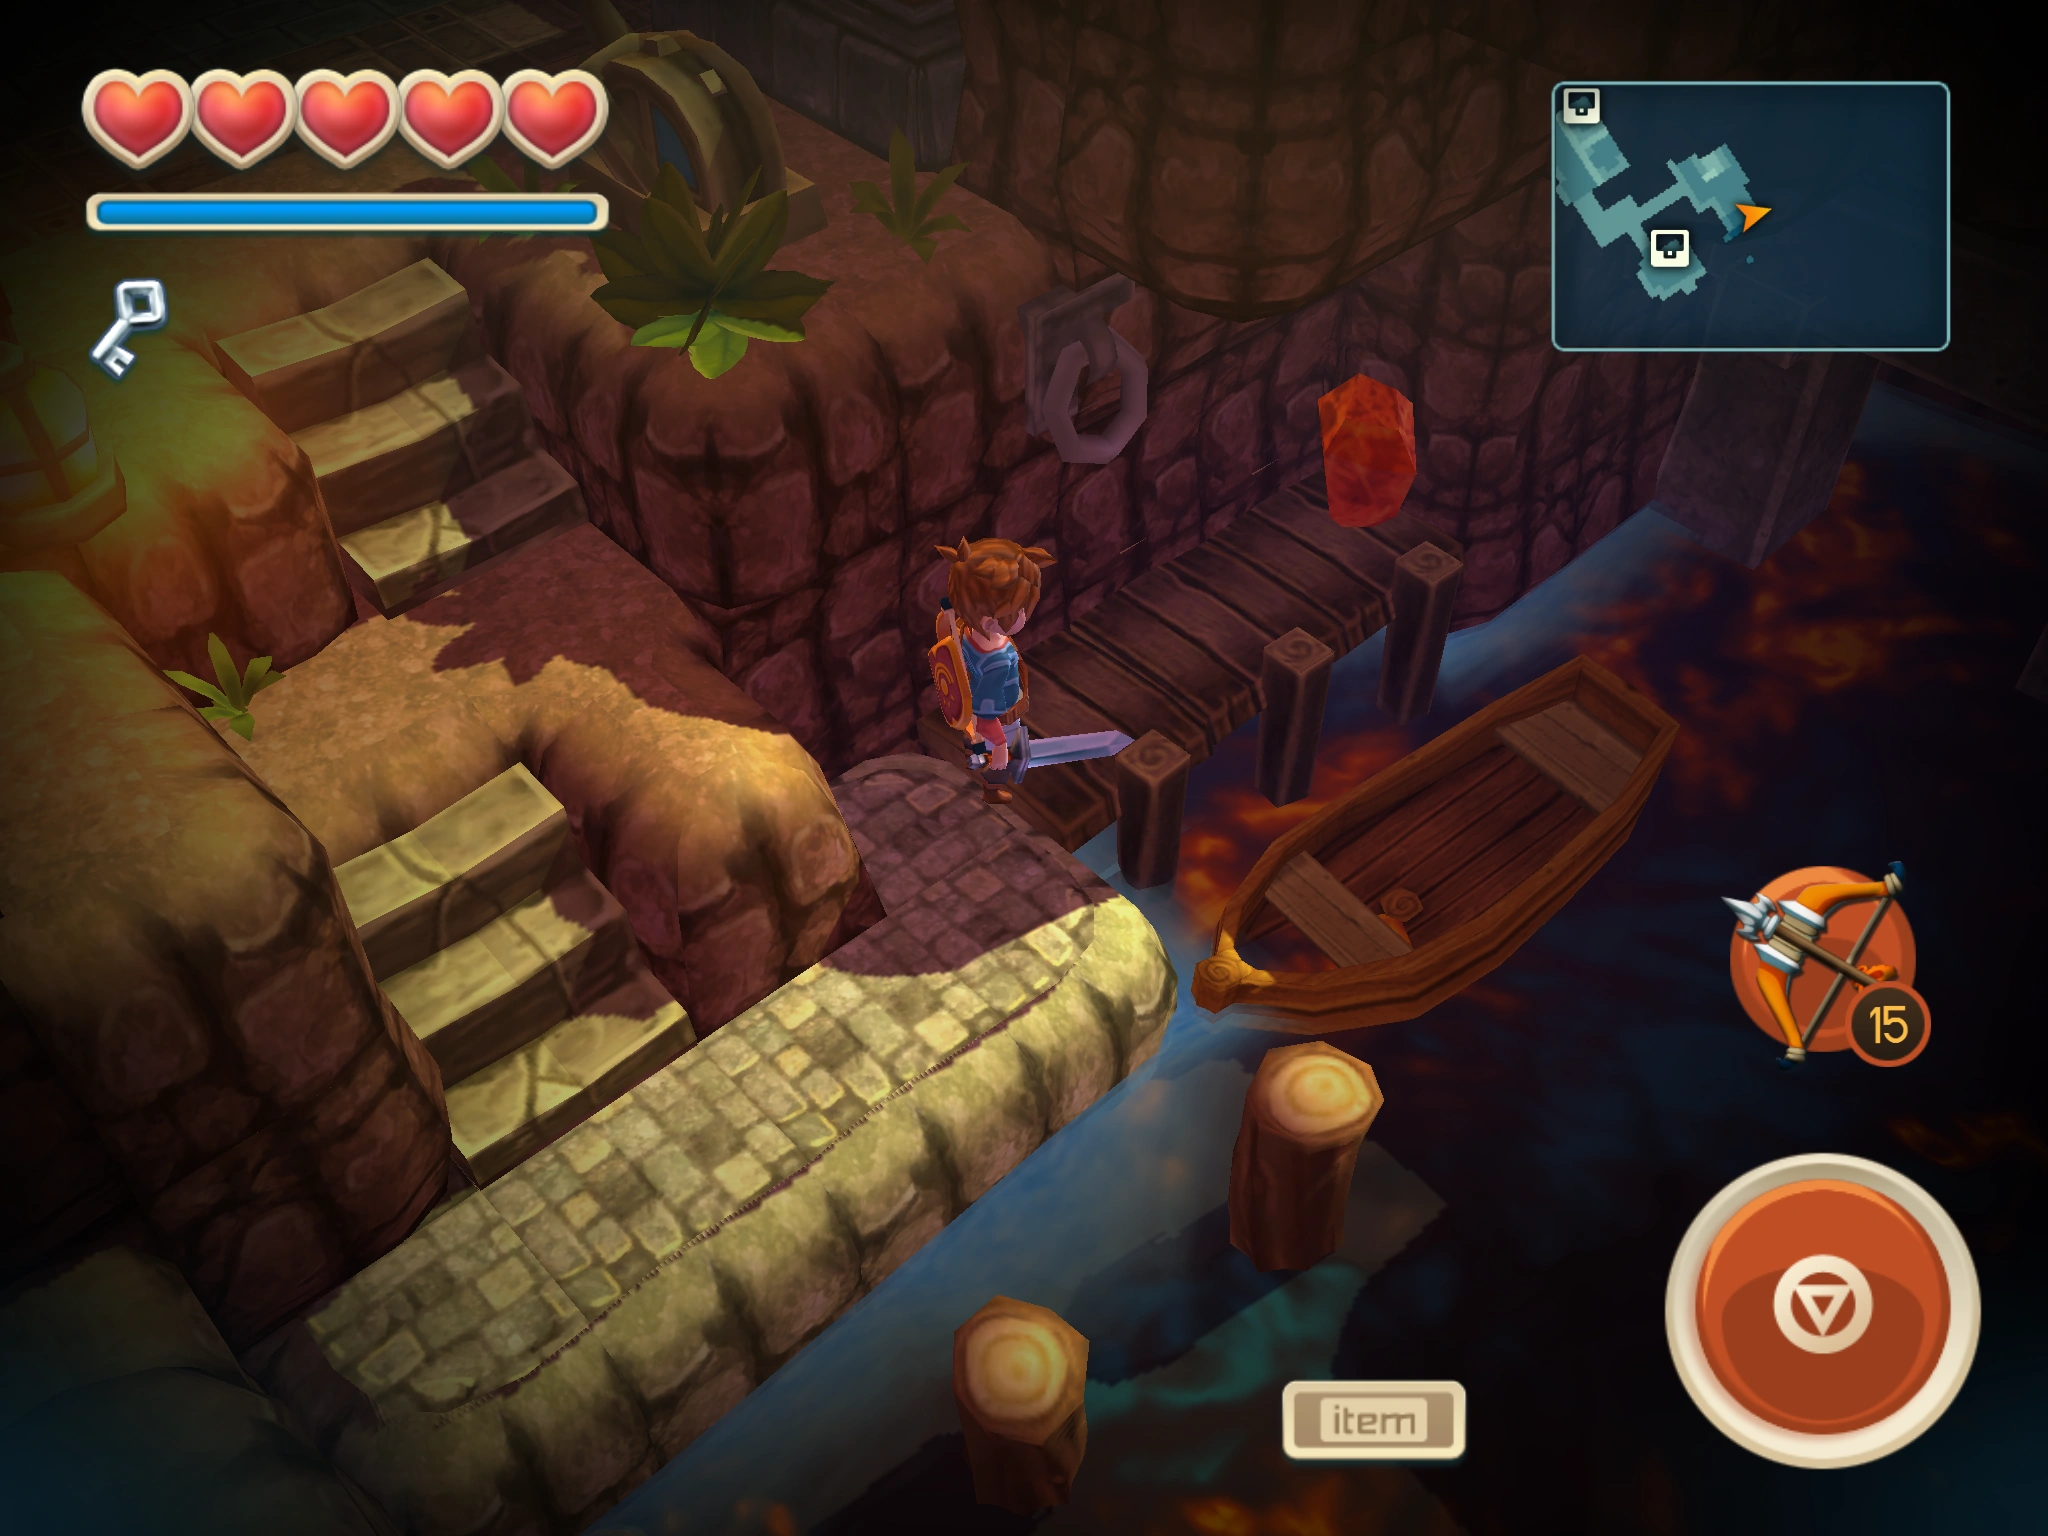
| |
| 31 | Reef | 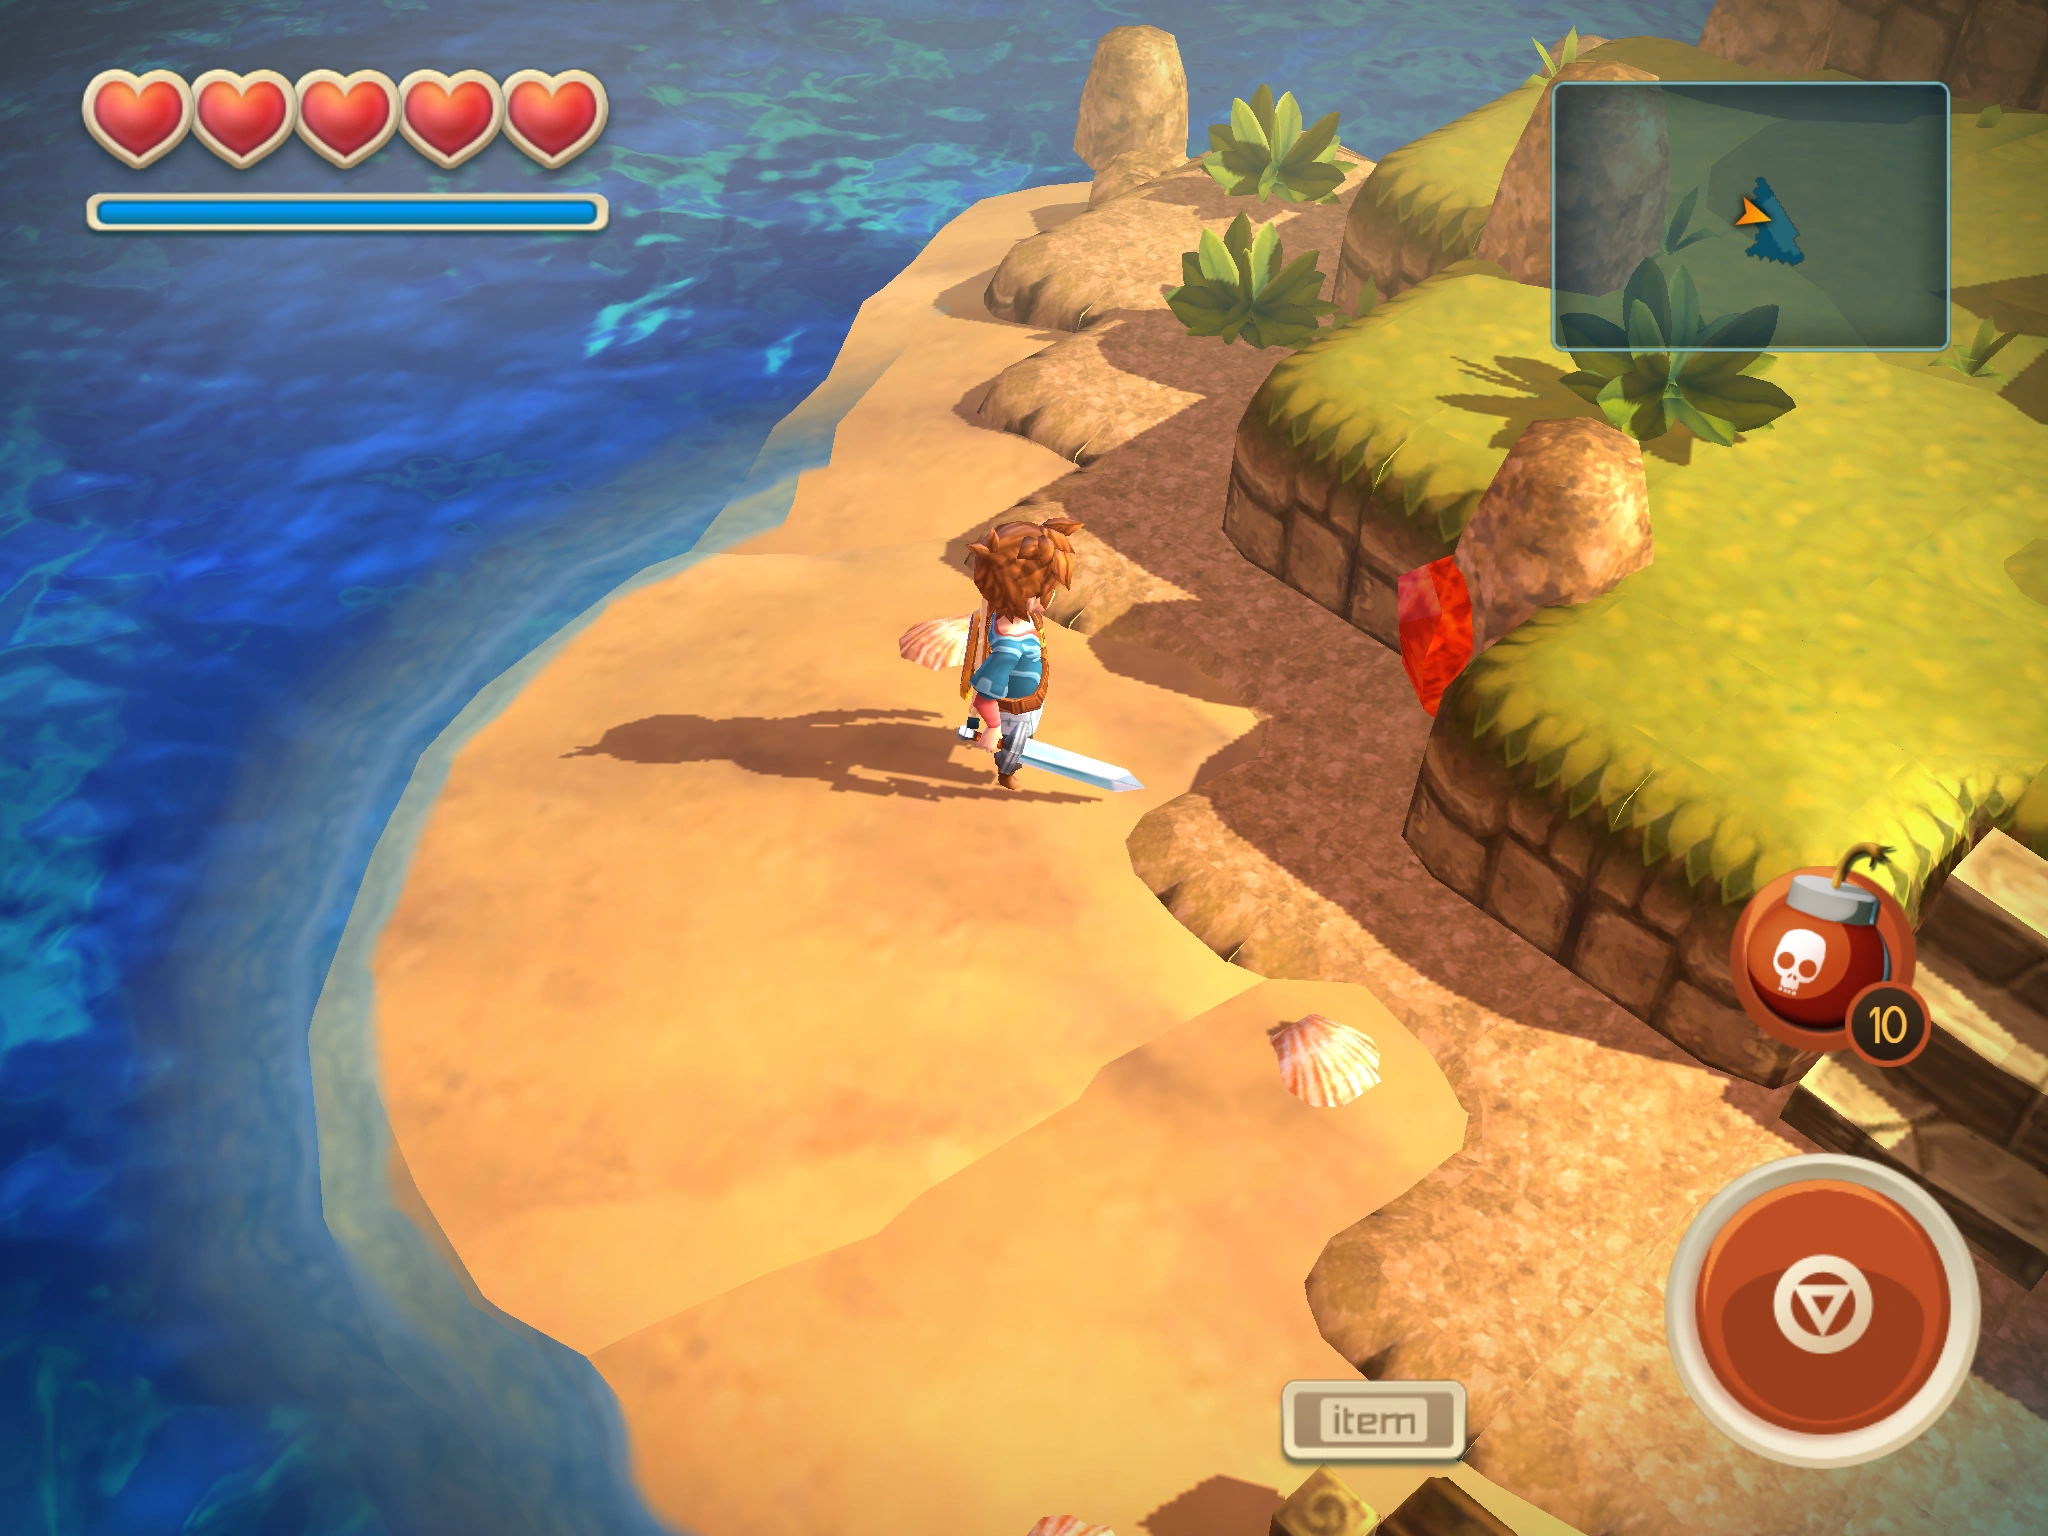
| ||
| 32 | Reef | 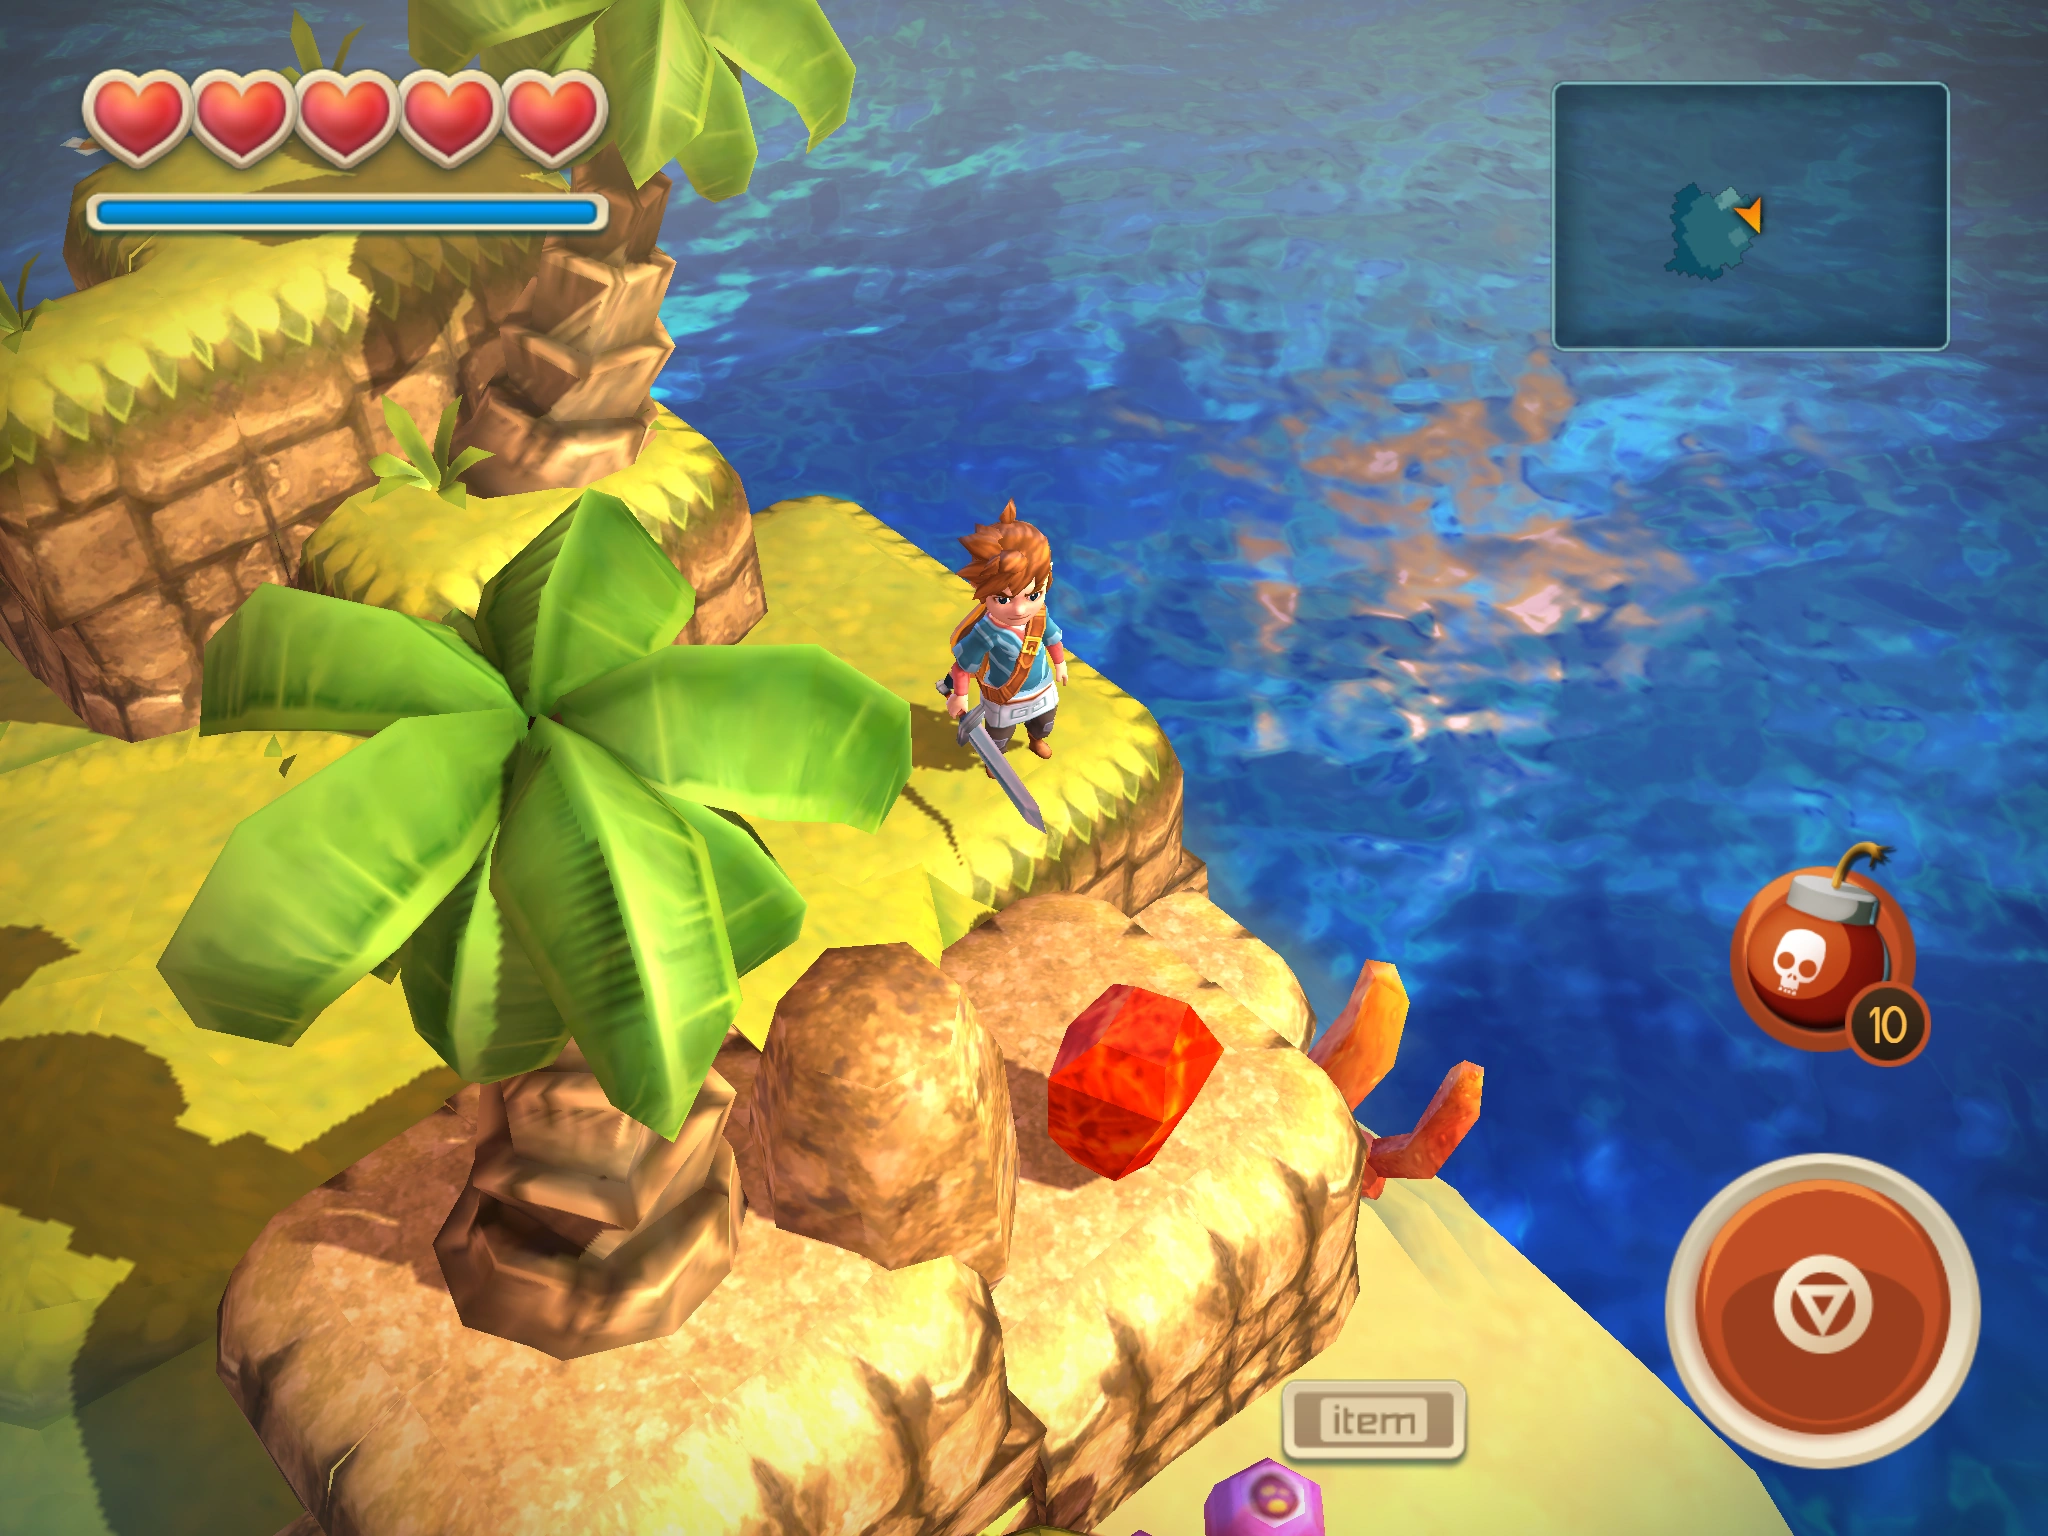
| ||
| 33 | Riptide Reef | Trencher Boots | 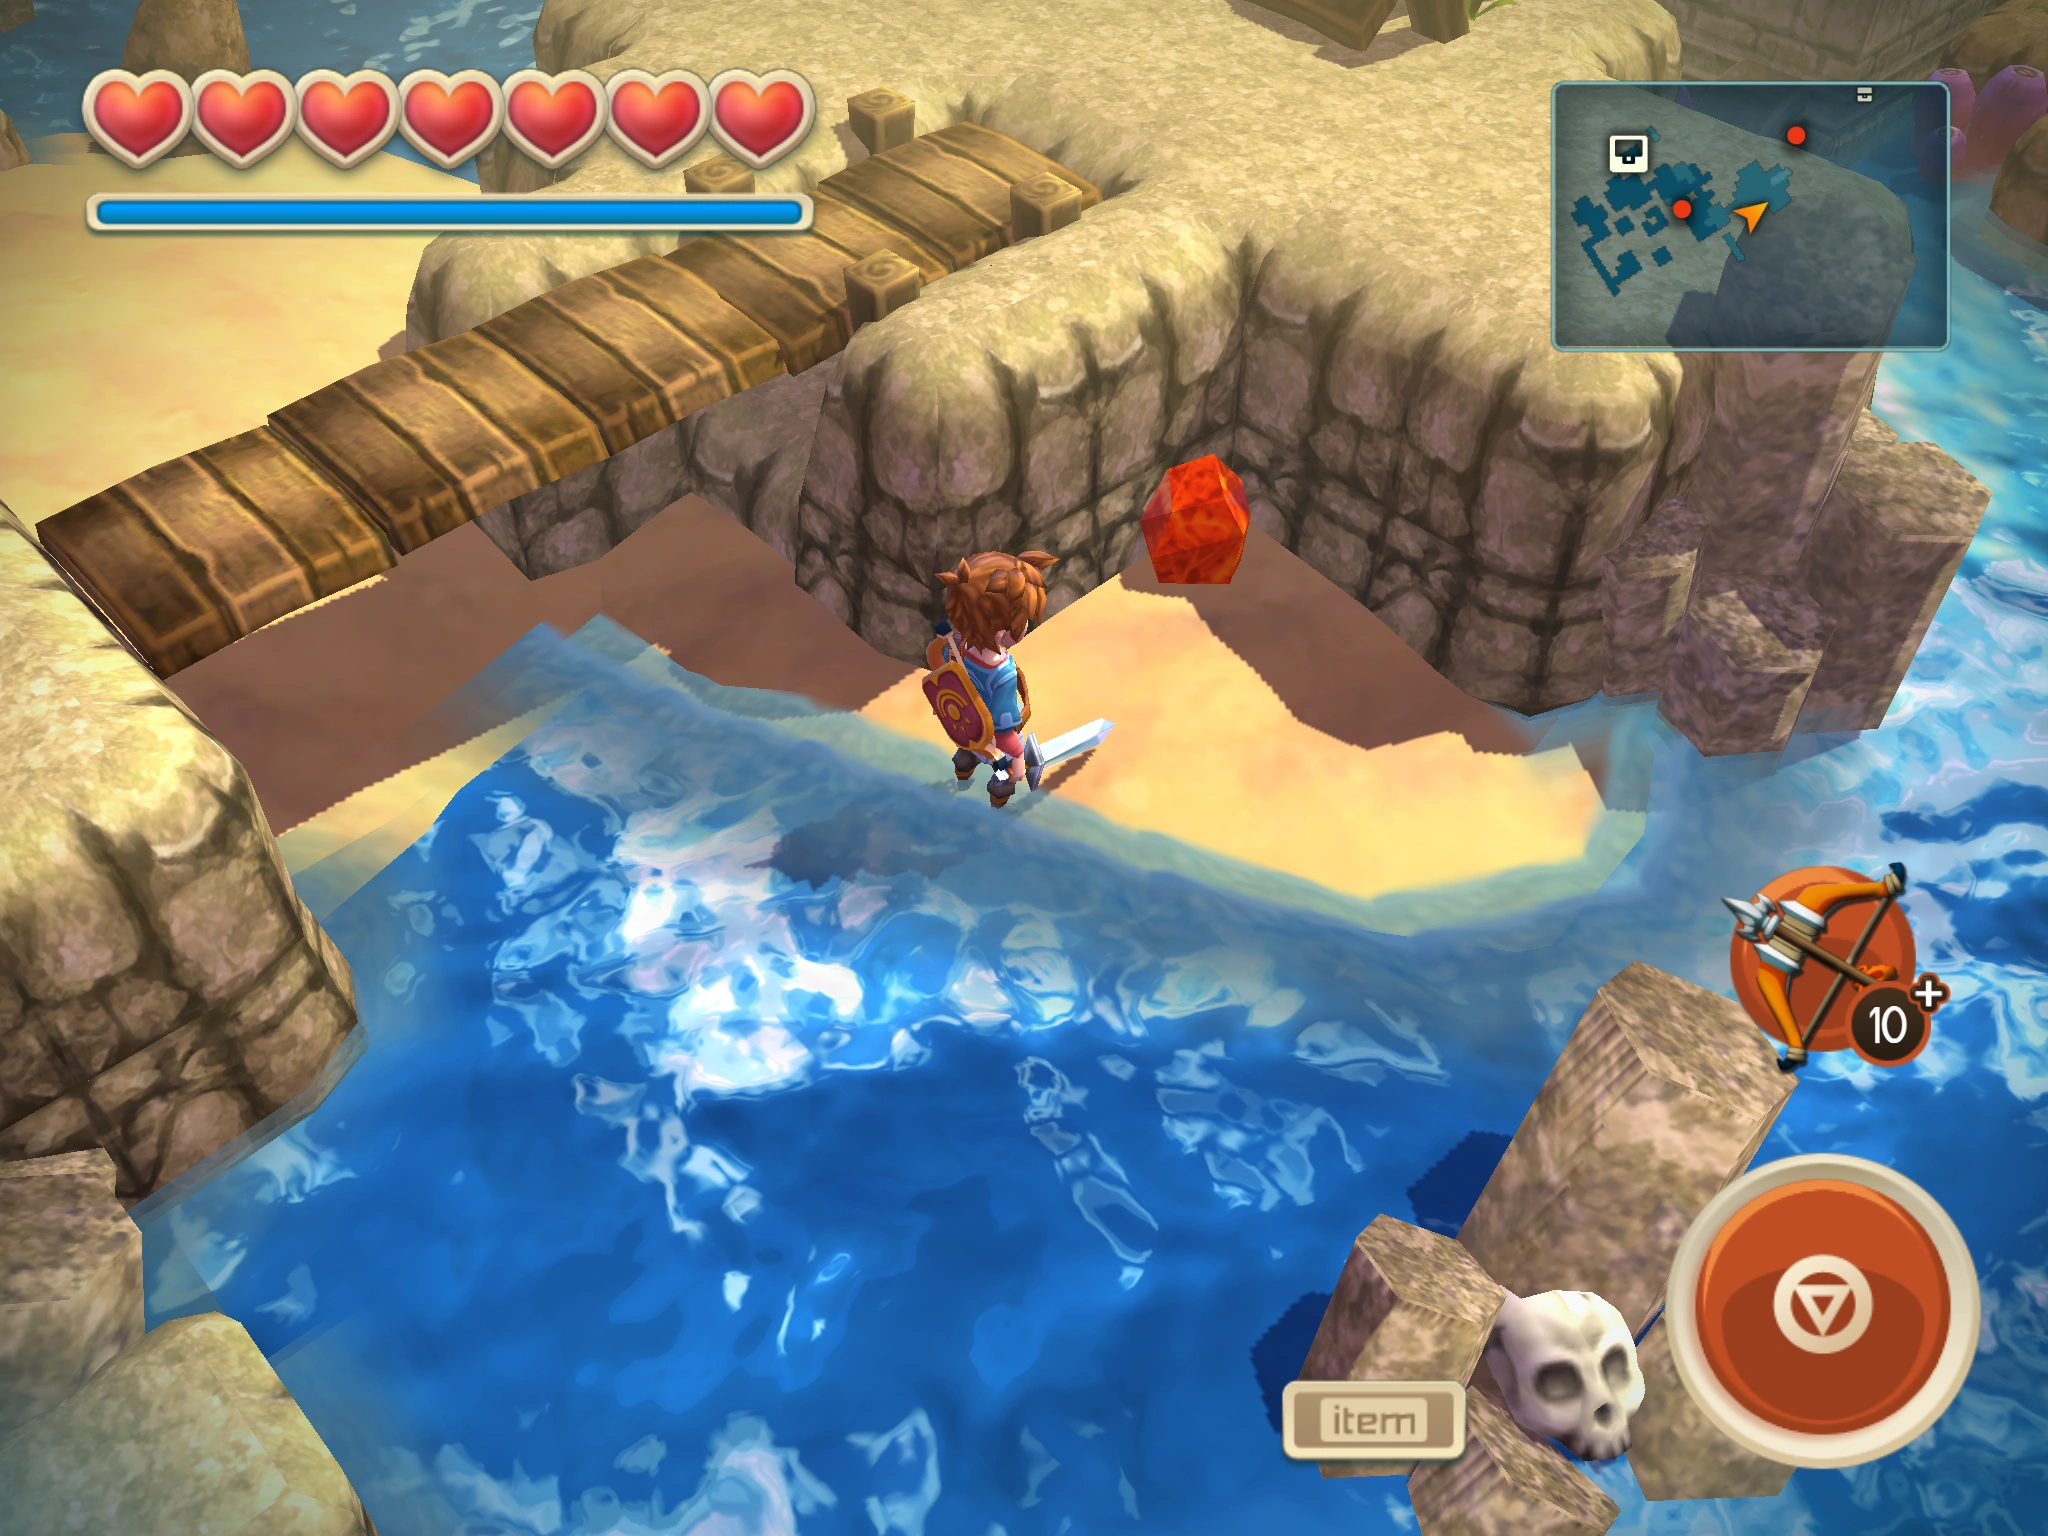
| |
| 34 | Riptide Reef | Trencher Boots | 
| |
| 35 | Sandbar | 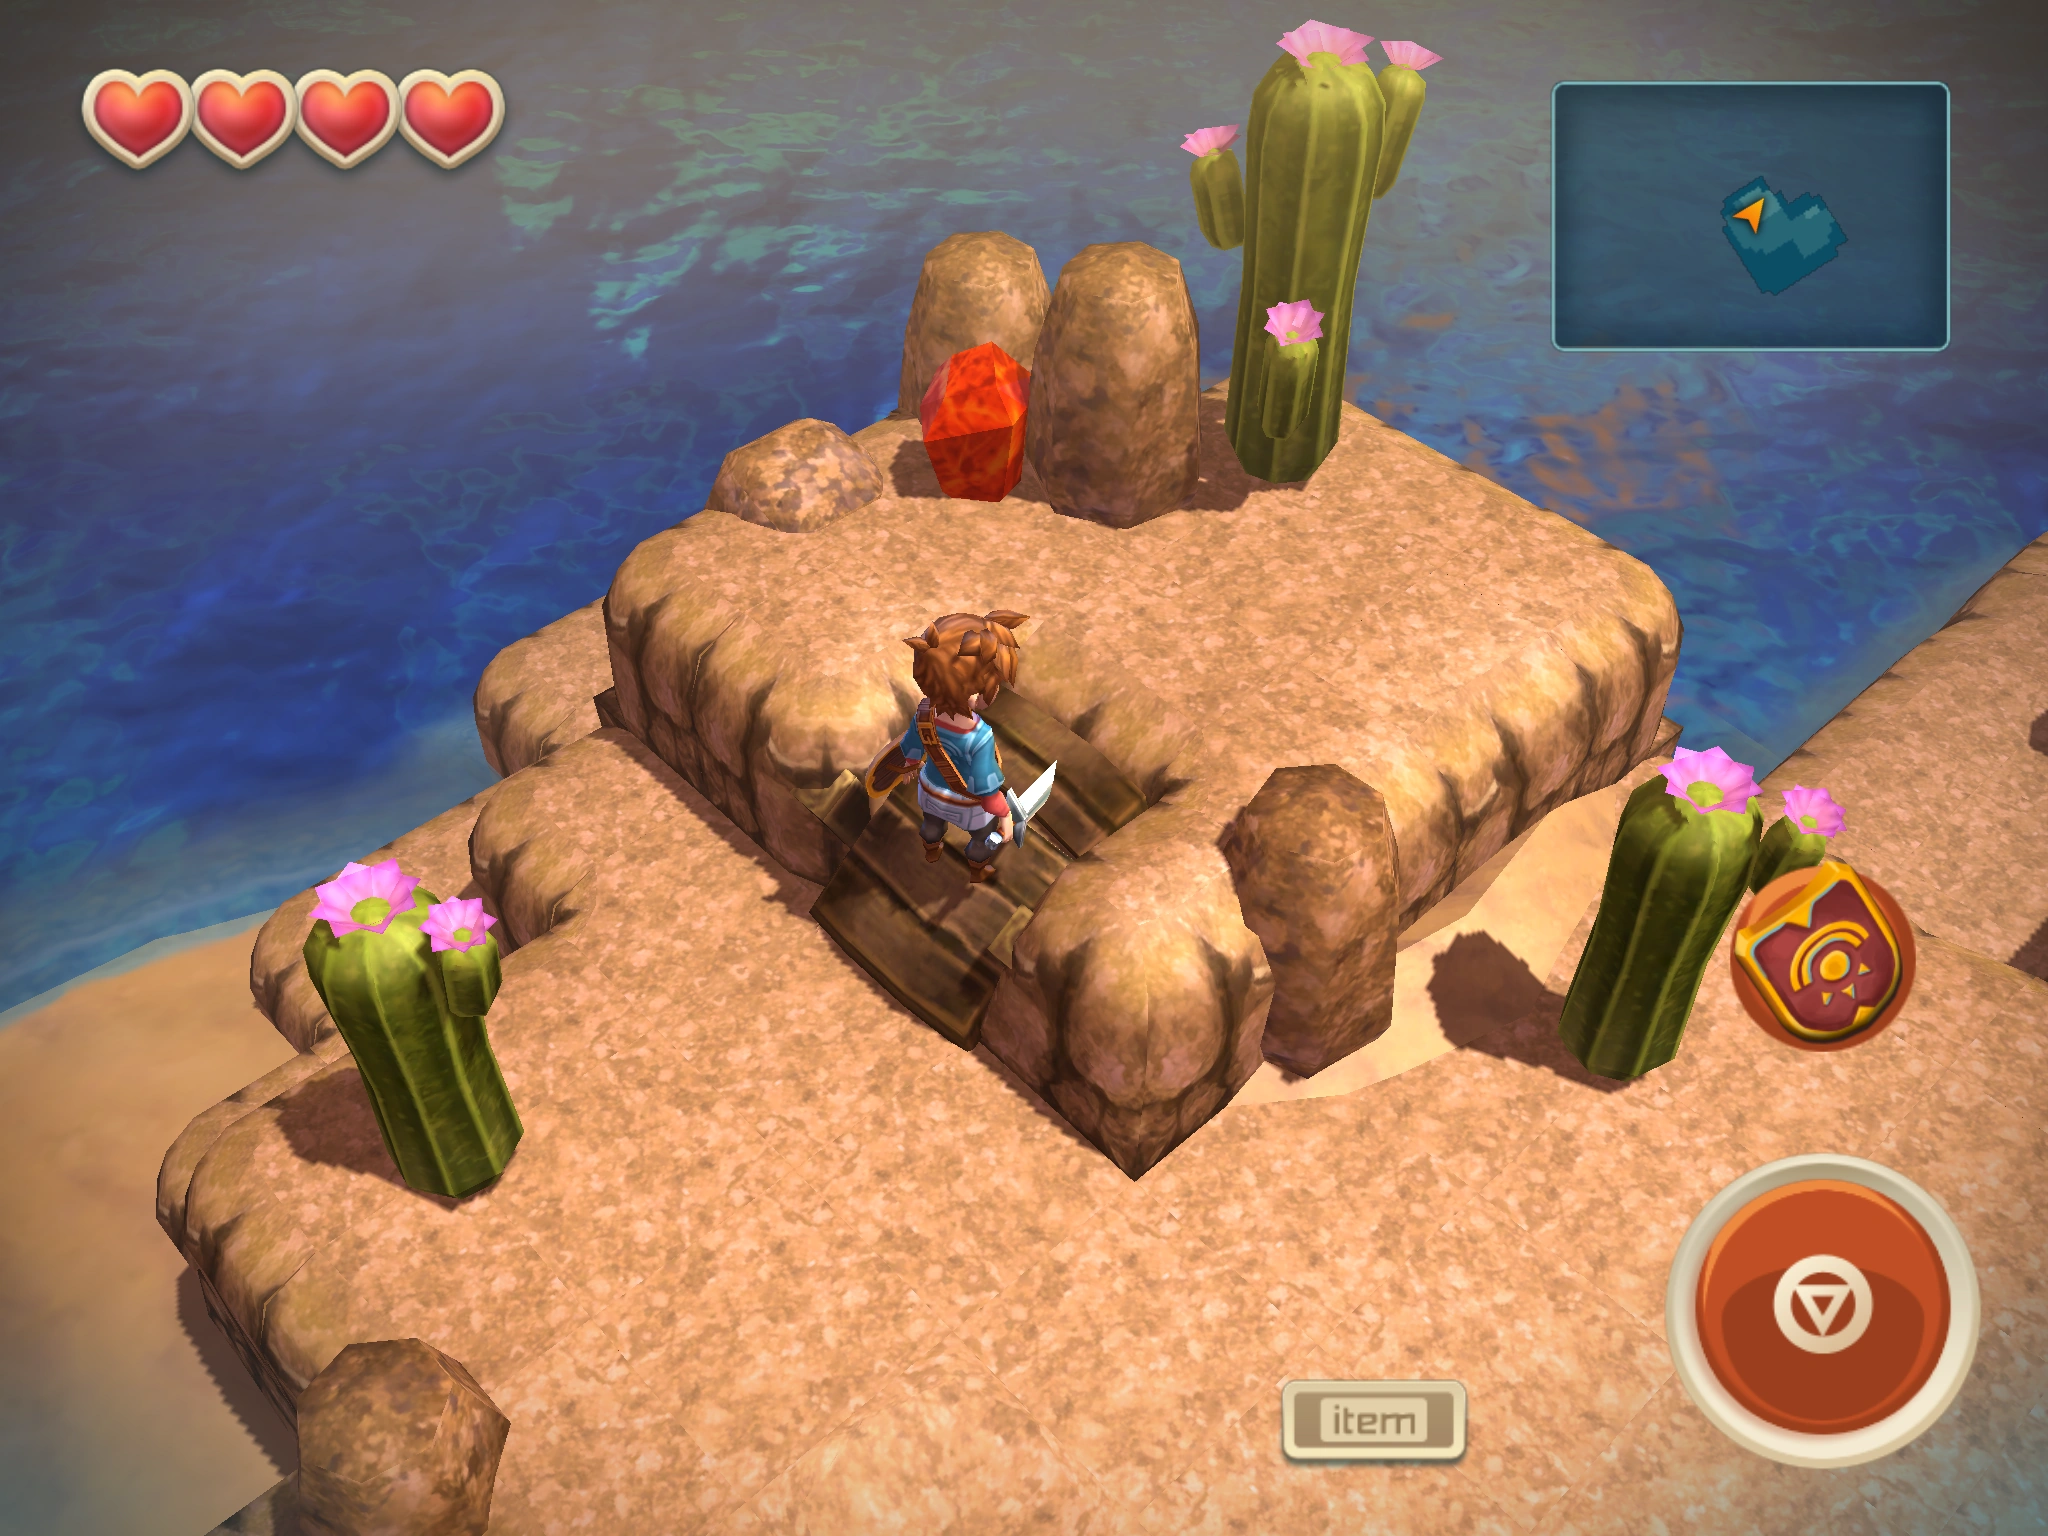
| ||
| 36 | Sandbar | 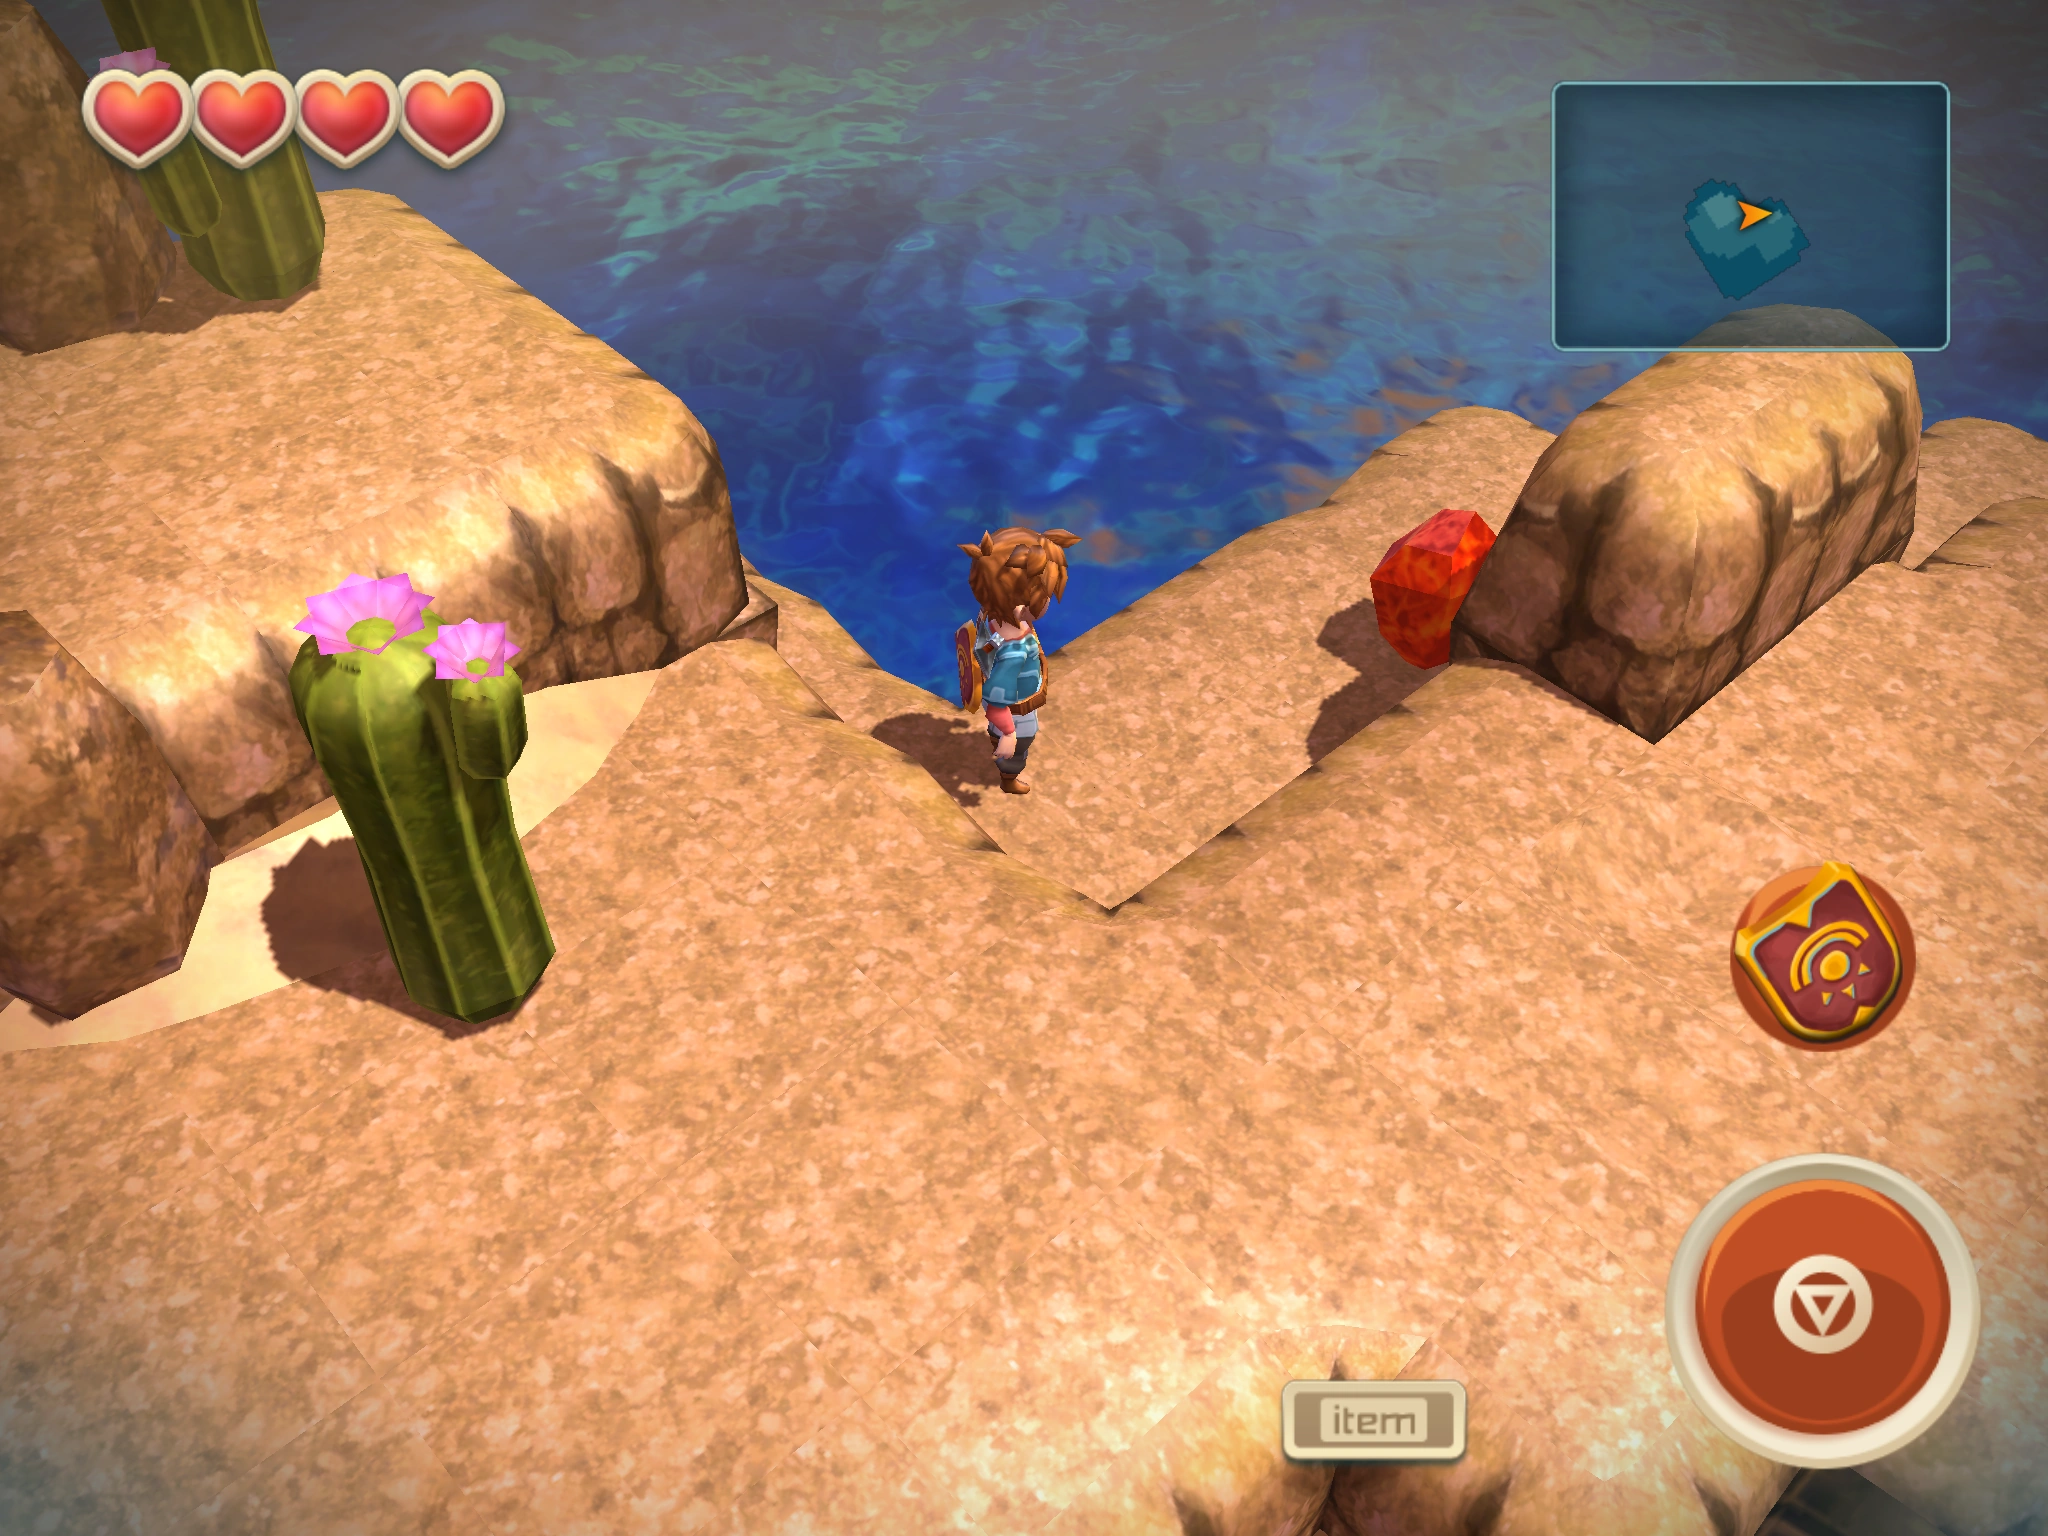
| ||
| 37 | Skerry | 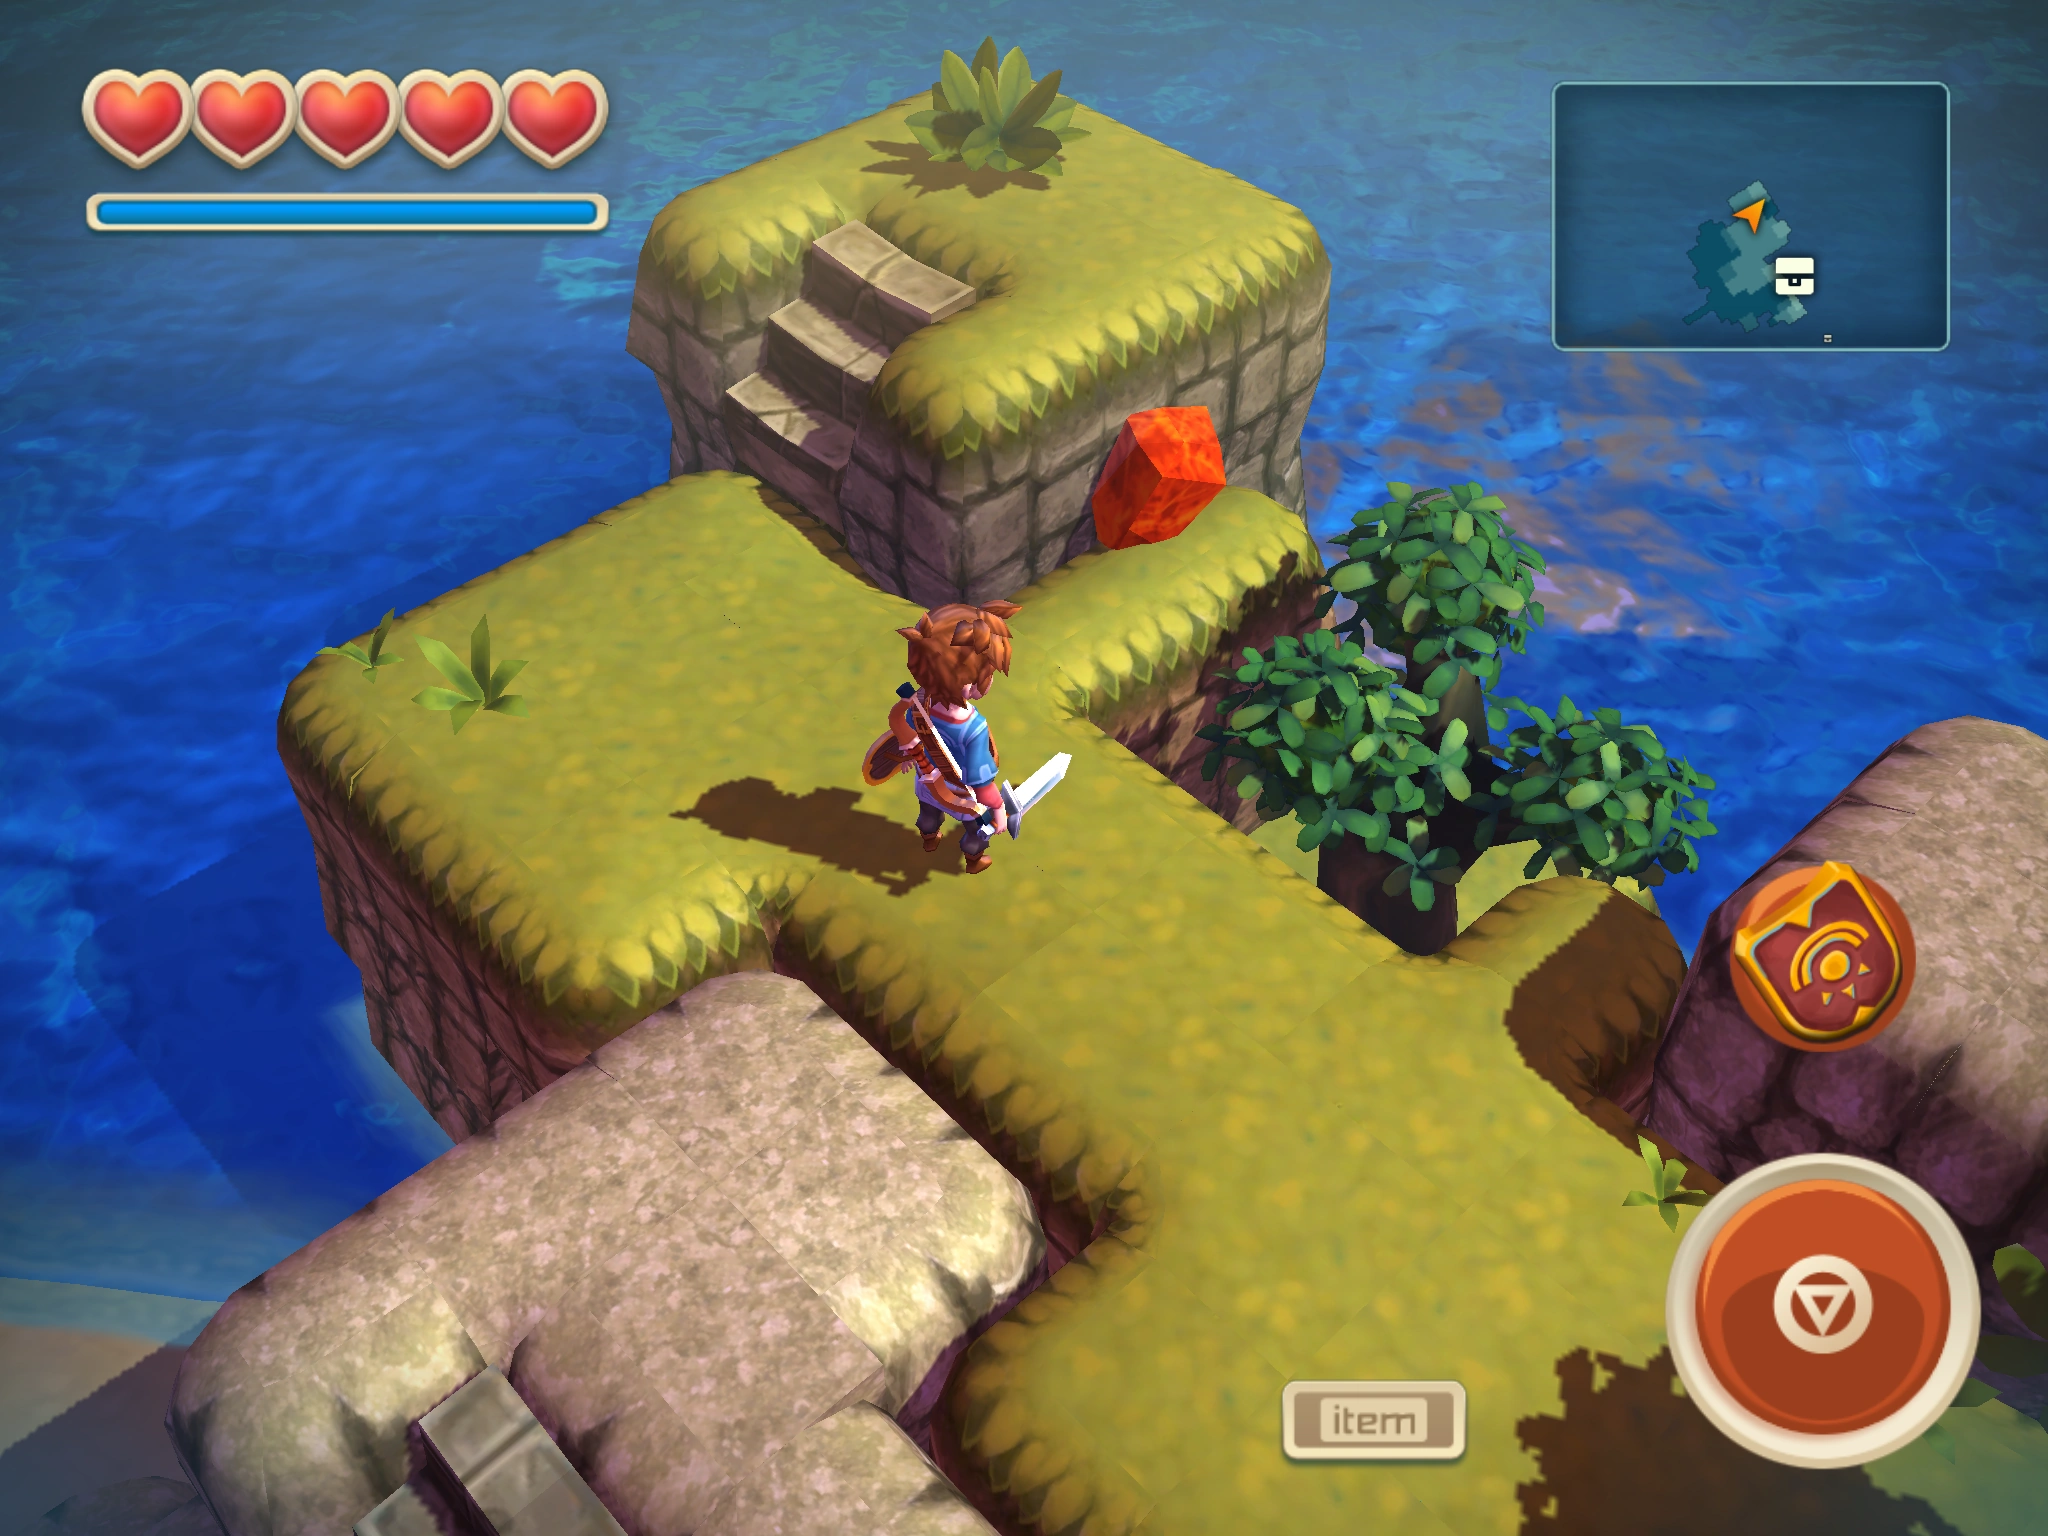
| ||
| 38 | Sky Island | Bombs | 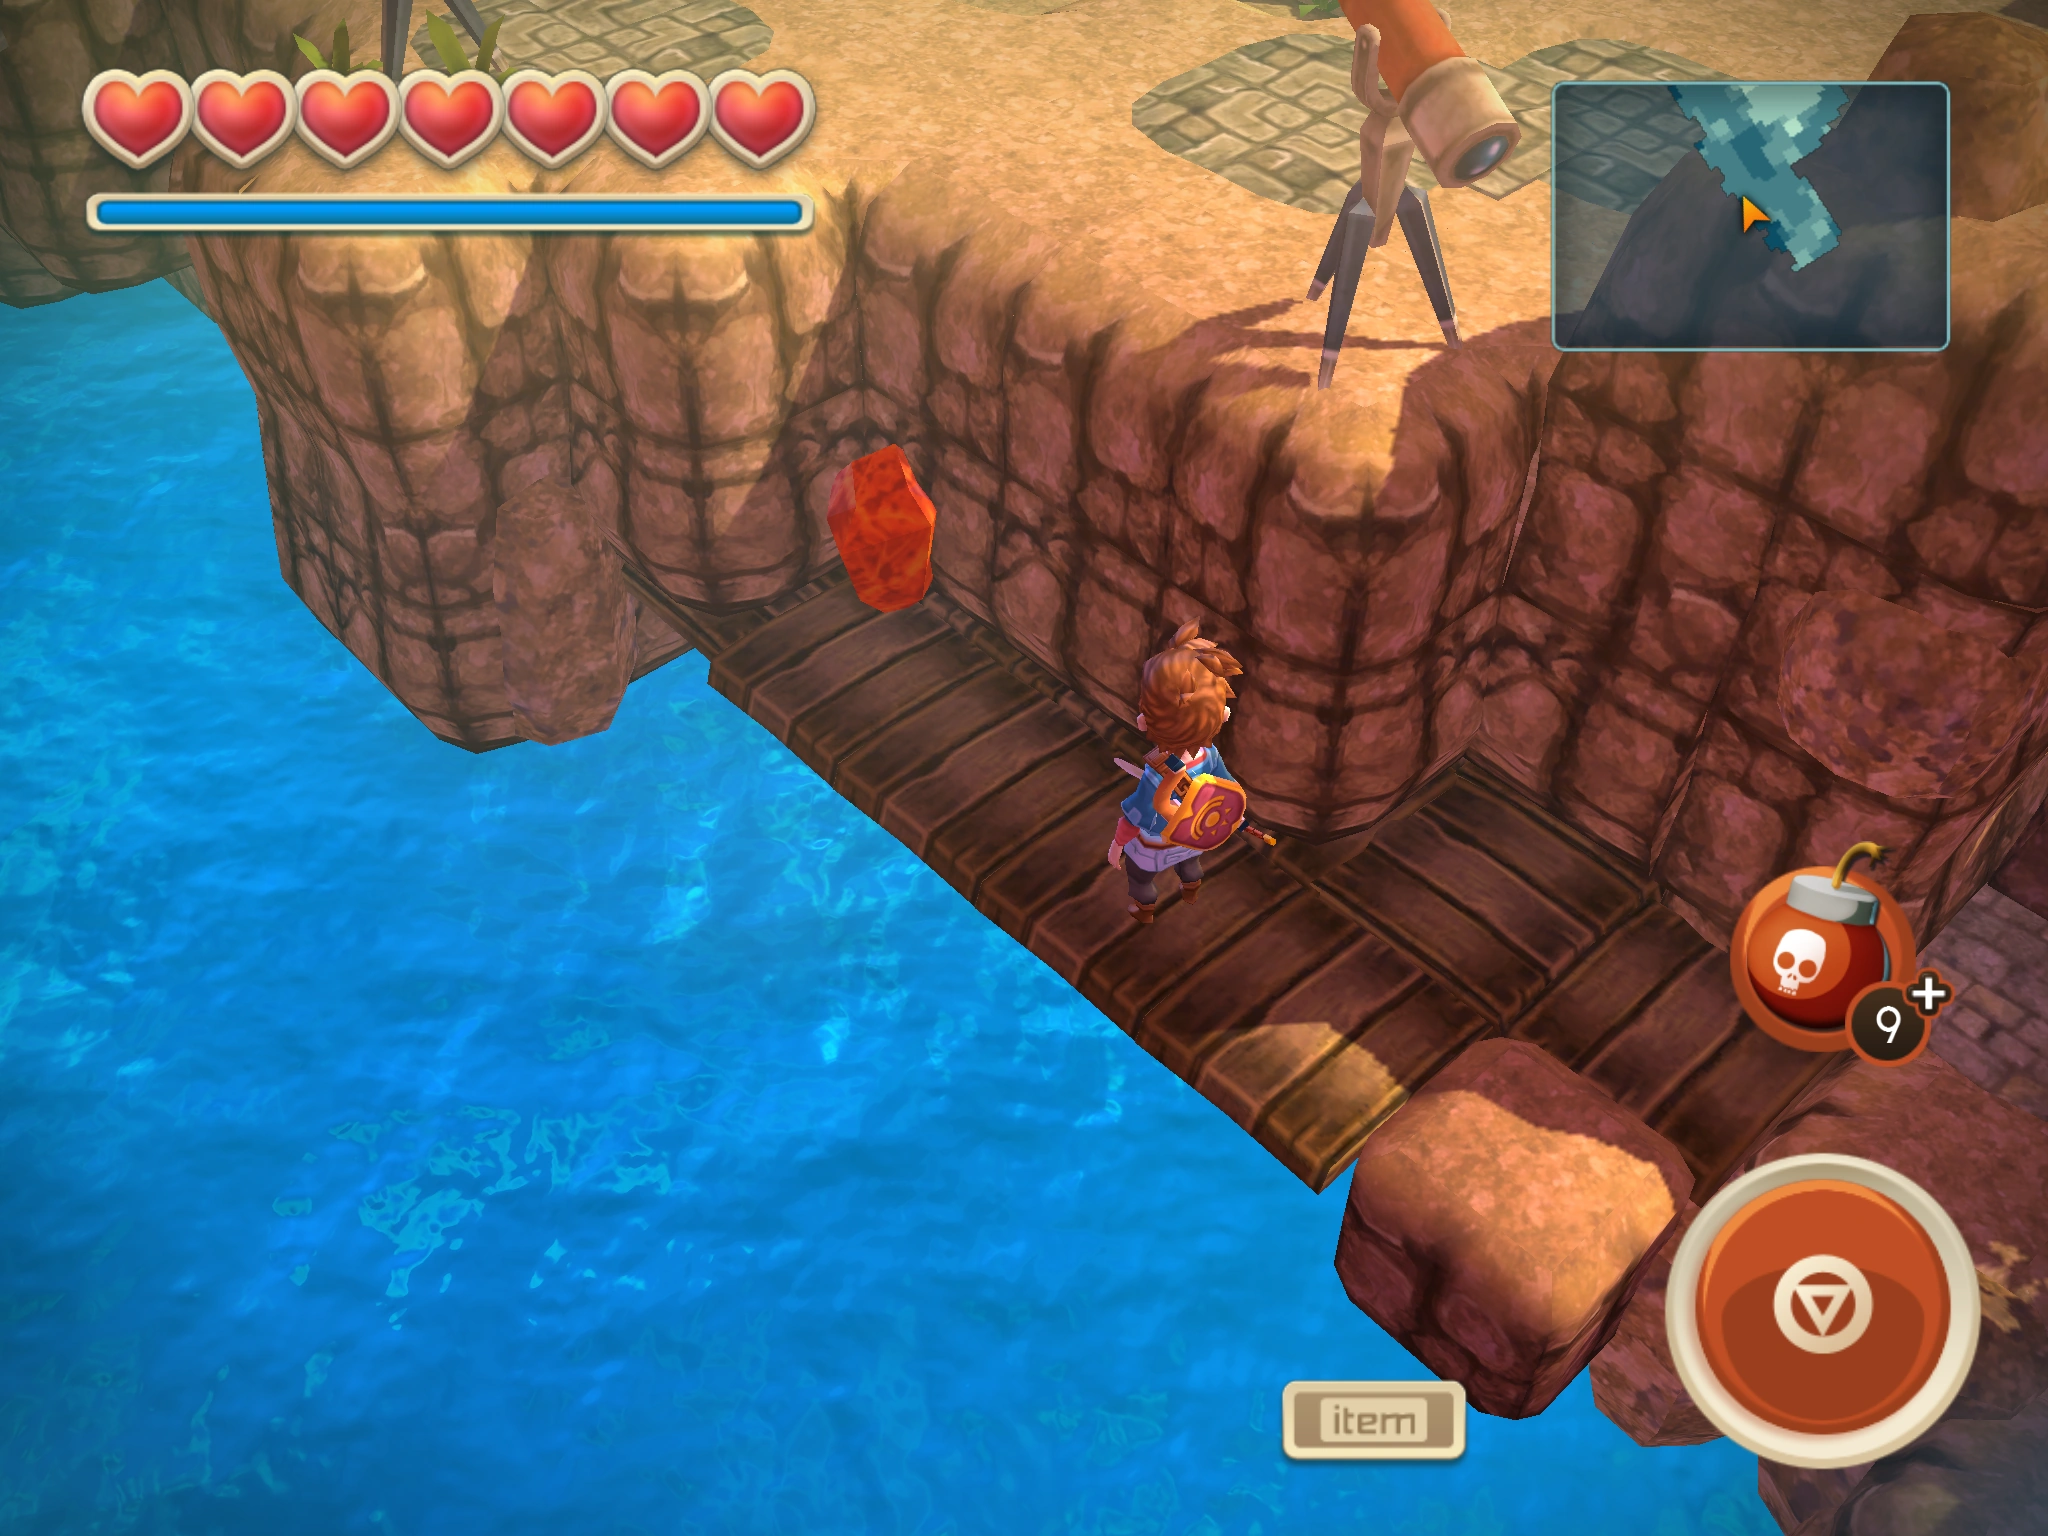
| |
| 39 | Sky Island | Bombs | 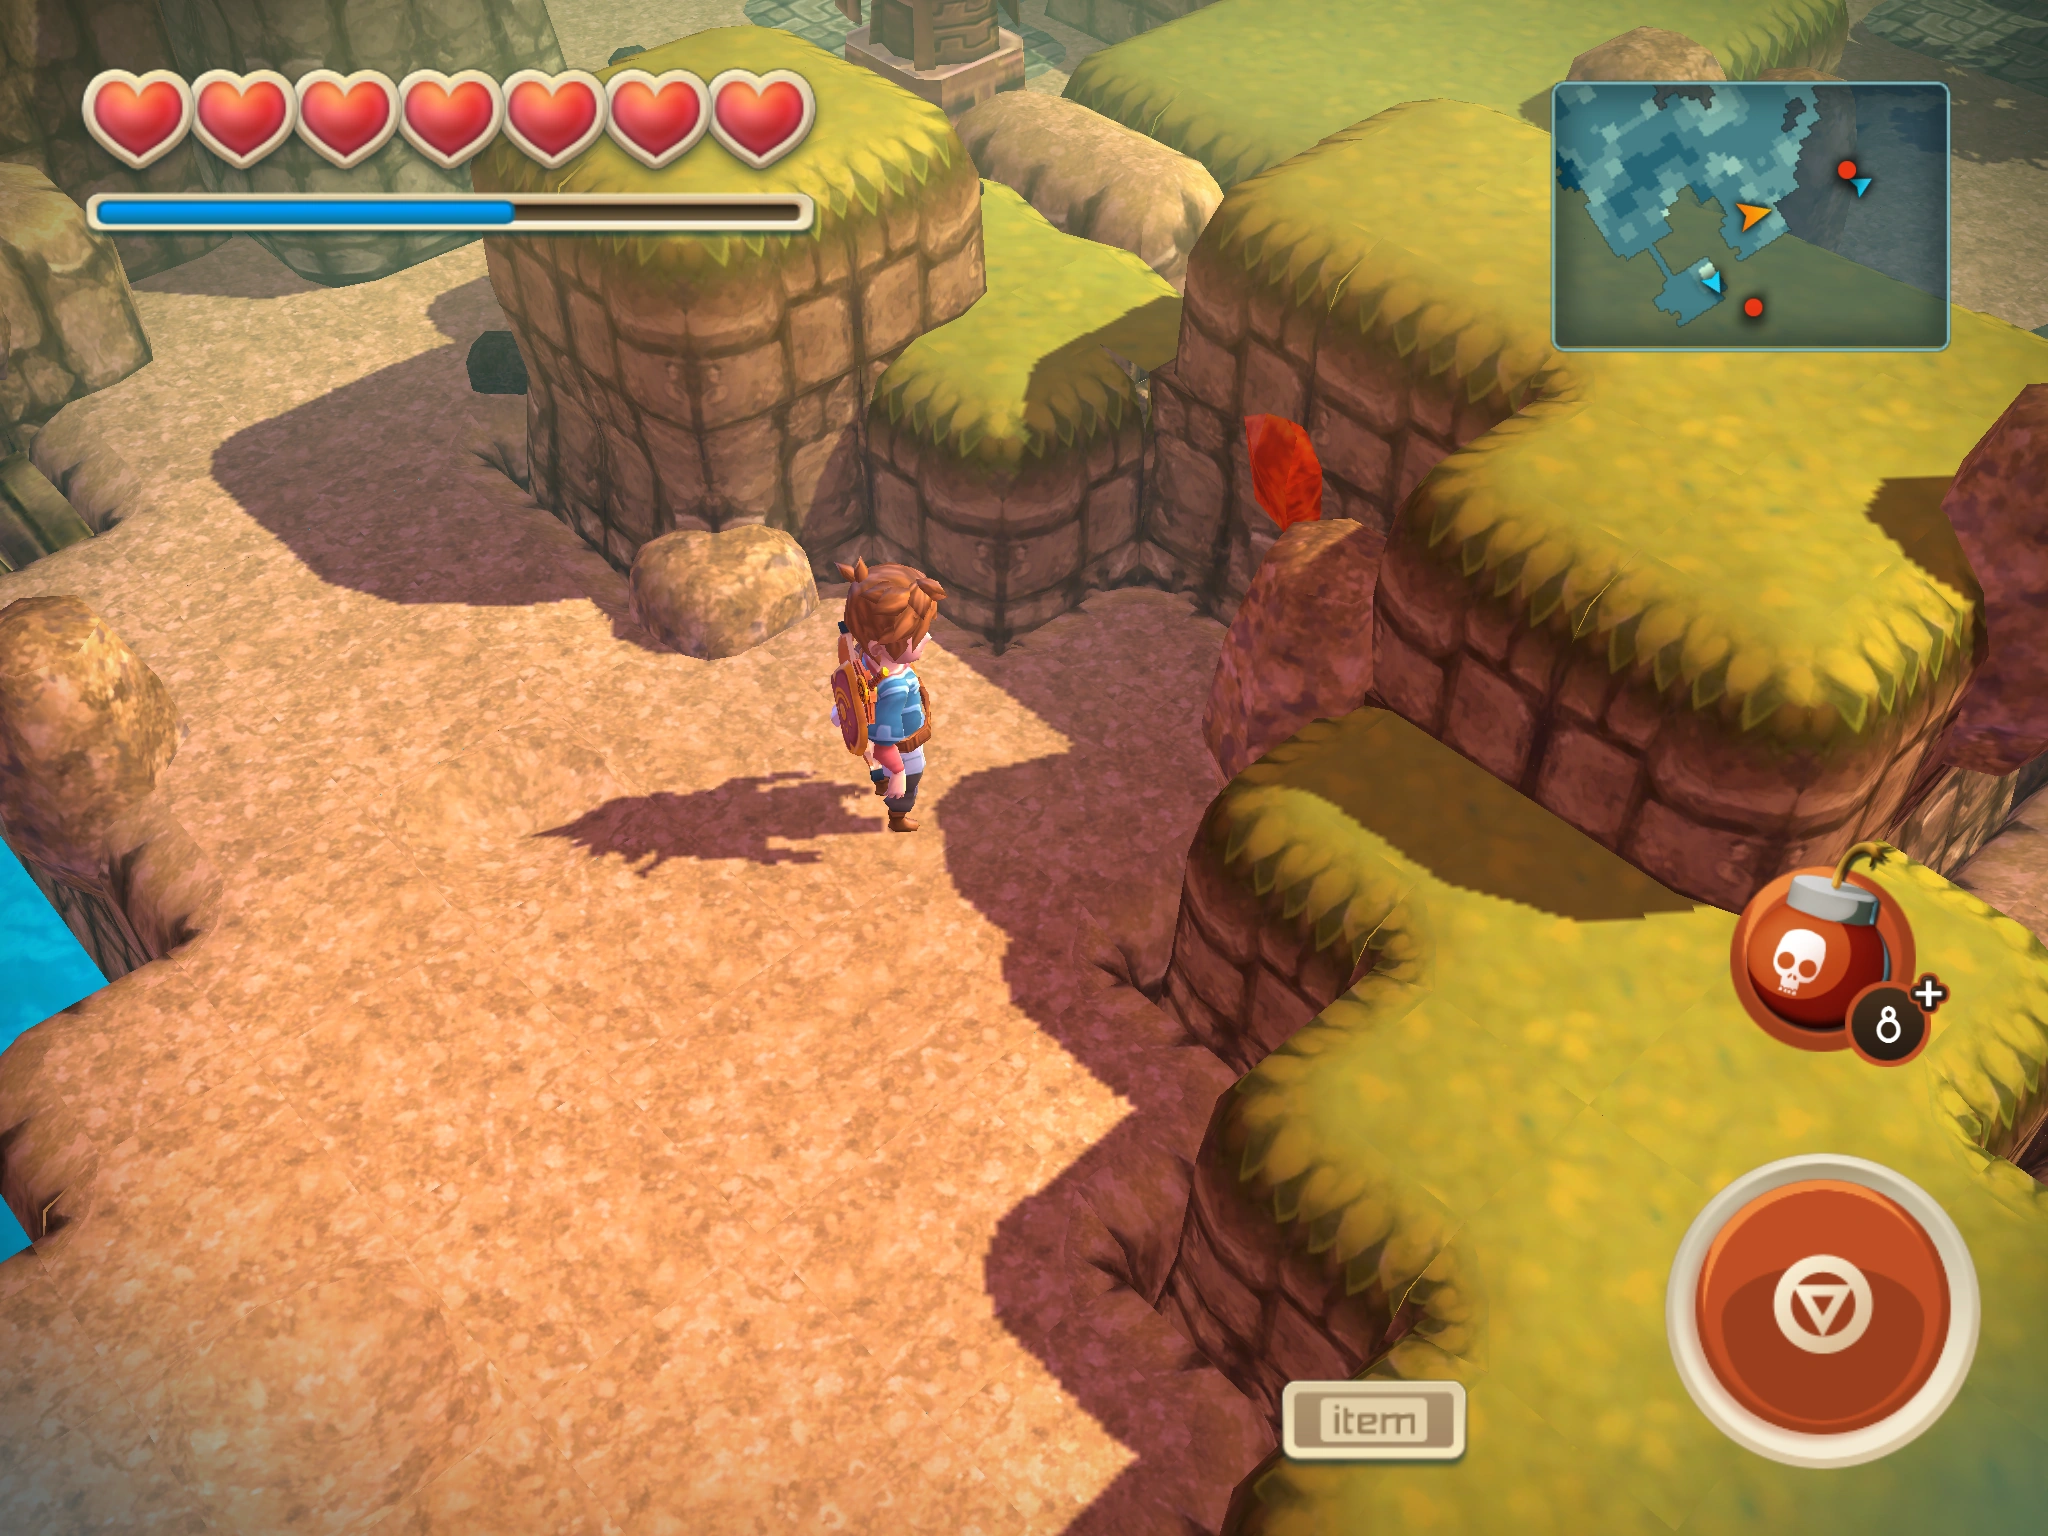
| |
| 40 | Sky Island | Grand Core | 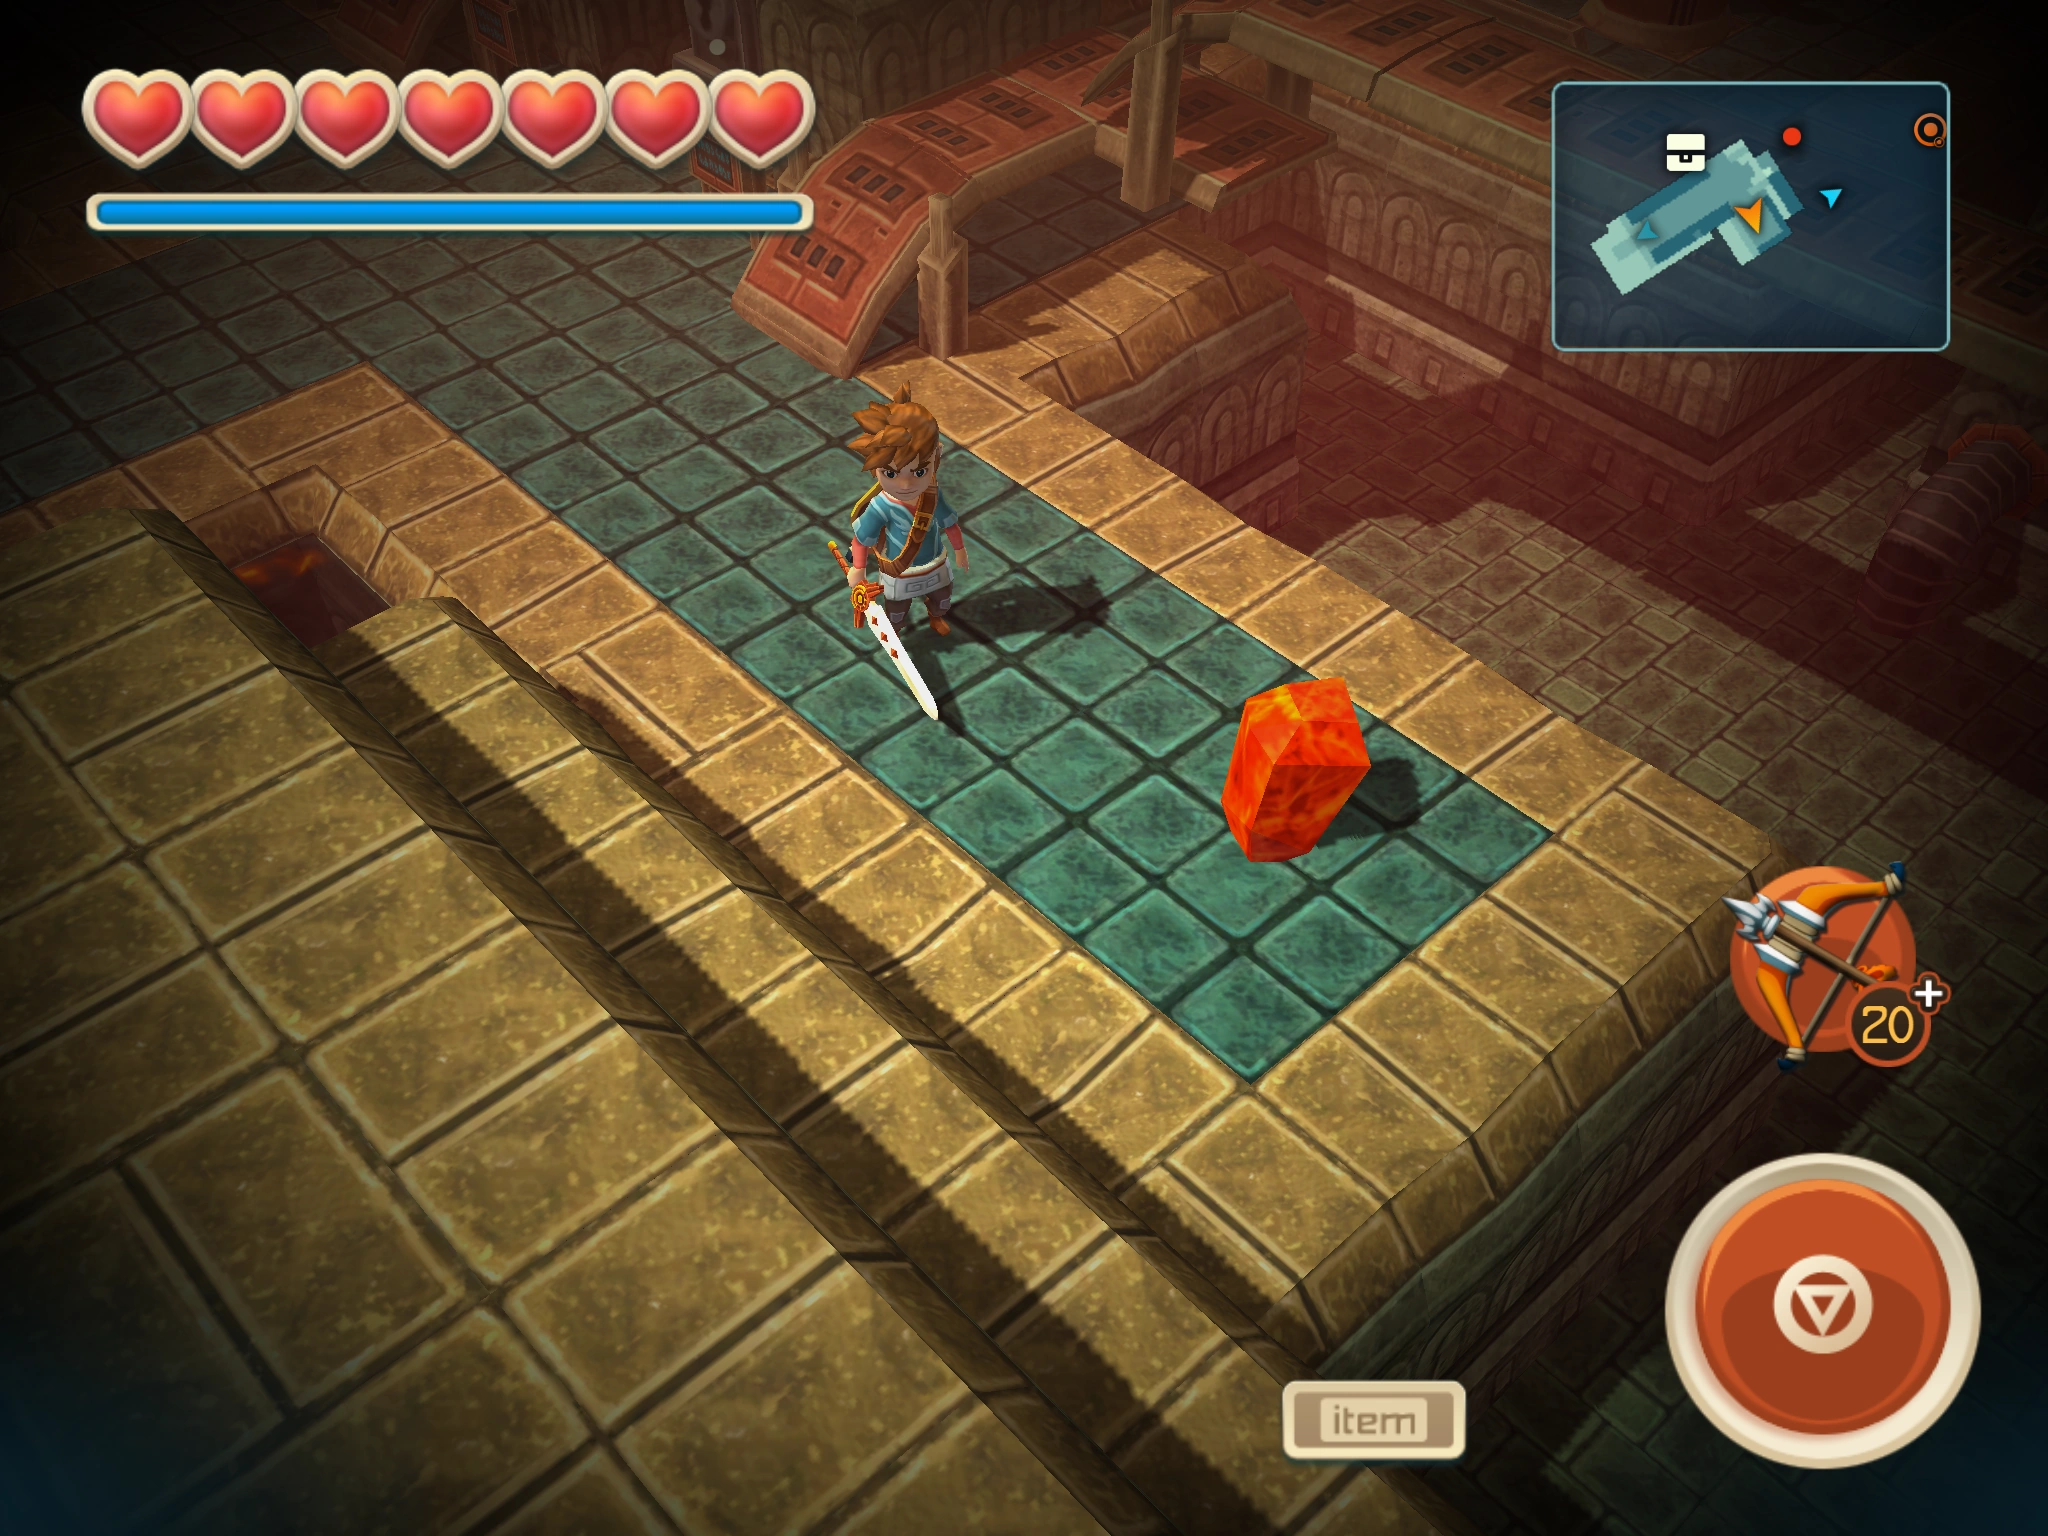
| |
| 41 | Sky Island | Grand Core - Cooling Hall | You need to stomp a button to raise the water level to reach this Bloodstone. | 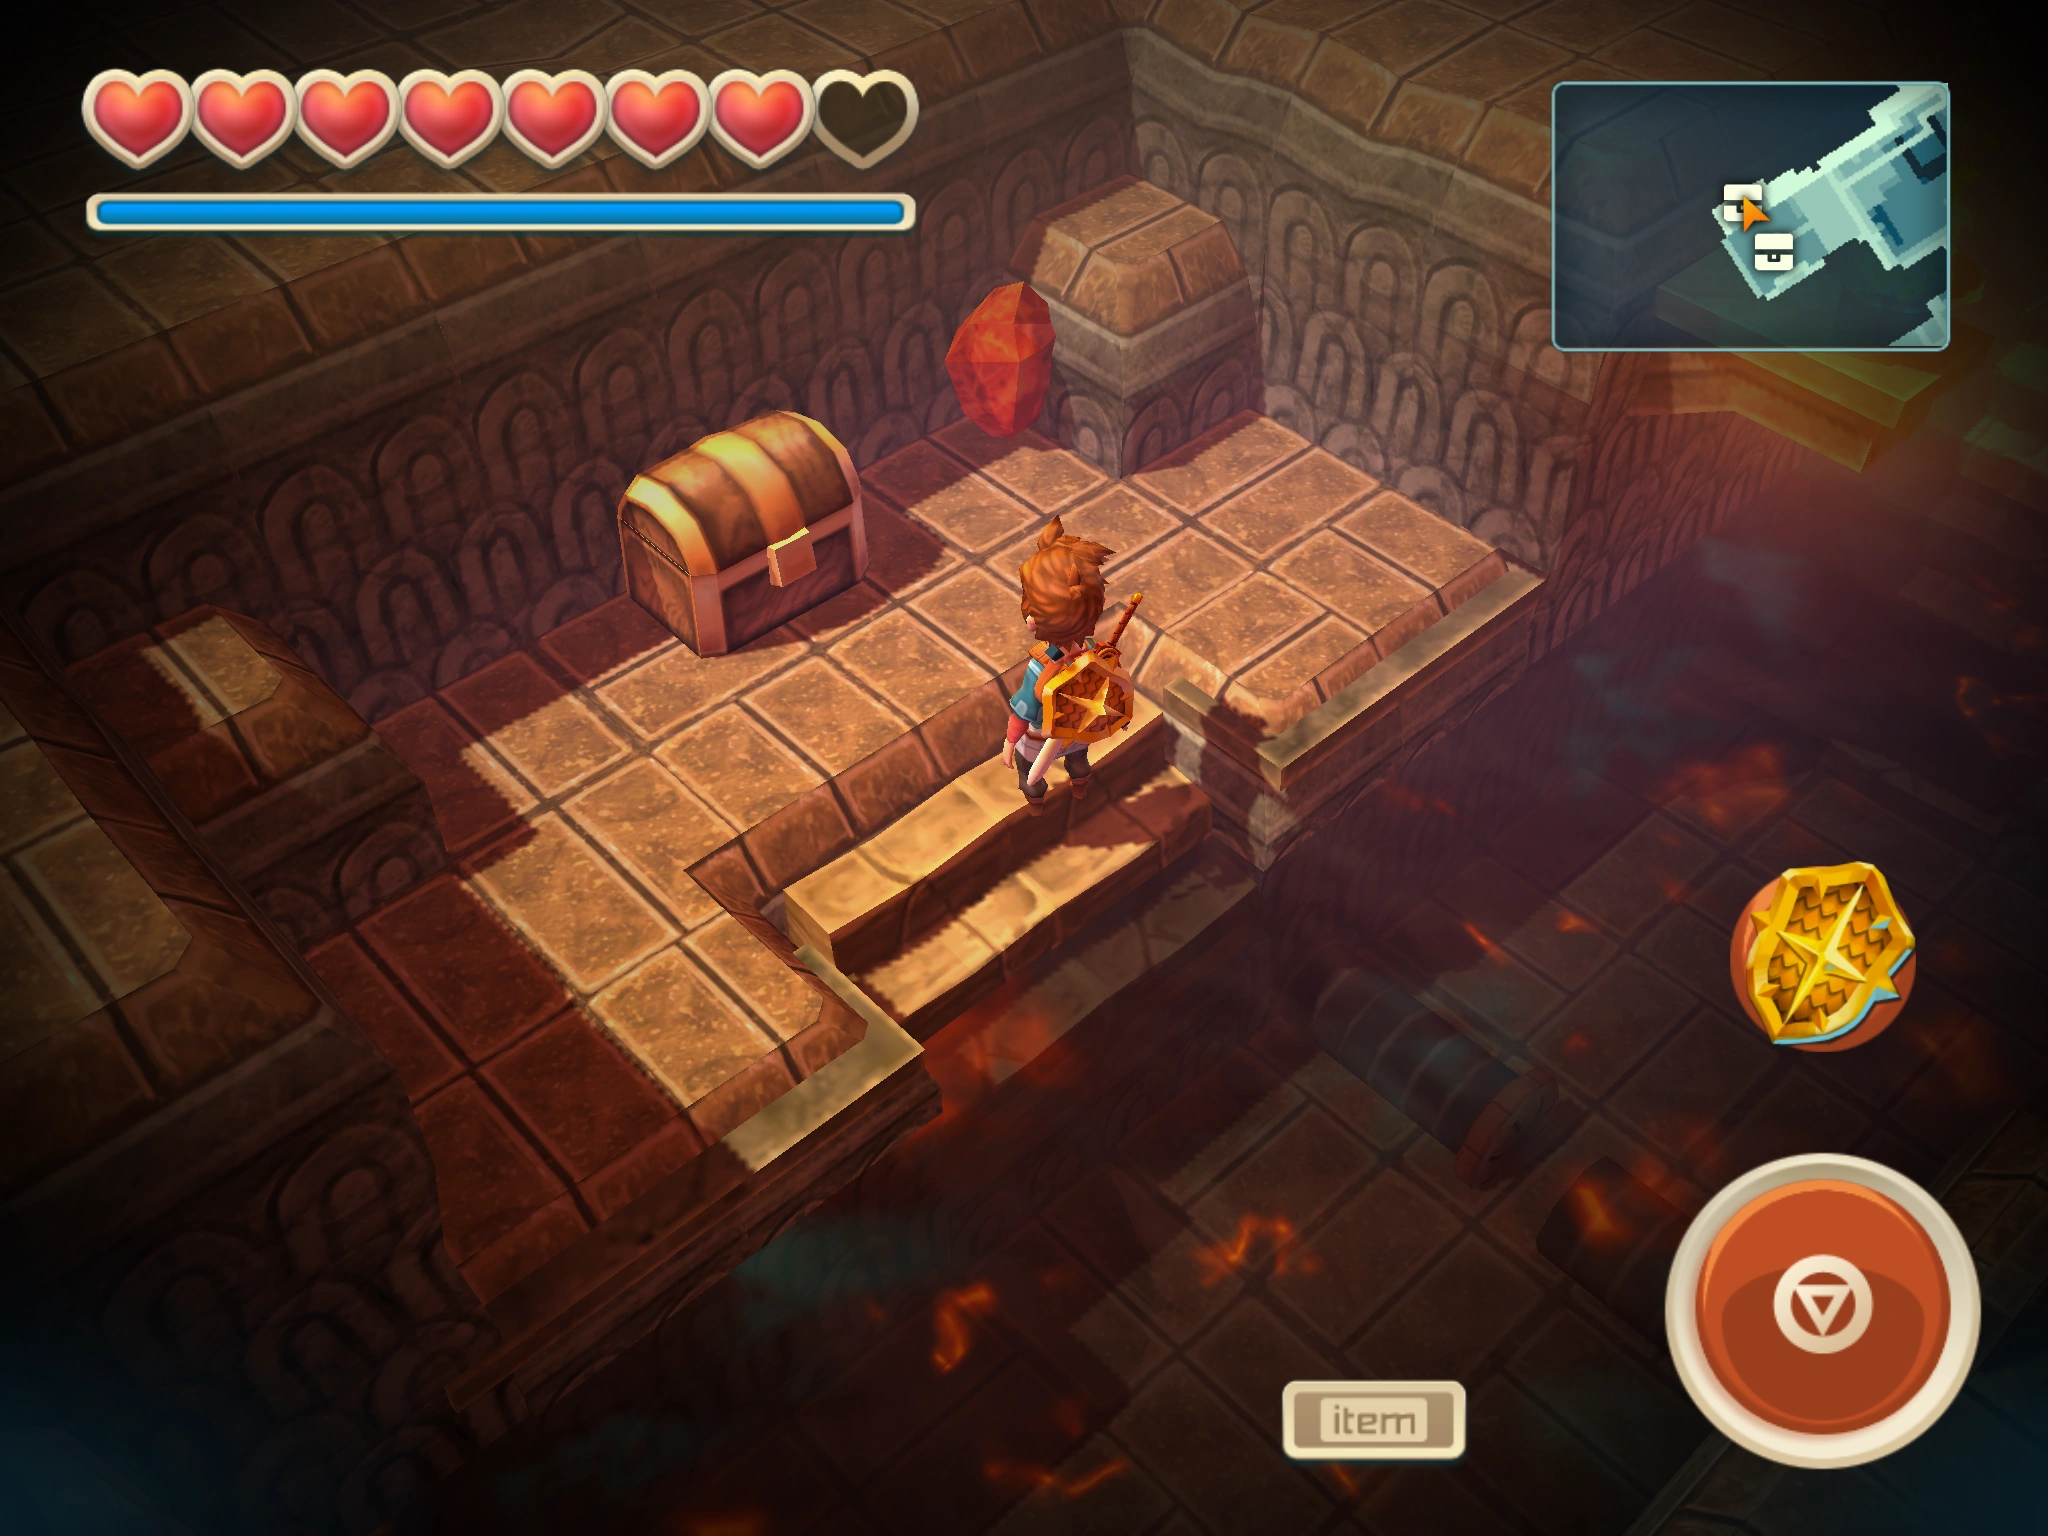
|
| 42 | Sky Island | Grand Core - Show Room | Trencher Boots | 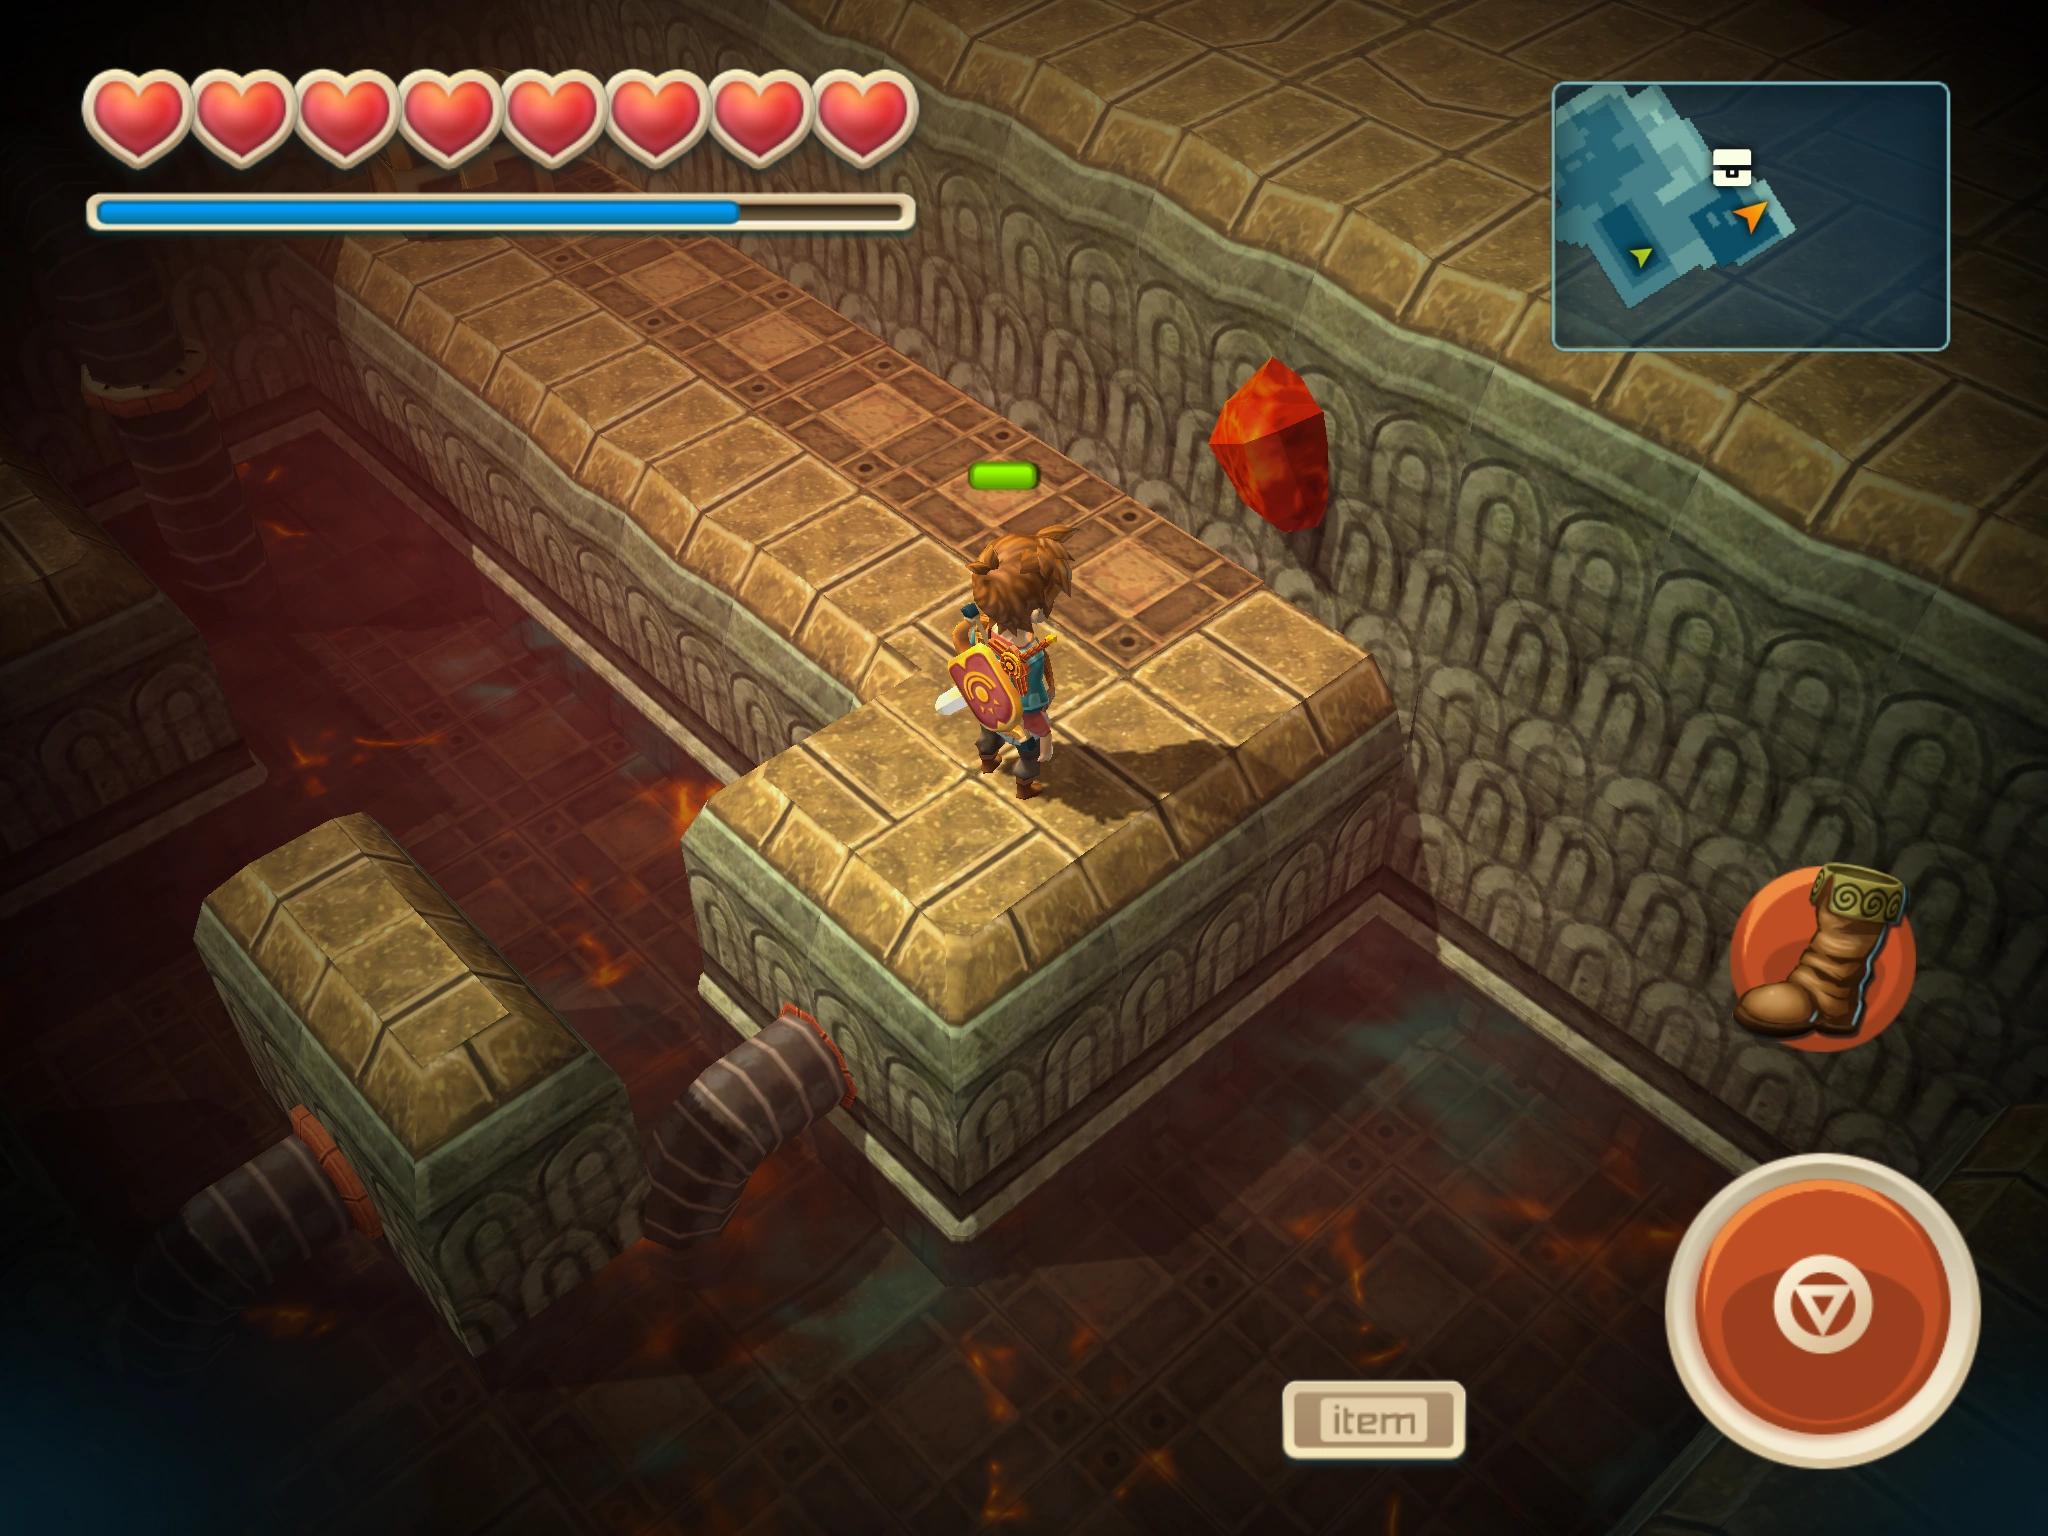
|
| 43 | Southwind Isle | 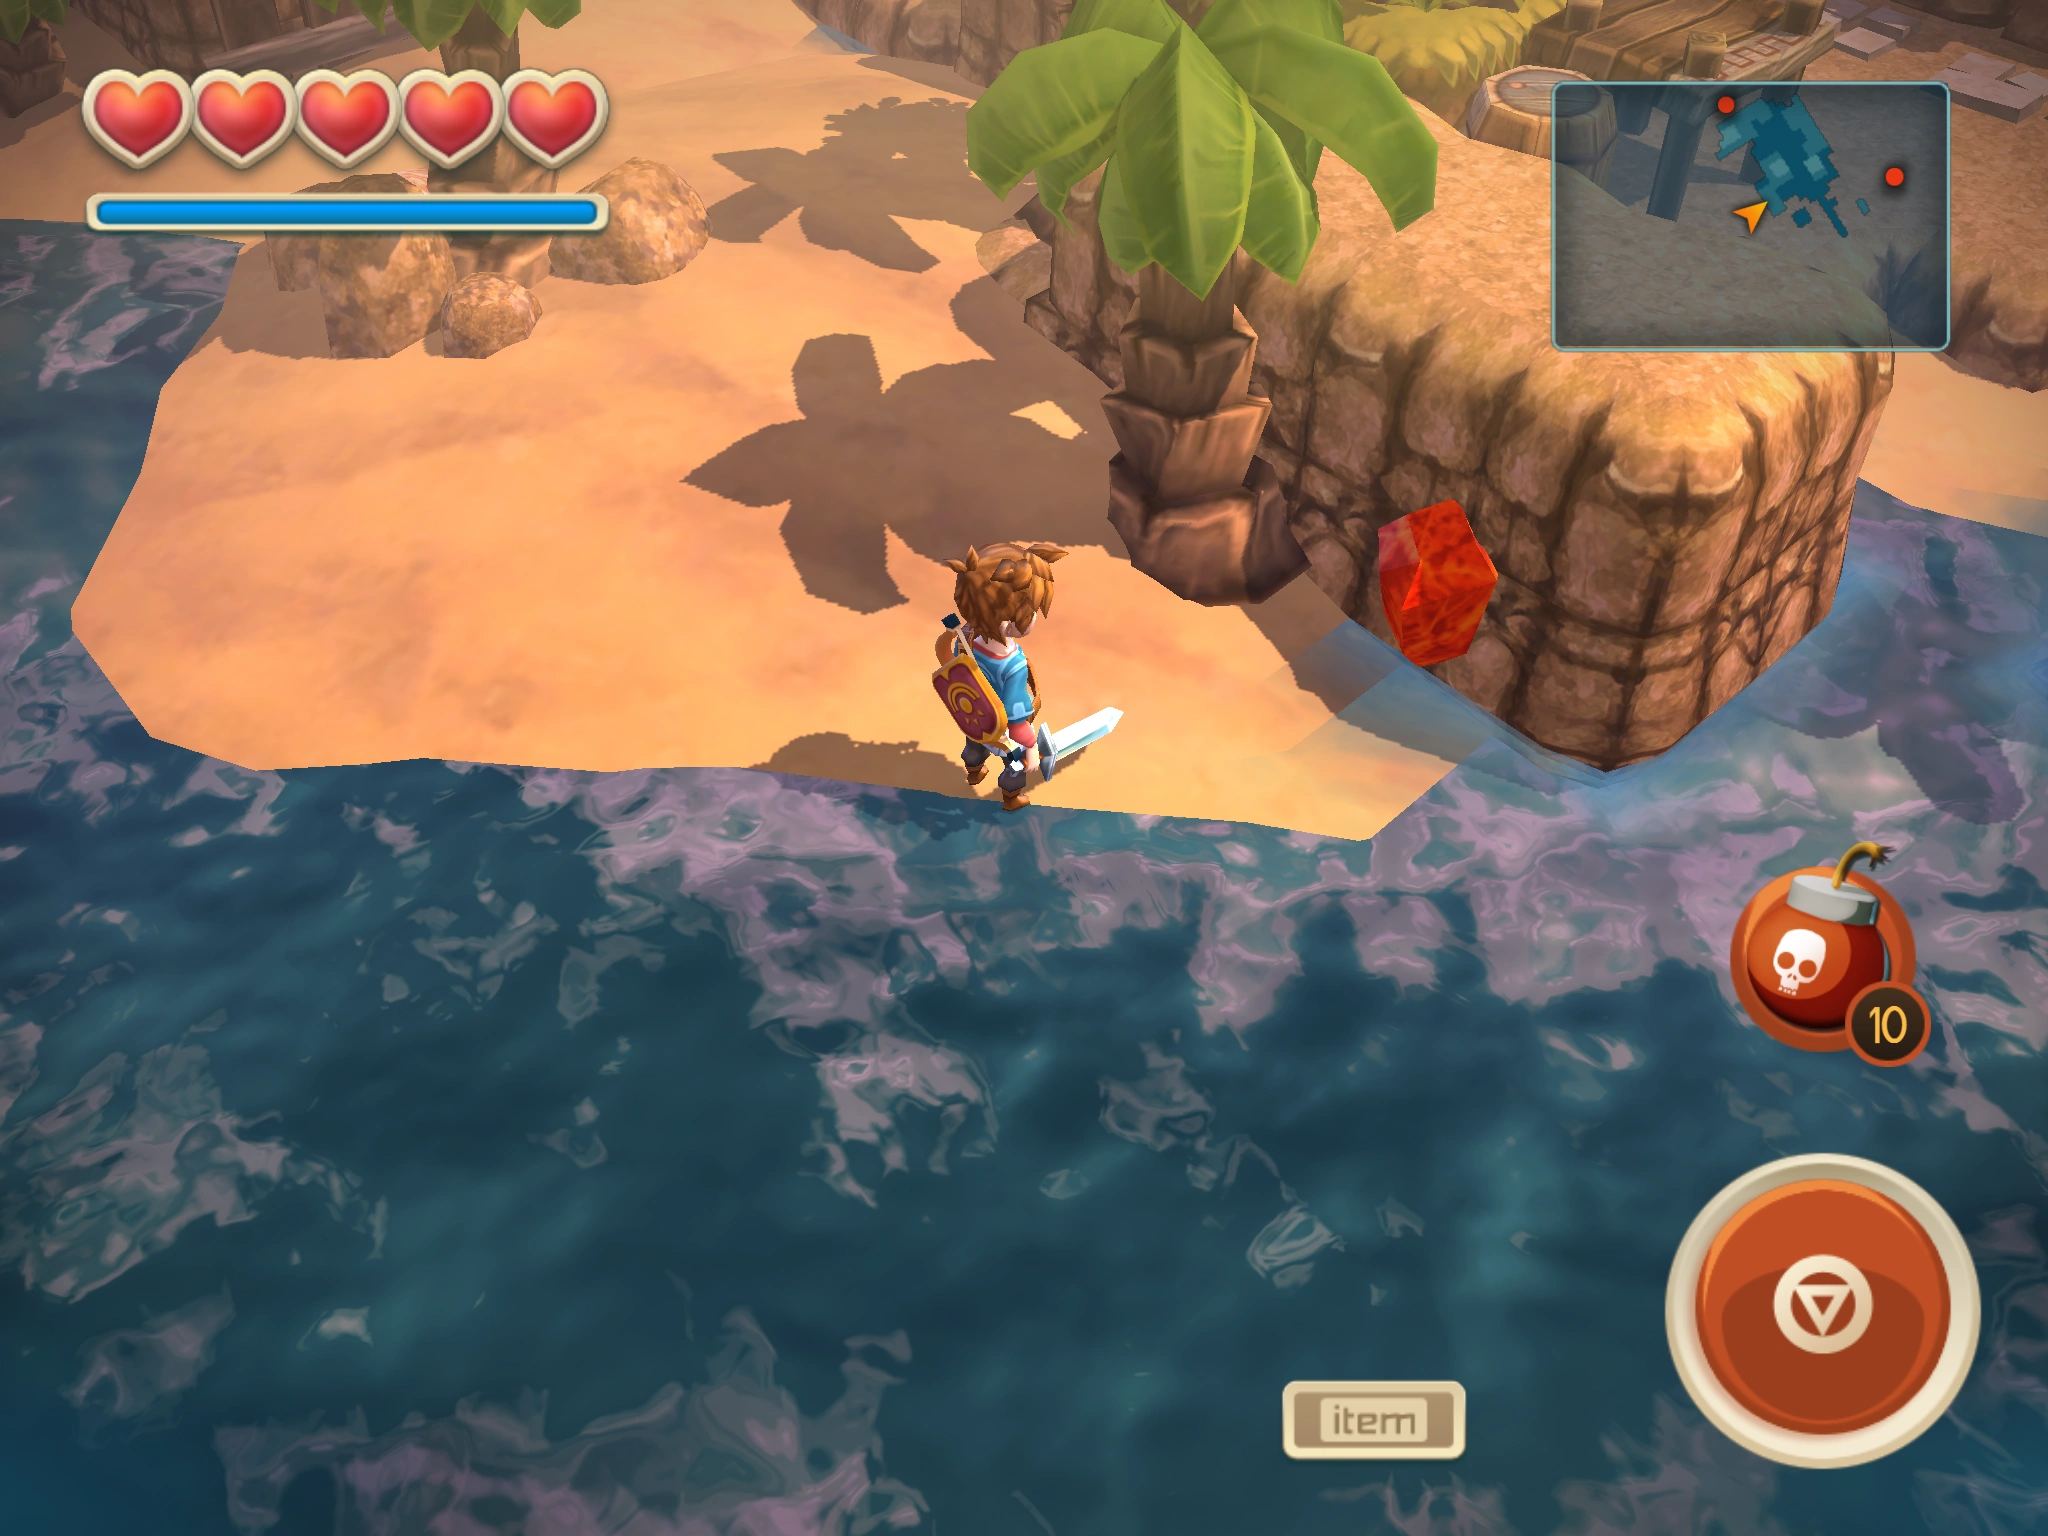
| ||
| 44 | Southwind Isle | 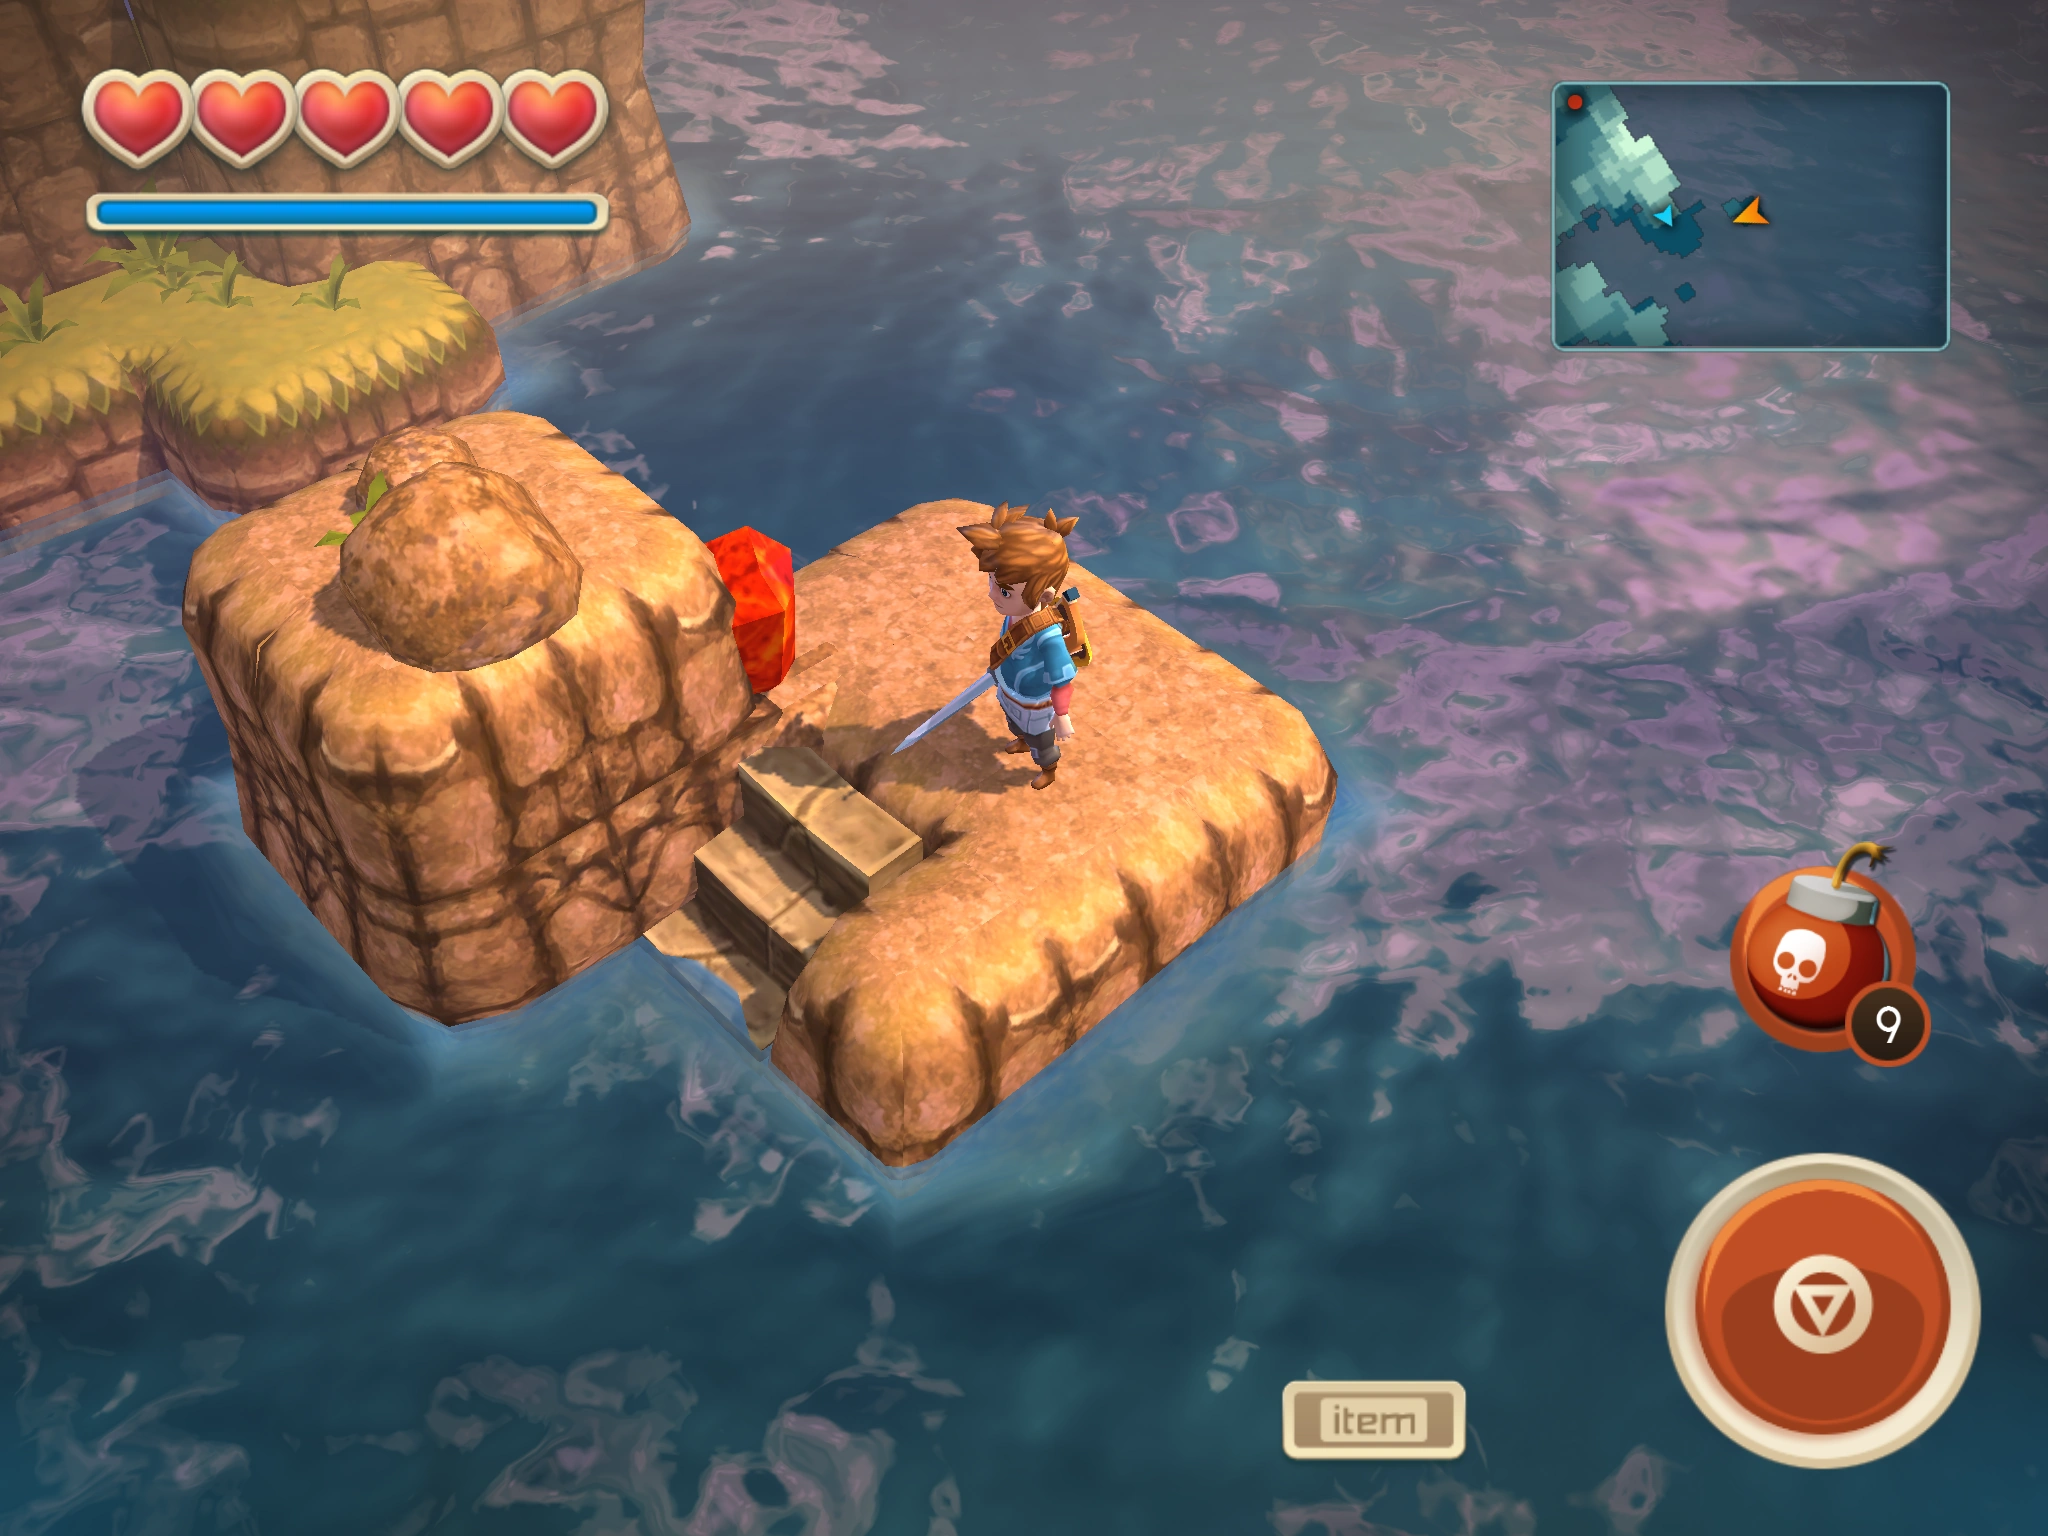
| ||
| 45 | Southwind Isle | Trencher Boots | 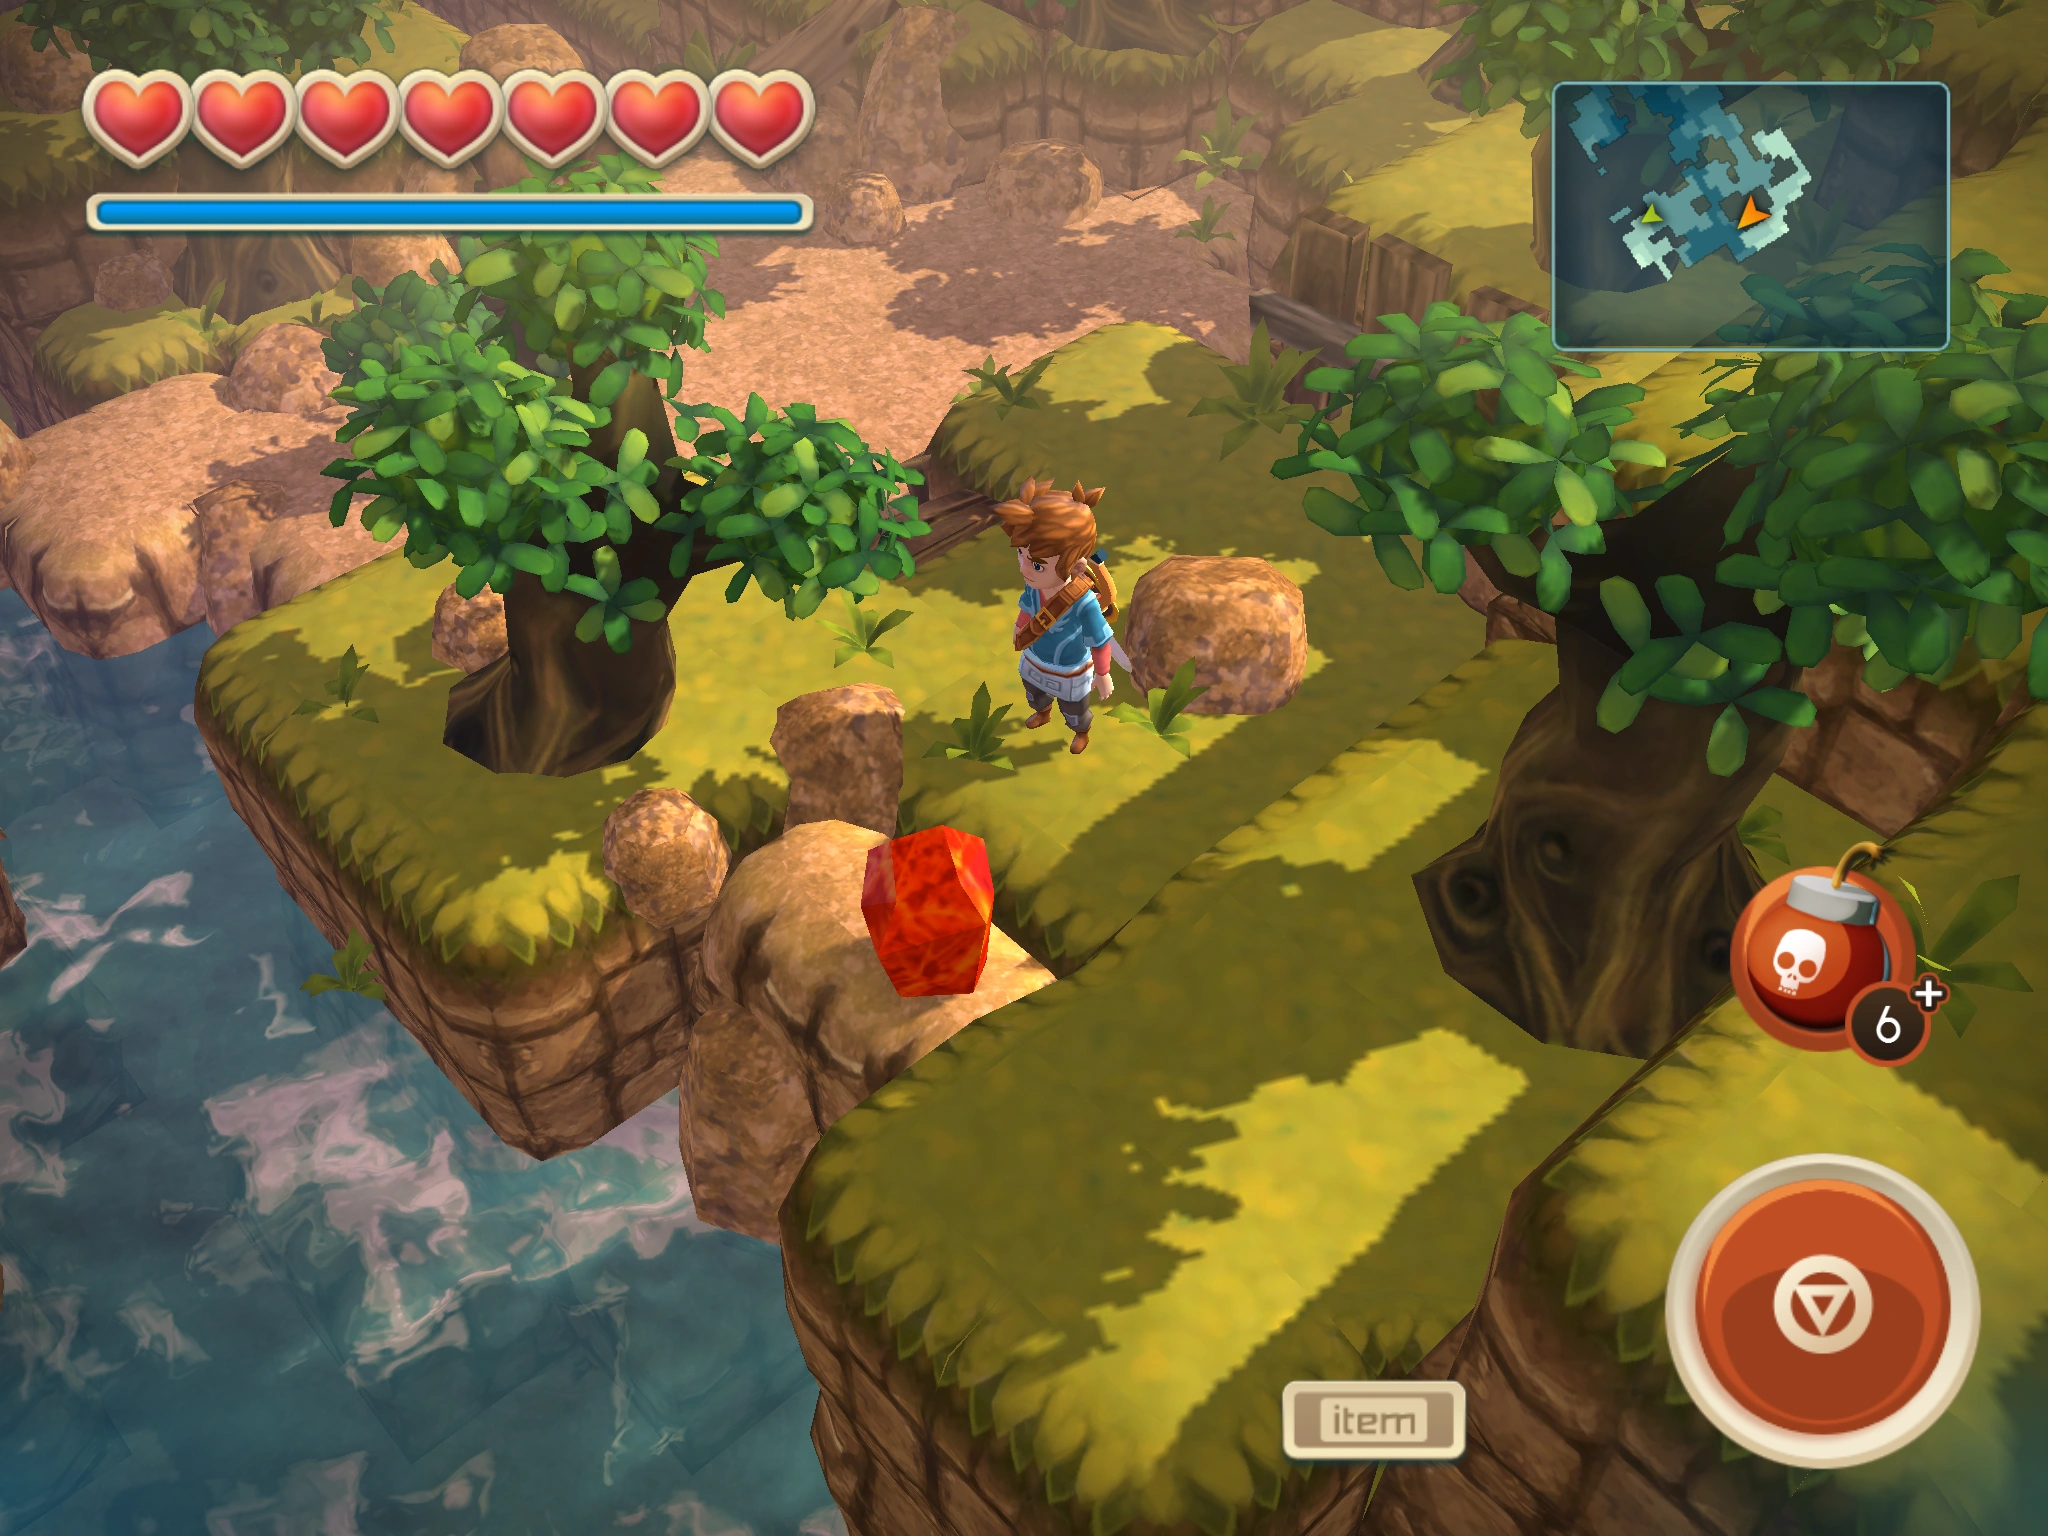
| |
| 46 | Tikarel | Bombs (to get through Crayfish Cave), Trencher Boots | 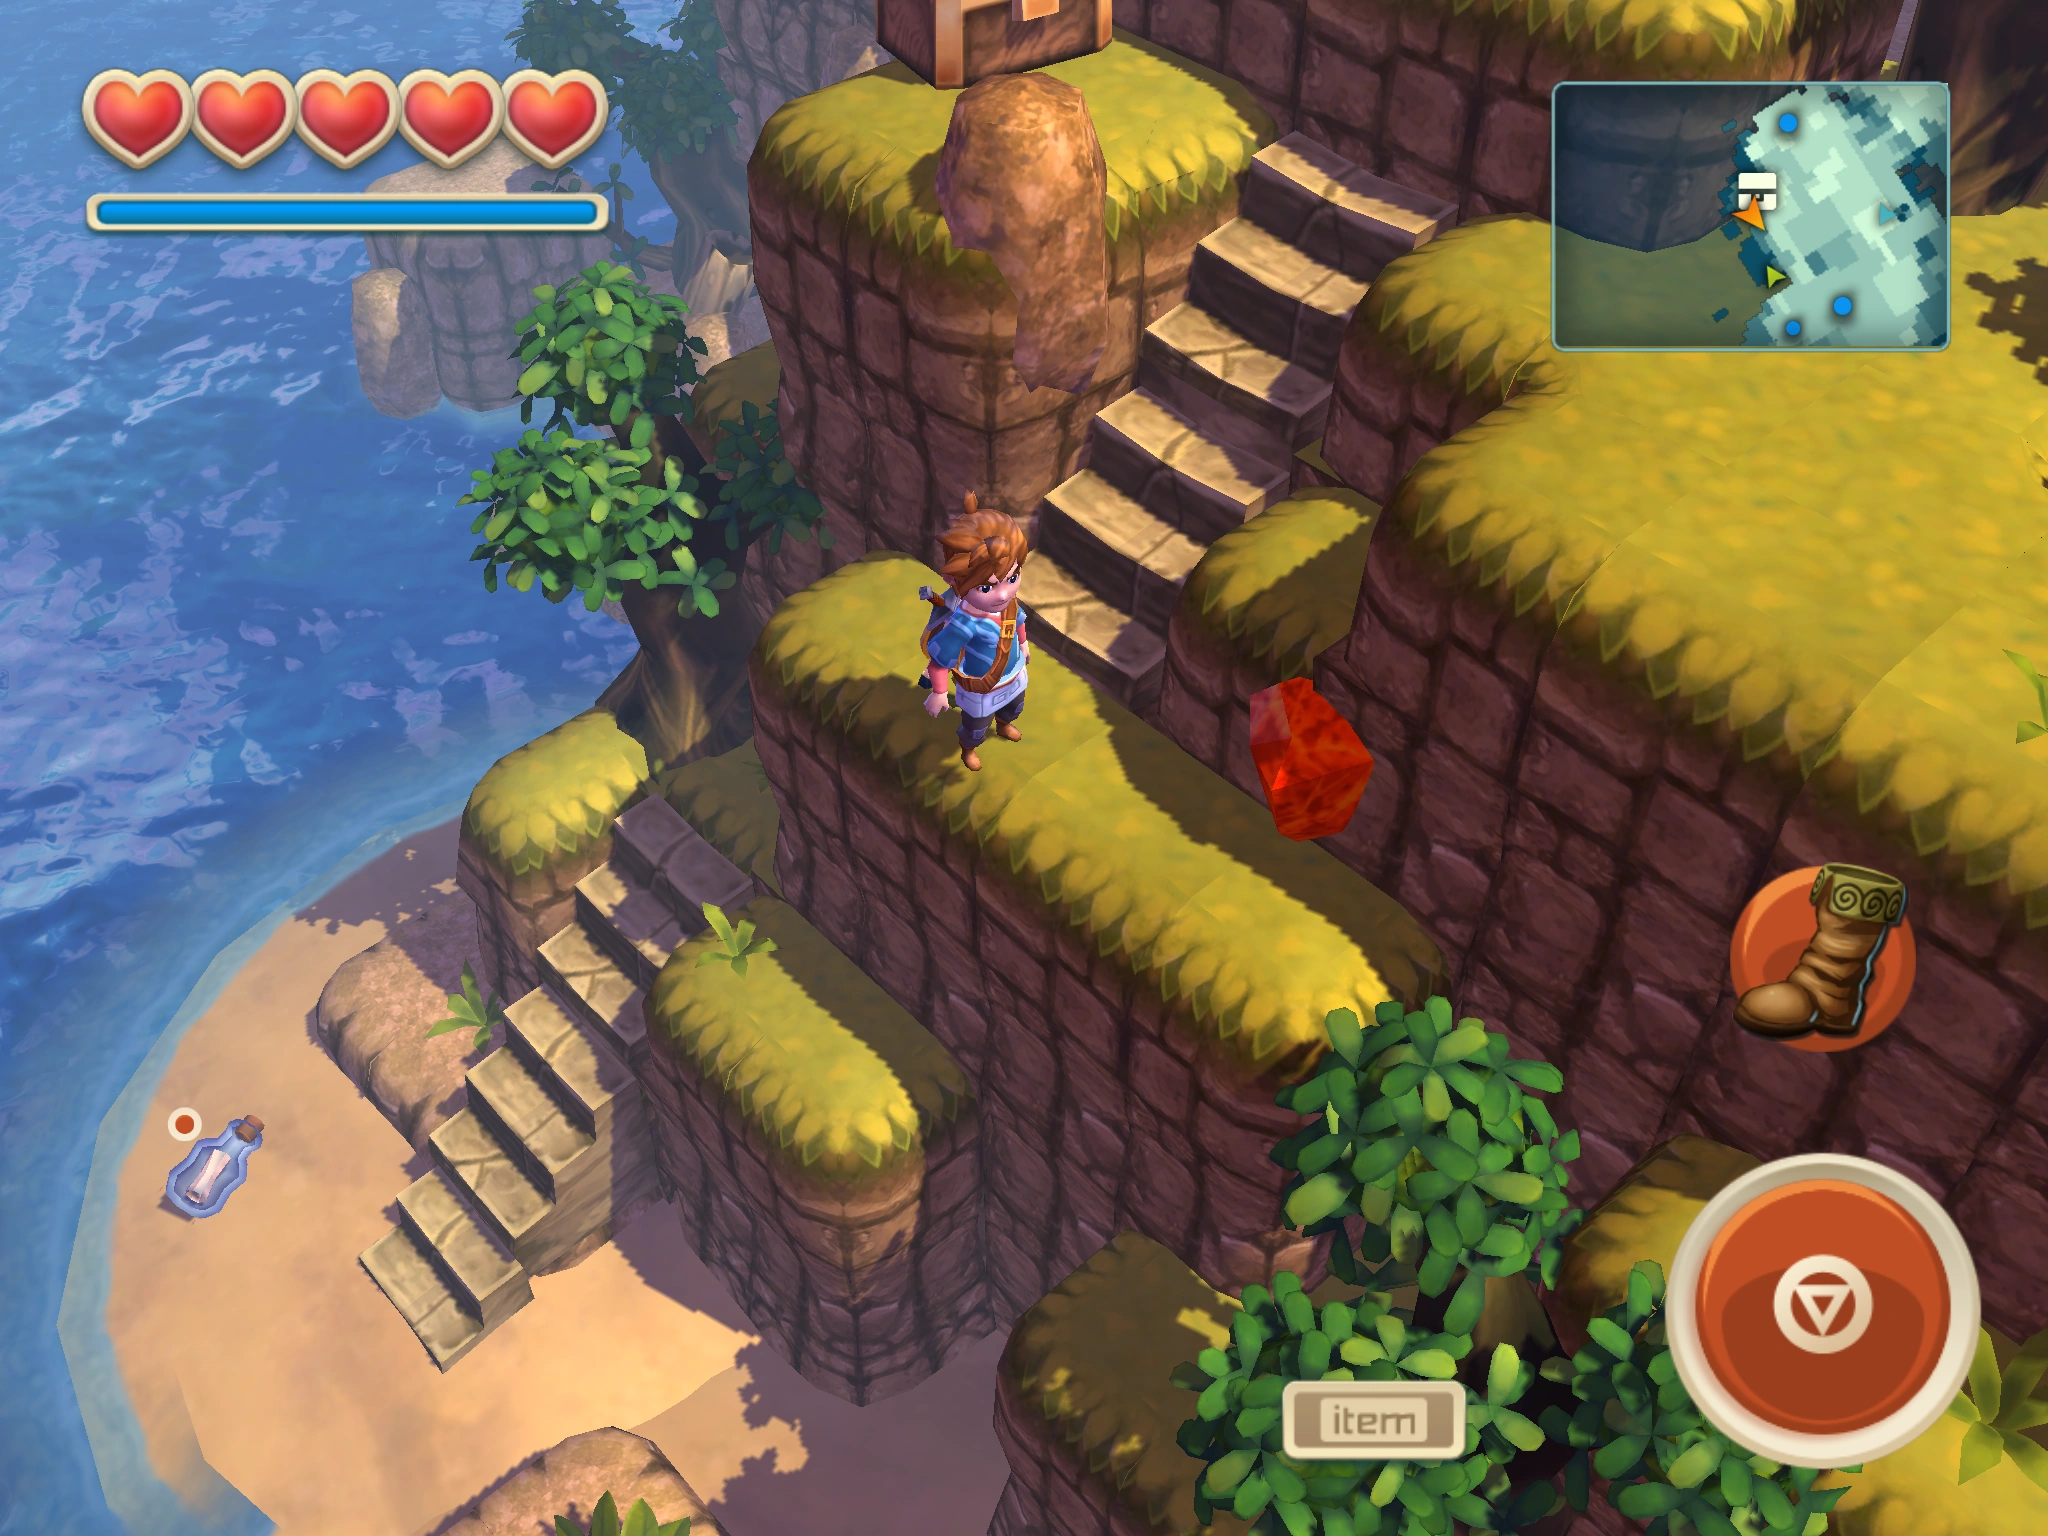
| |
| 47 | Tikarel | Crayfish Cave | 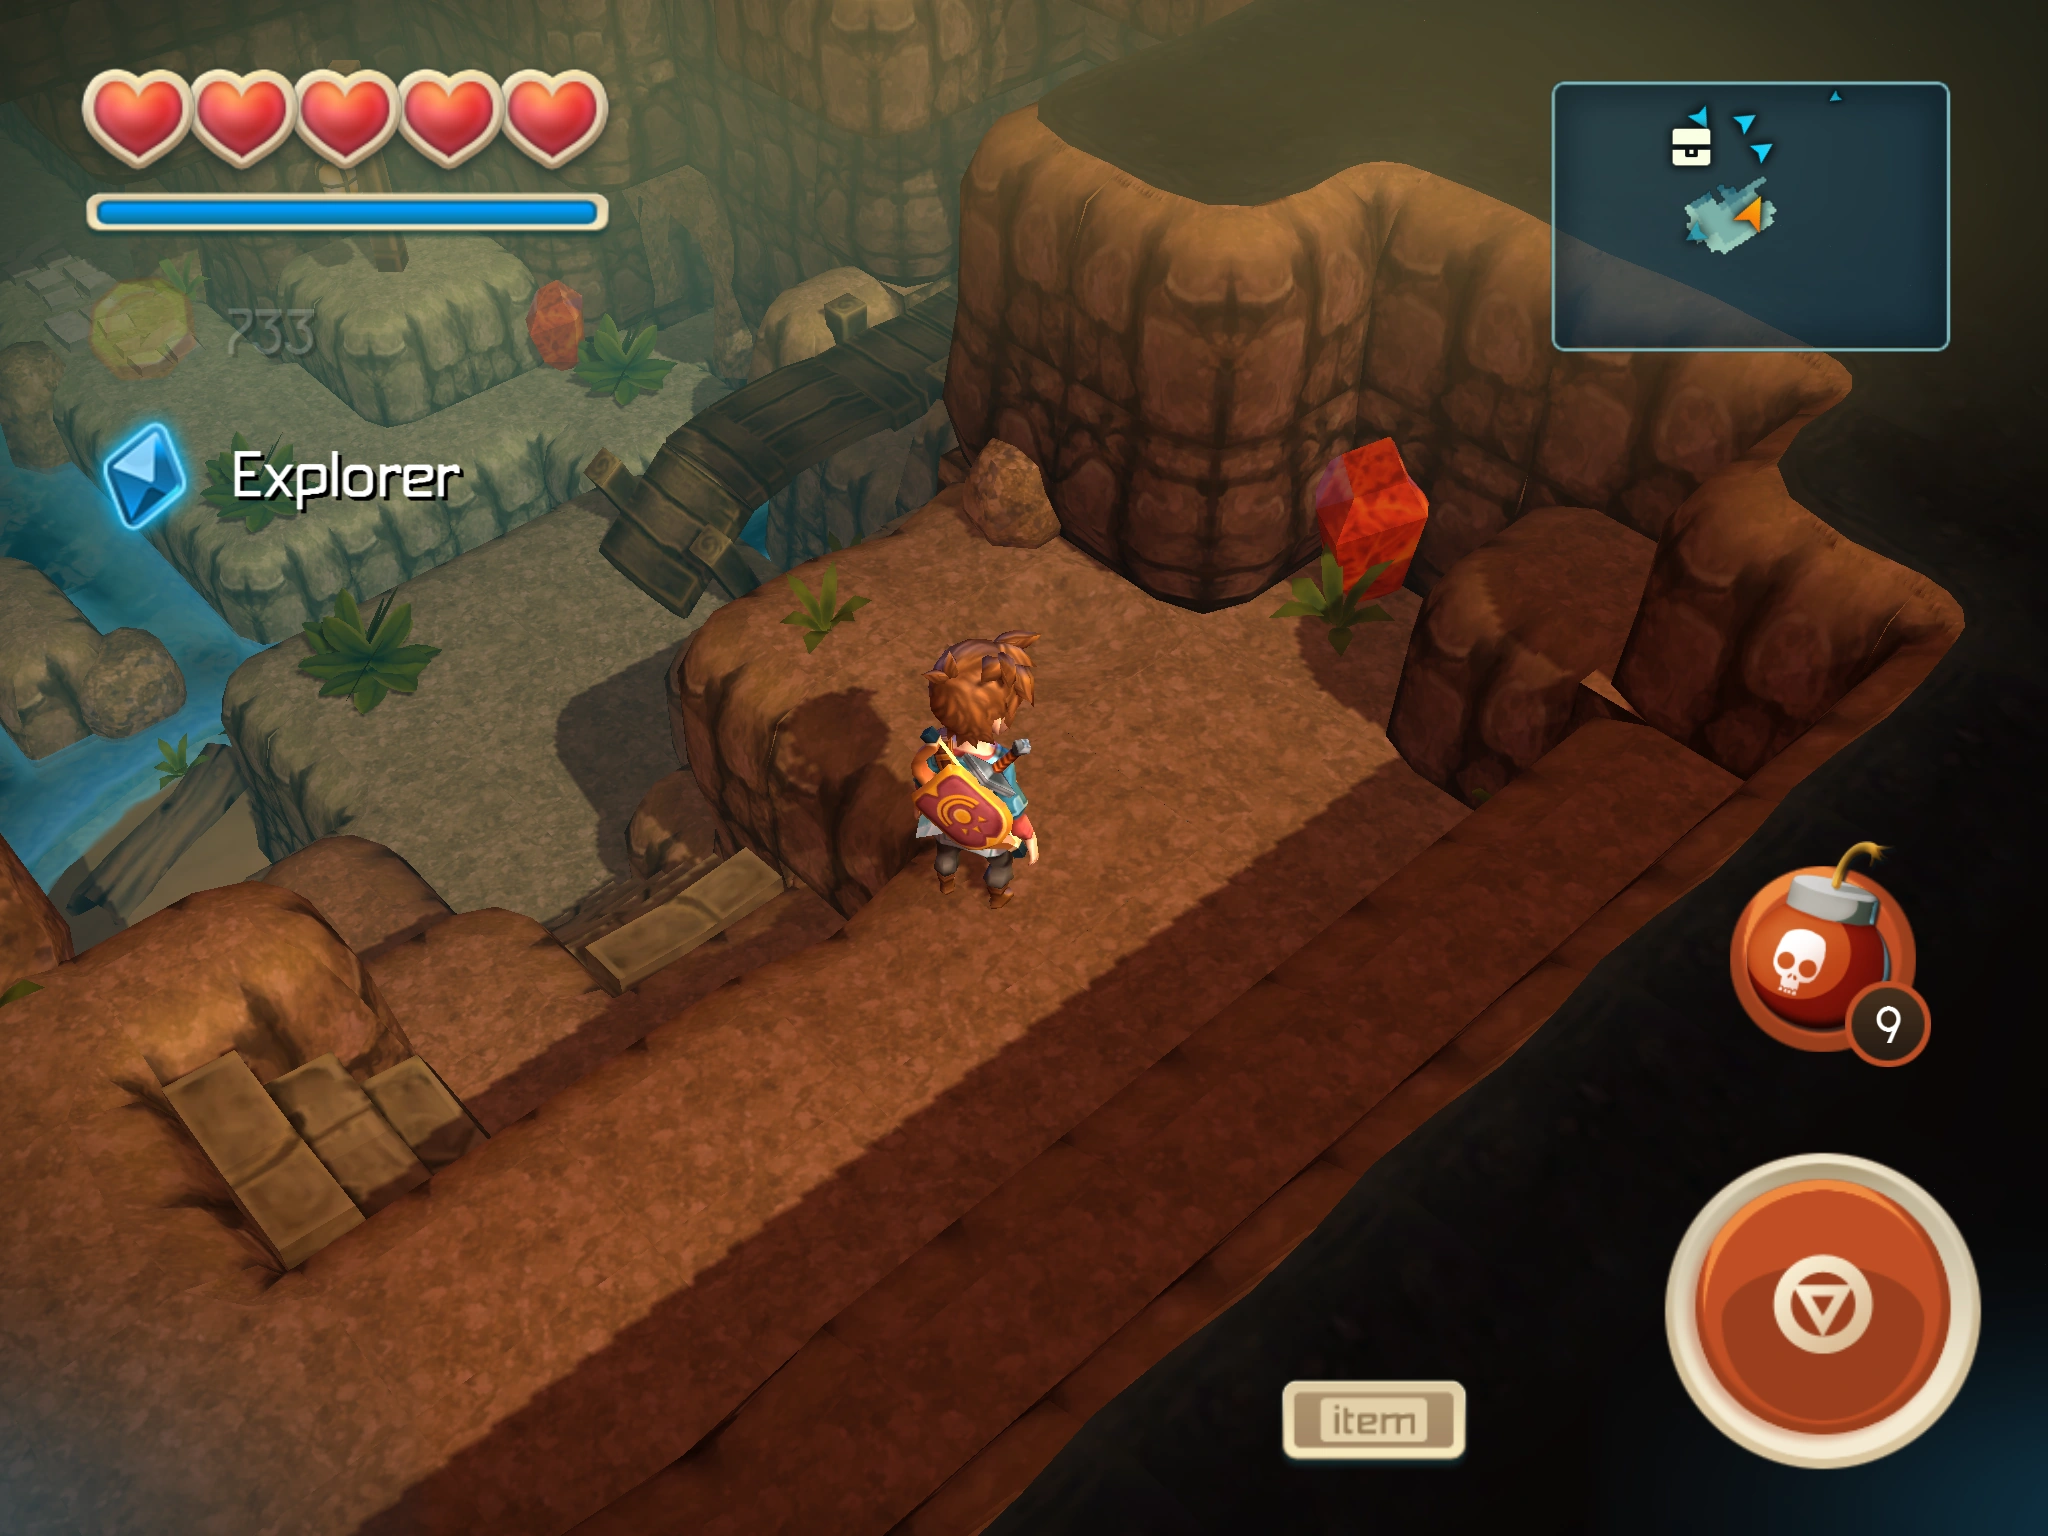
| |
| 48 | Tikarel | Crayfish Cave | 
| |
| 49 | Tikarel | Crayfish Cave | 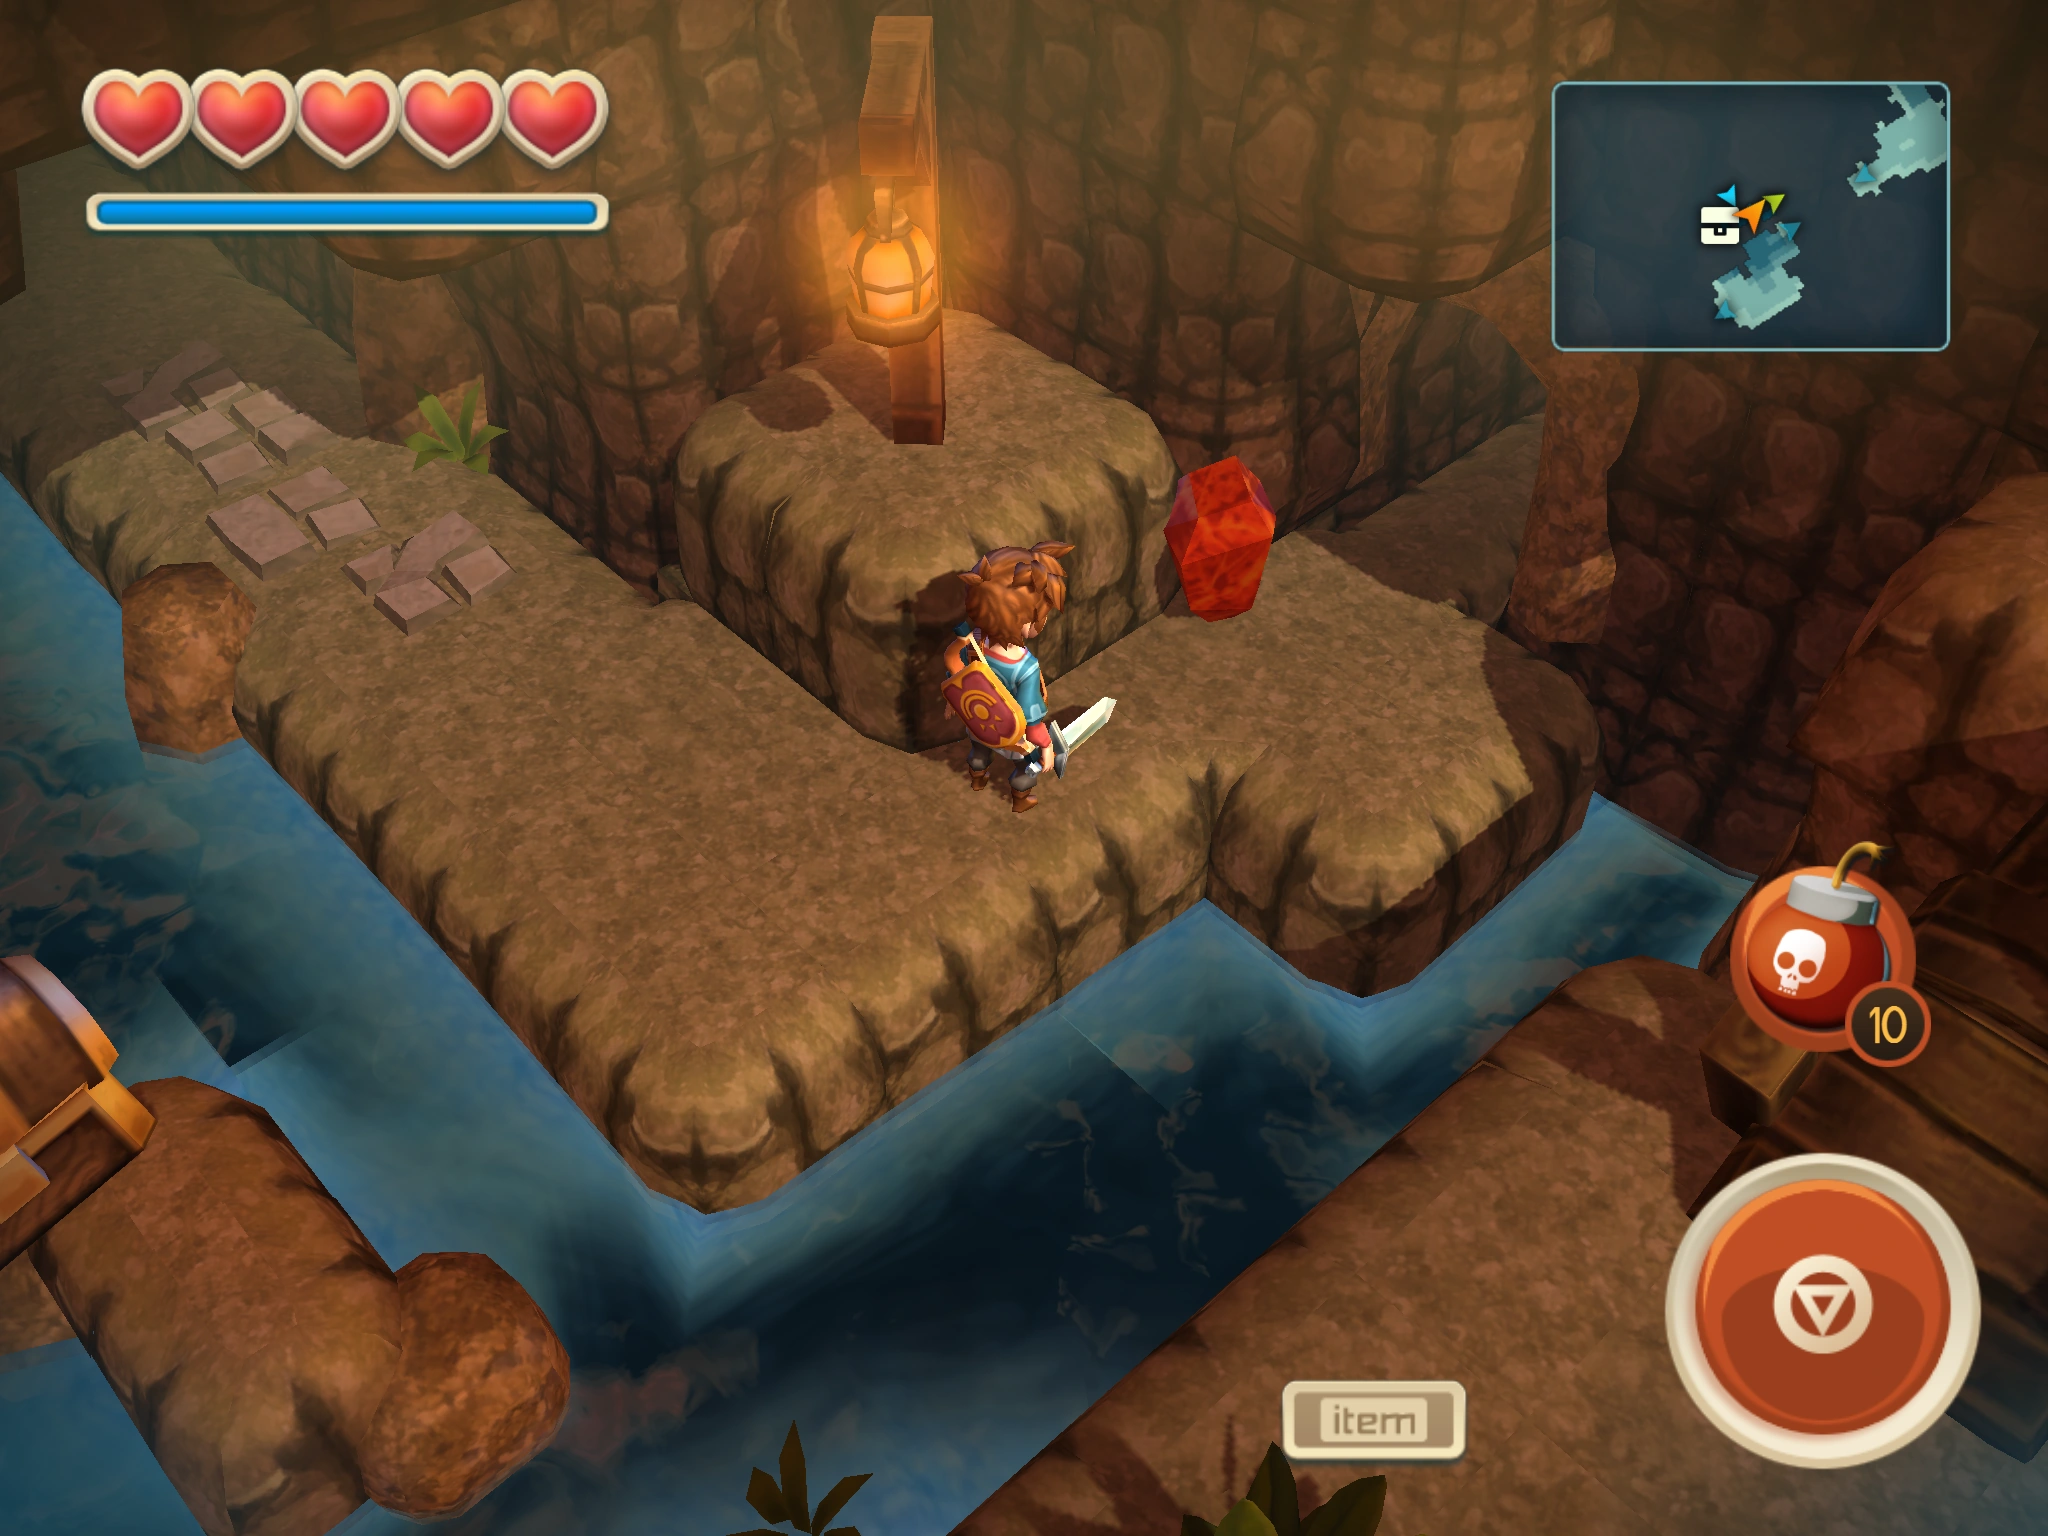
| |
| 50 | Tikarel | Trail to Humming Hill | You need to bomb a wall to reach this Bloodstone. | 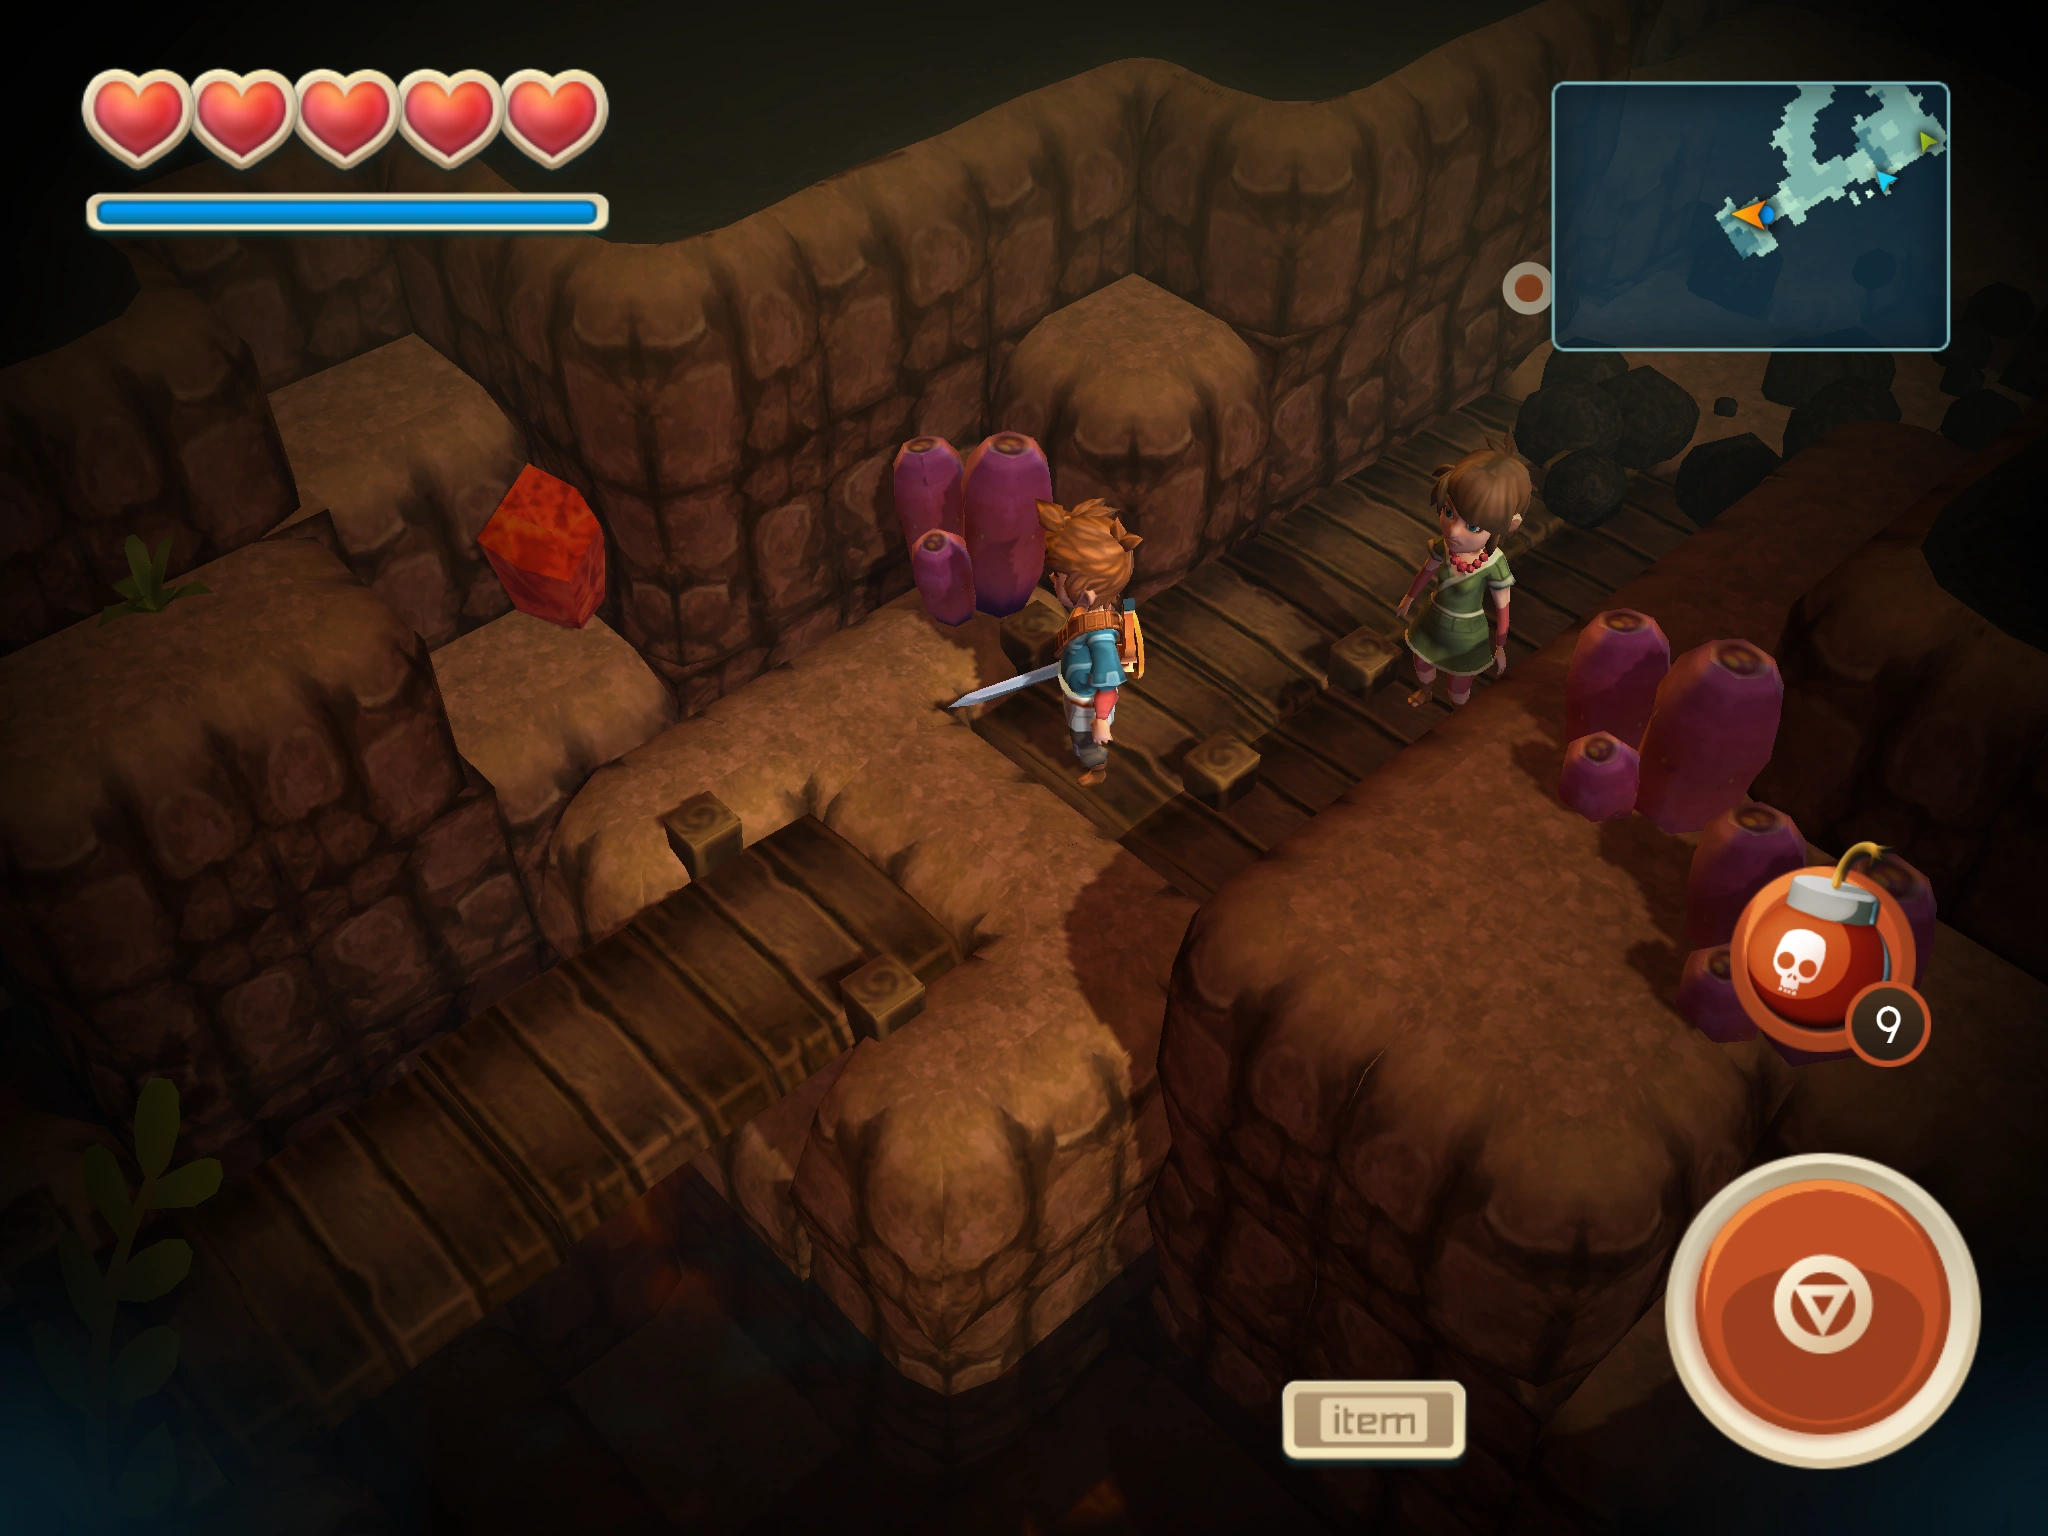
|
| 51 | Tikarel | Trail to Humming Hill | You need to bomb a wall to reach this Bloodstone | 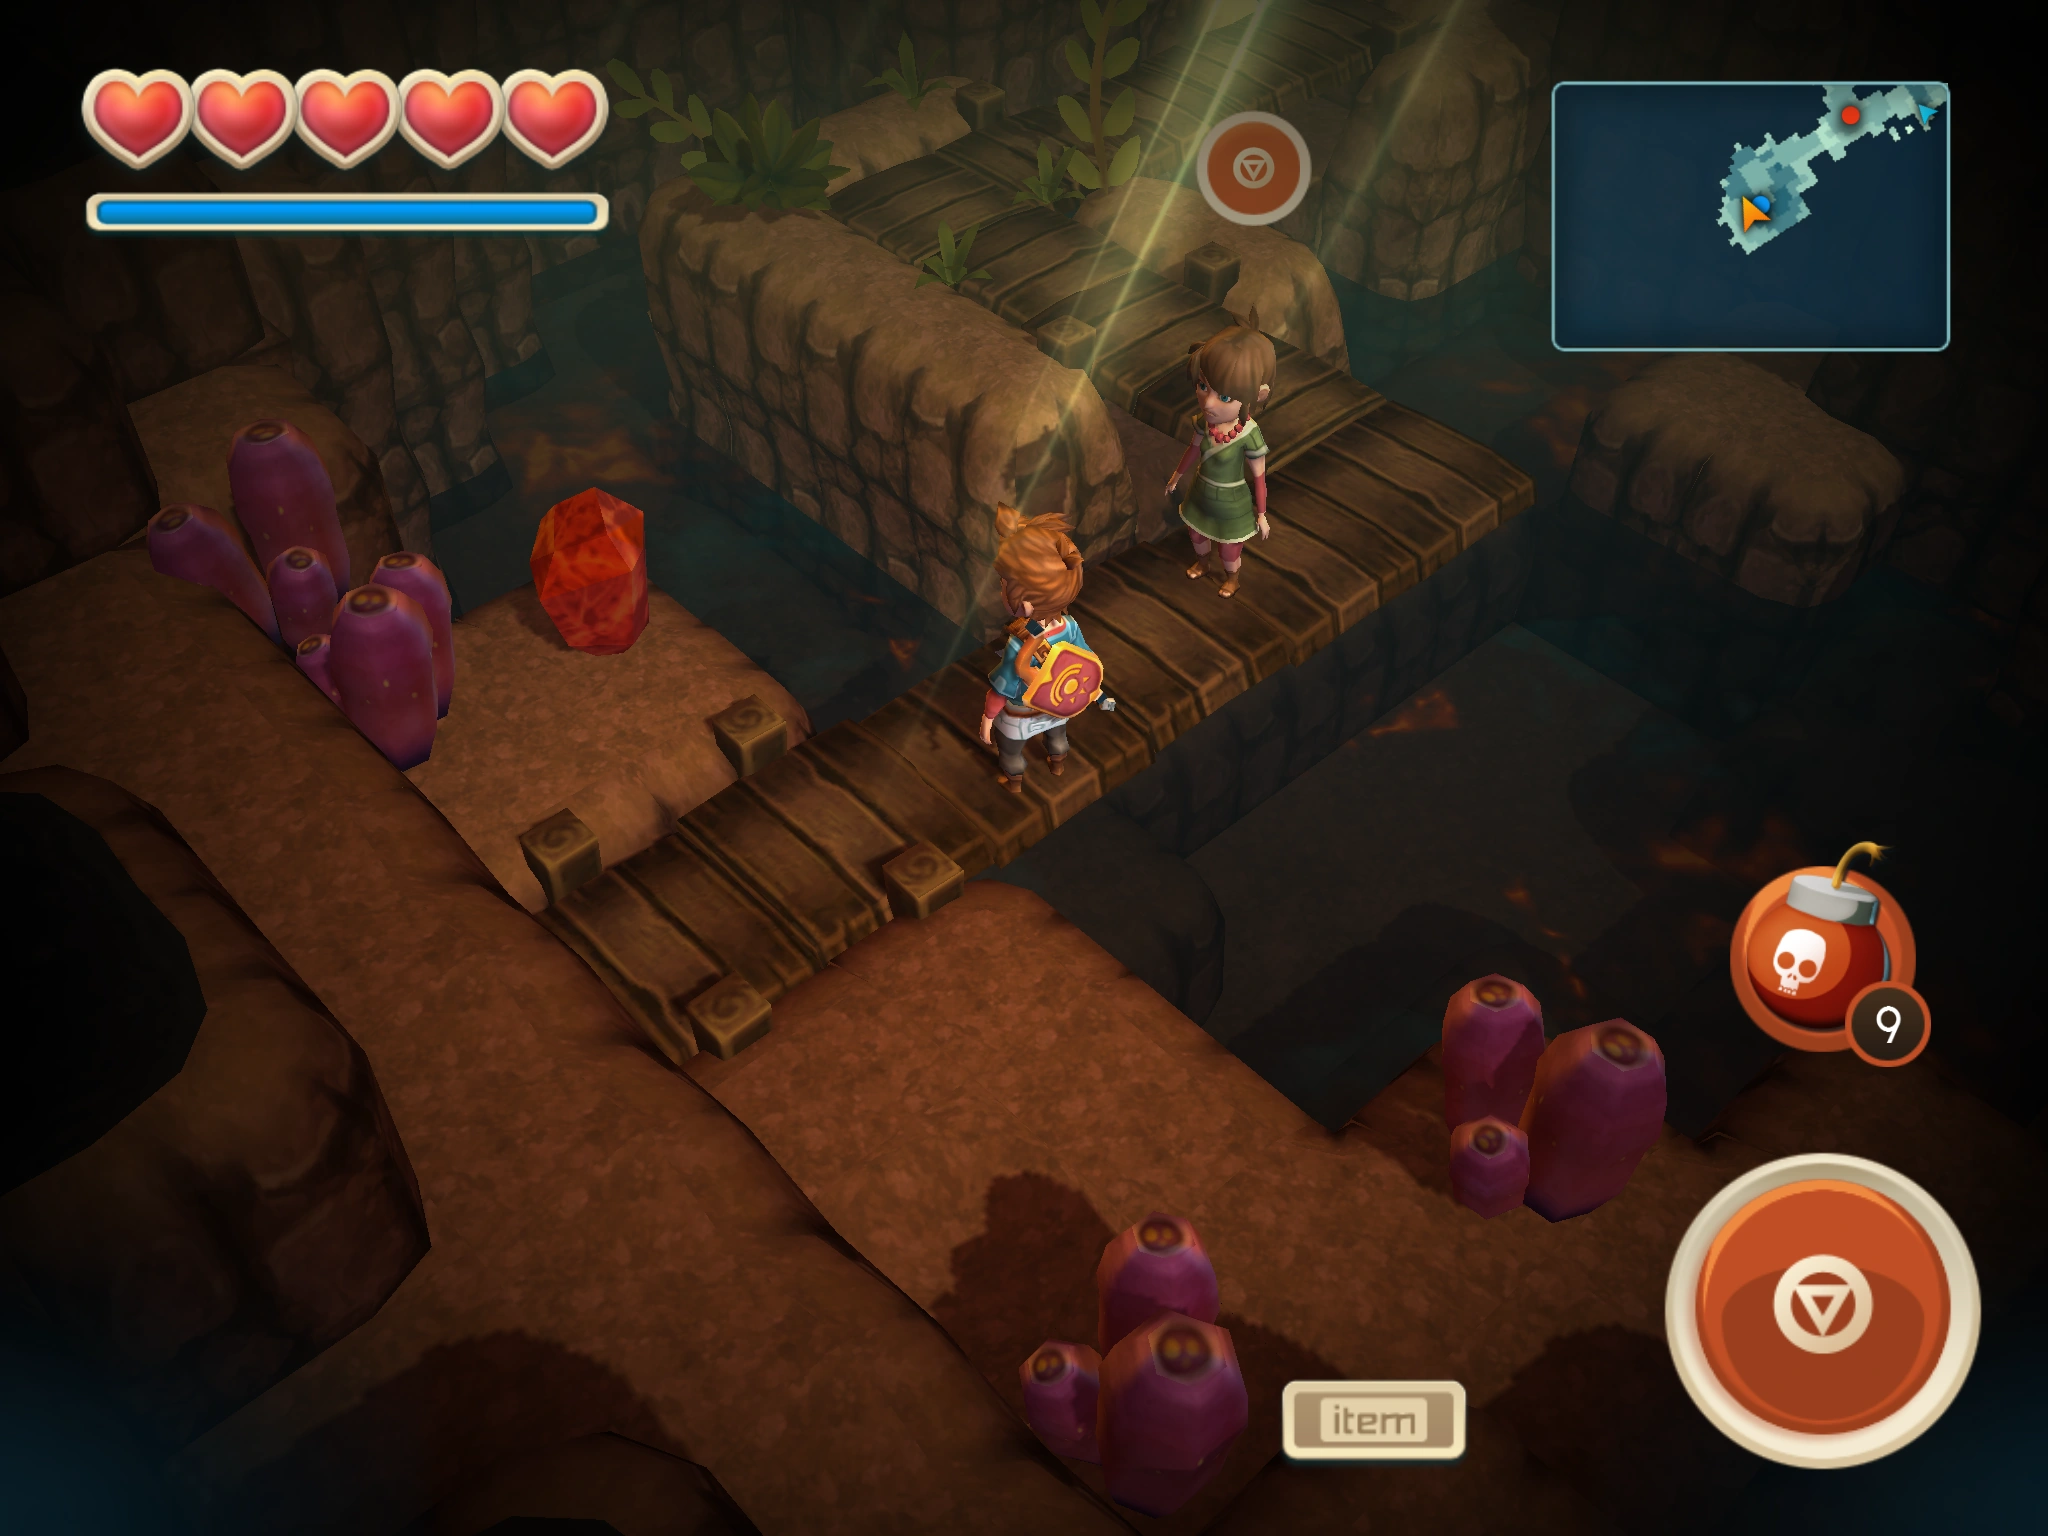
|
| 52 | Withered Lands | Desert Caverns | You need to bomb a wall to reach this Bloodstone. | 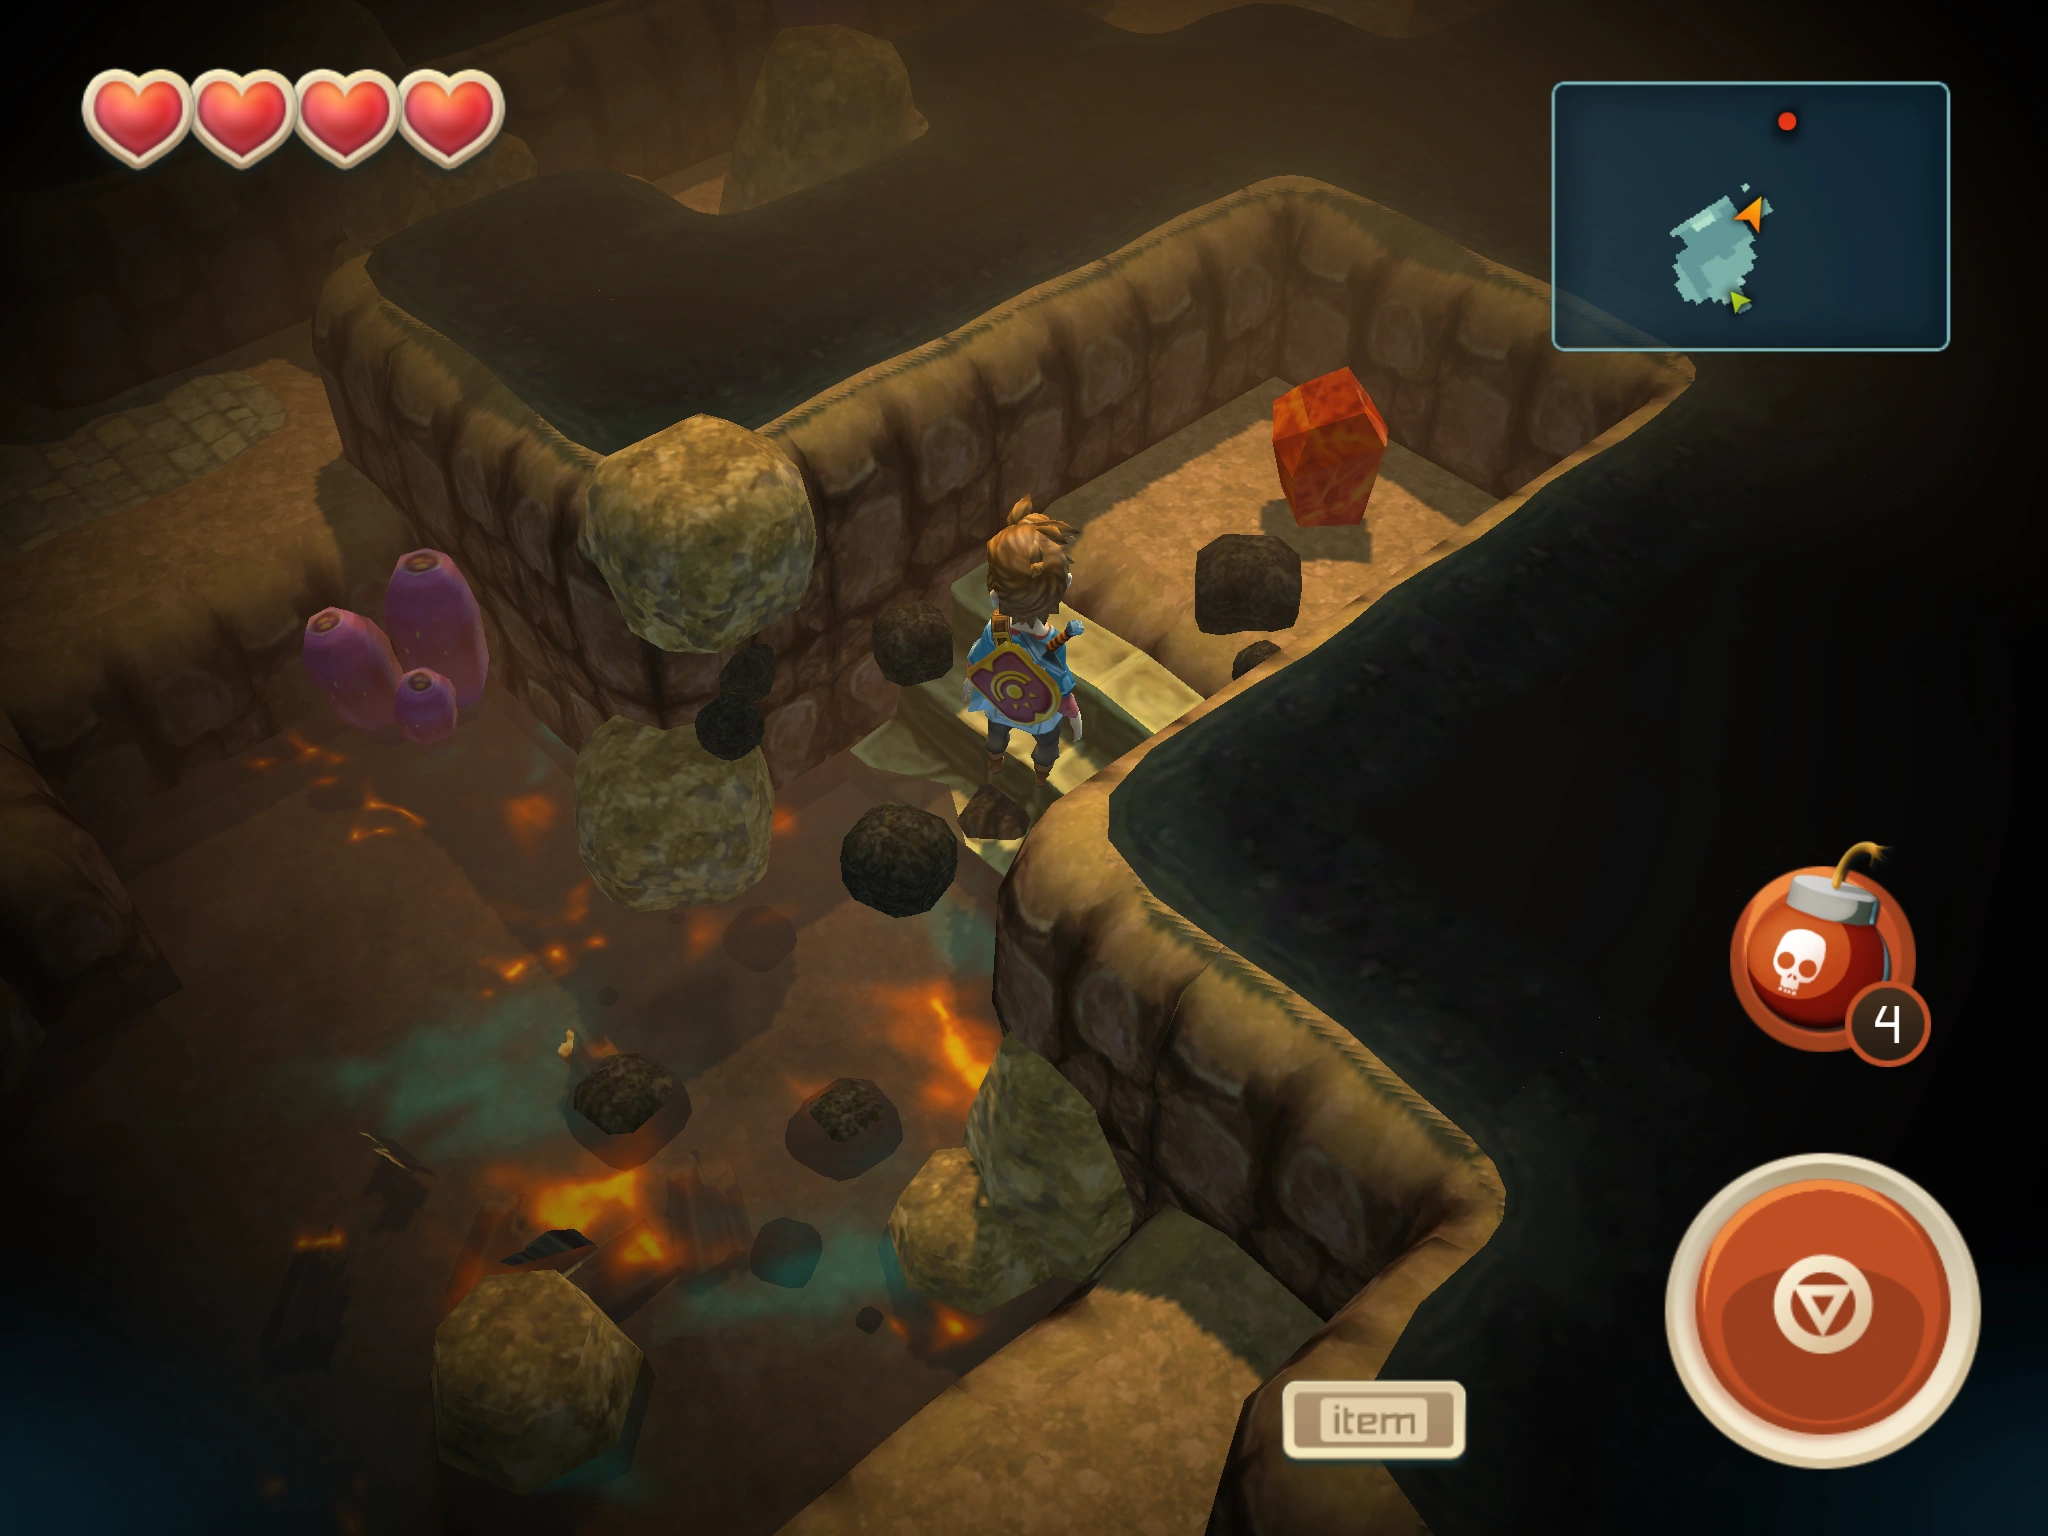
|
| 53 | Withered Lands | Pirta Desert | 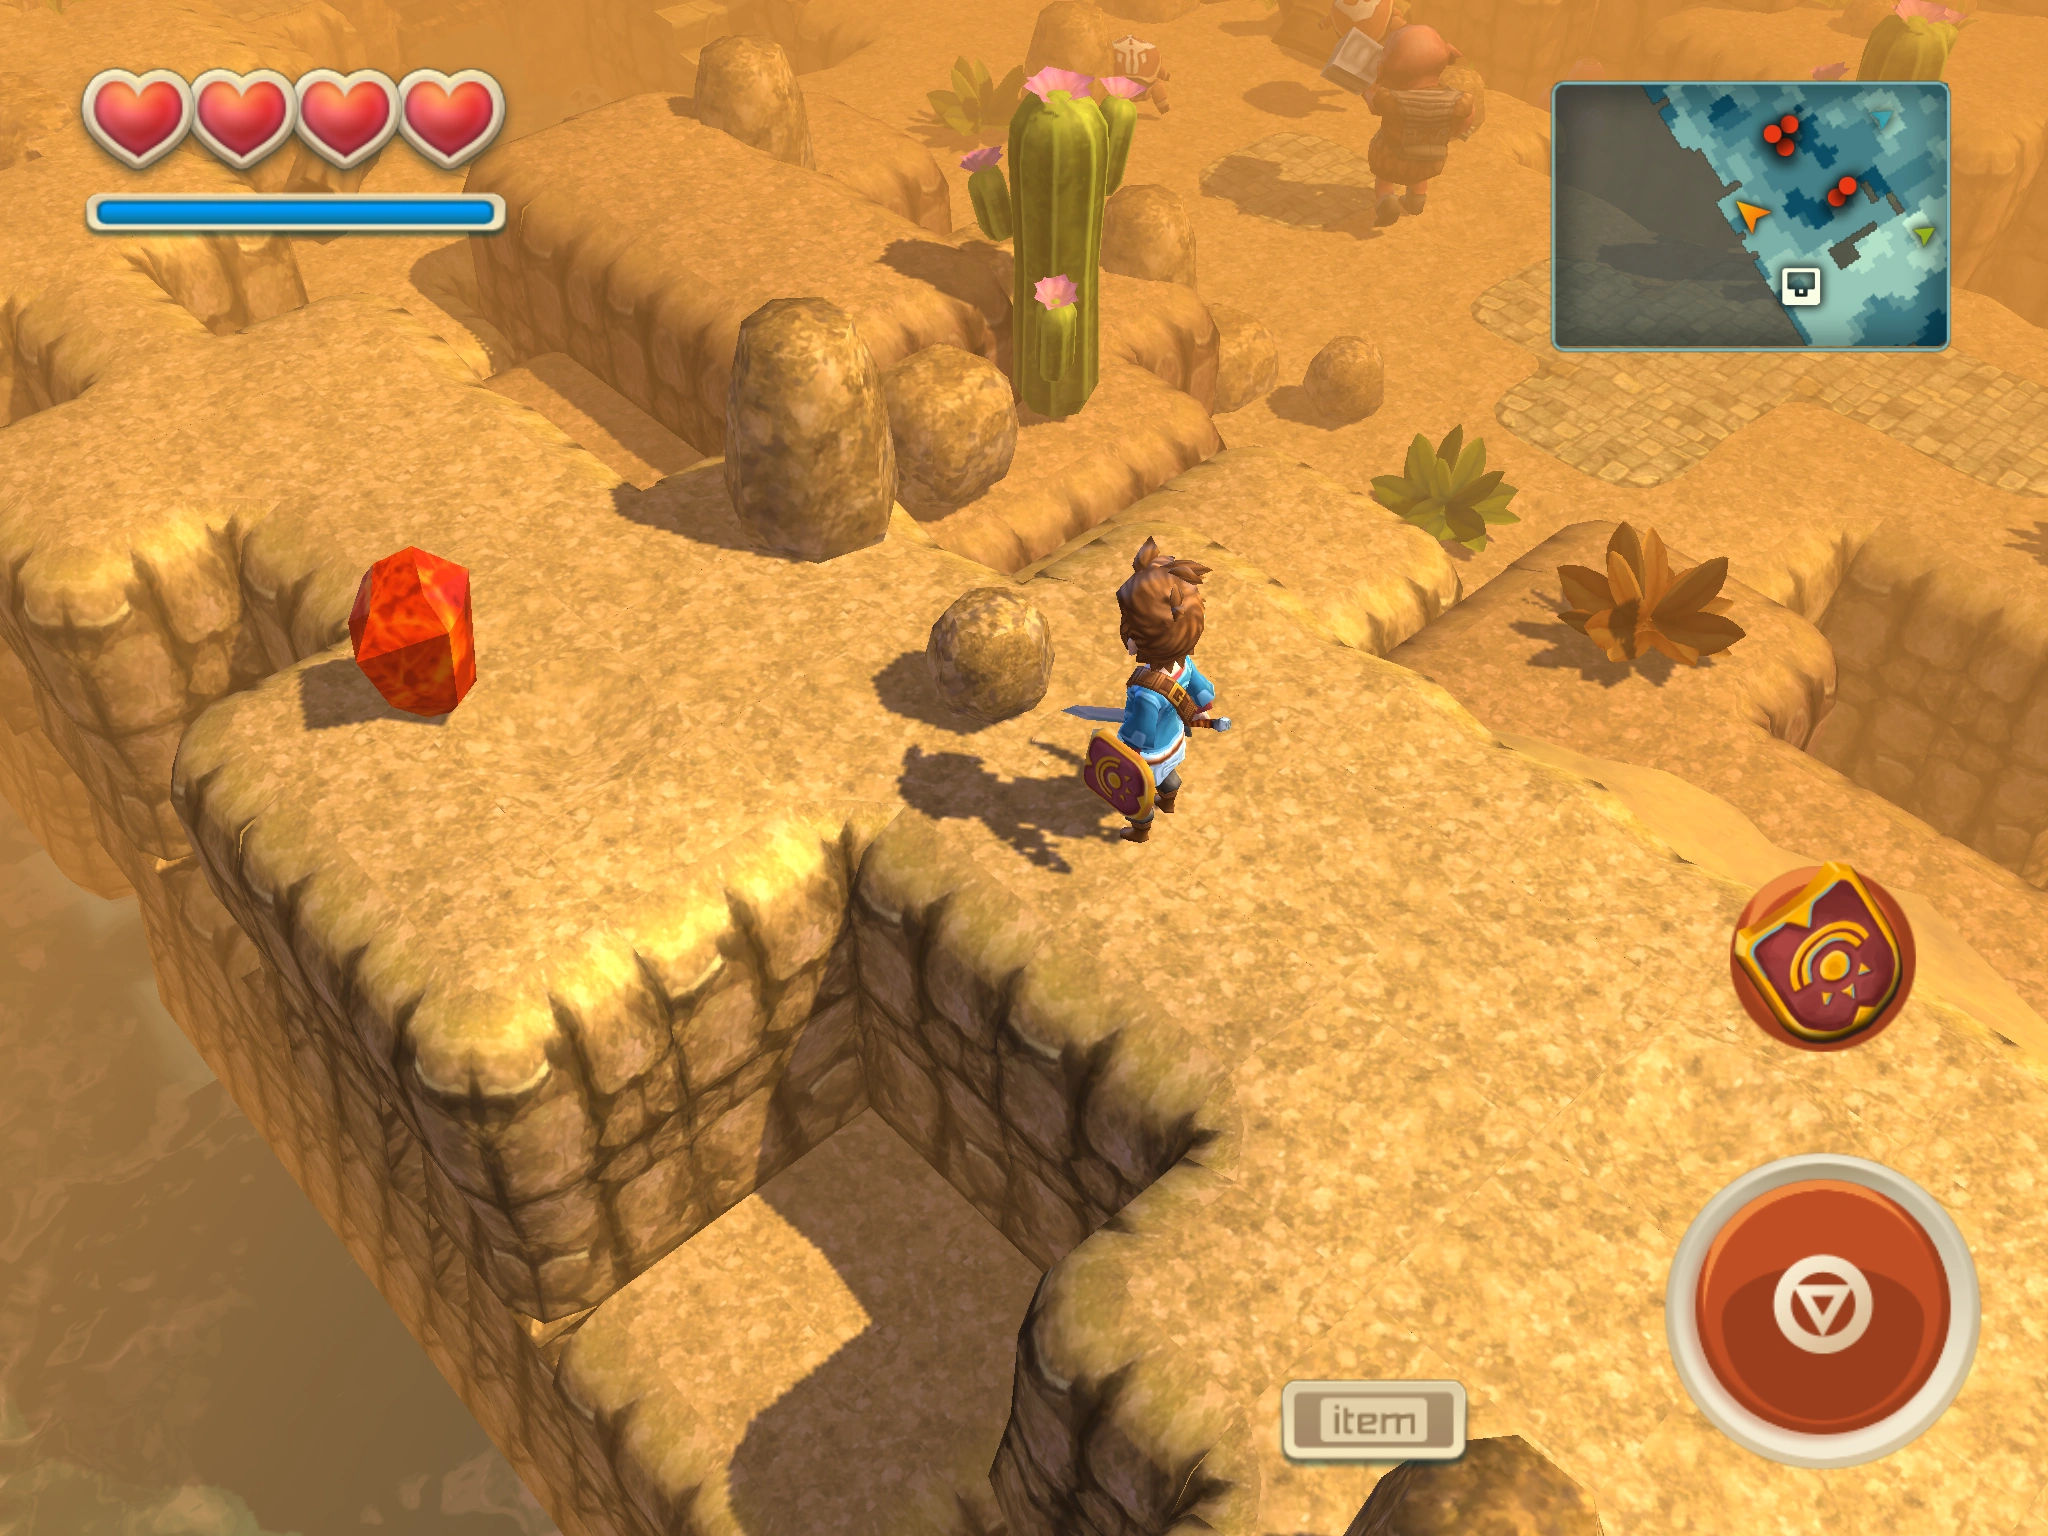
| |
| 54 | Withered Lands | Pirta Desert | Trencher Boots | 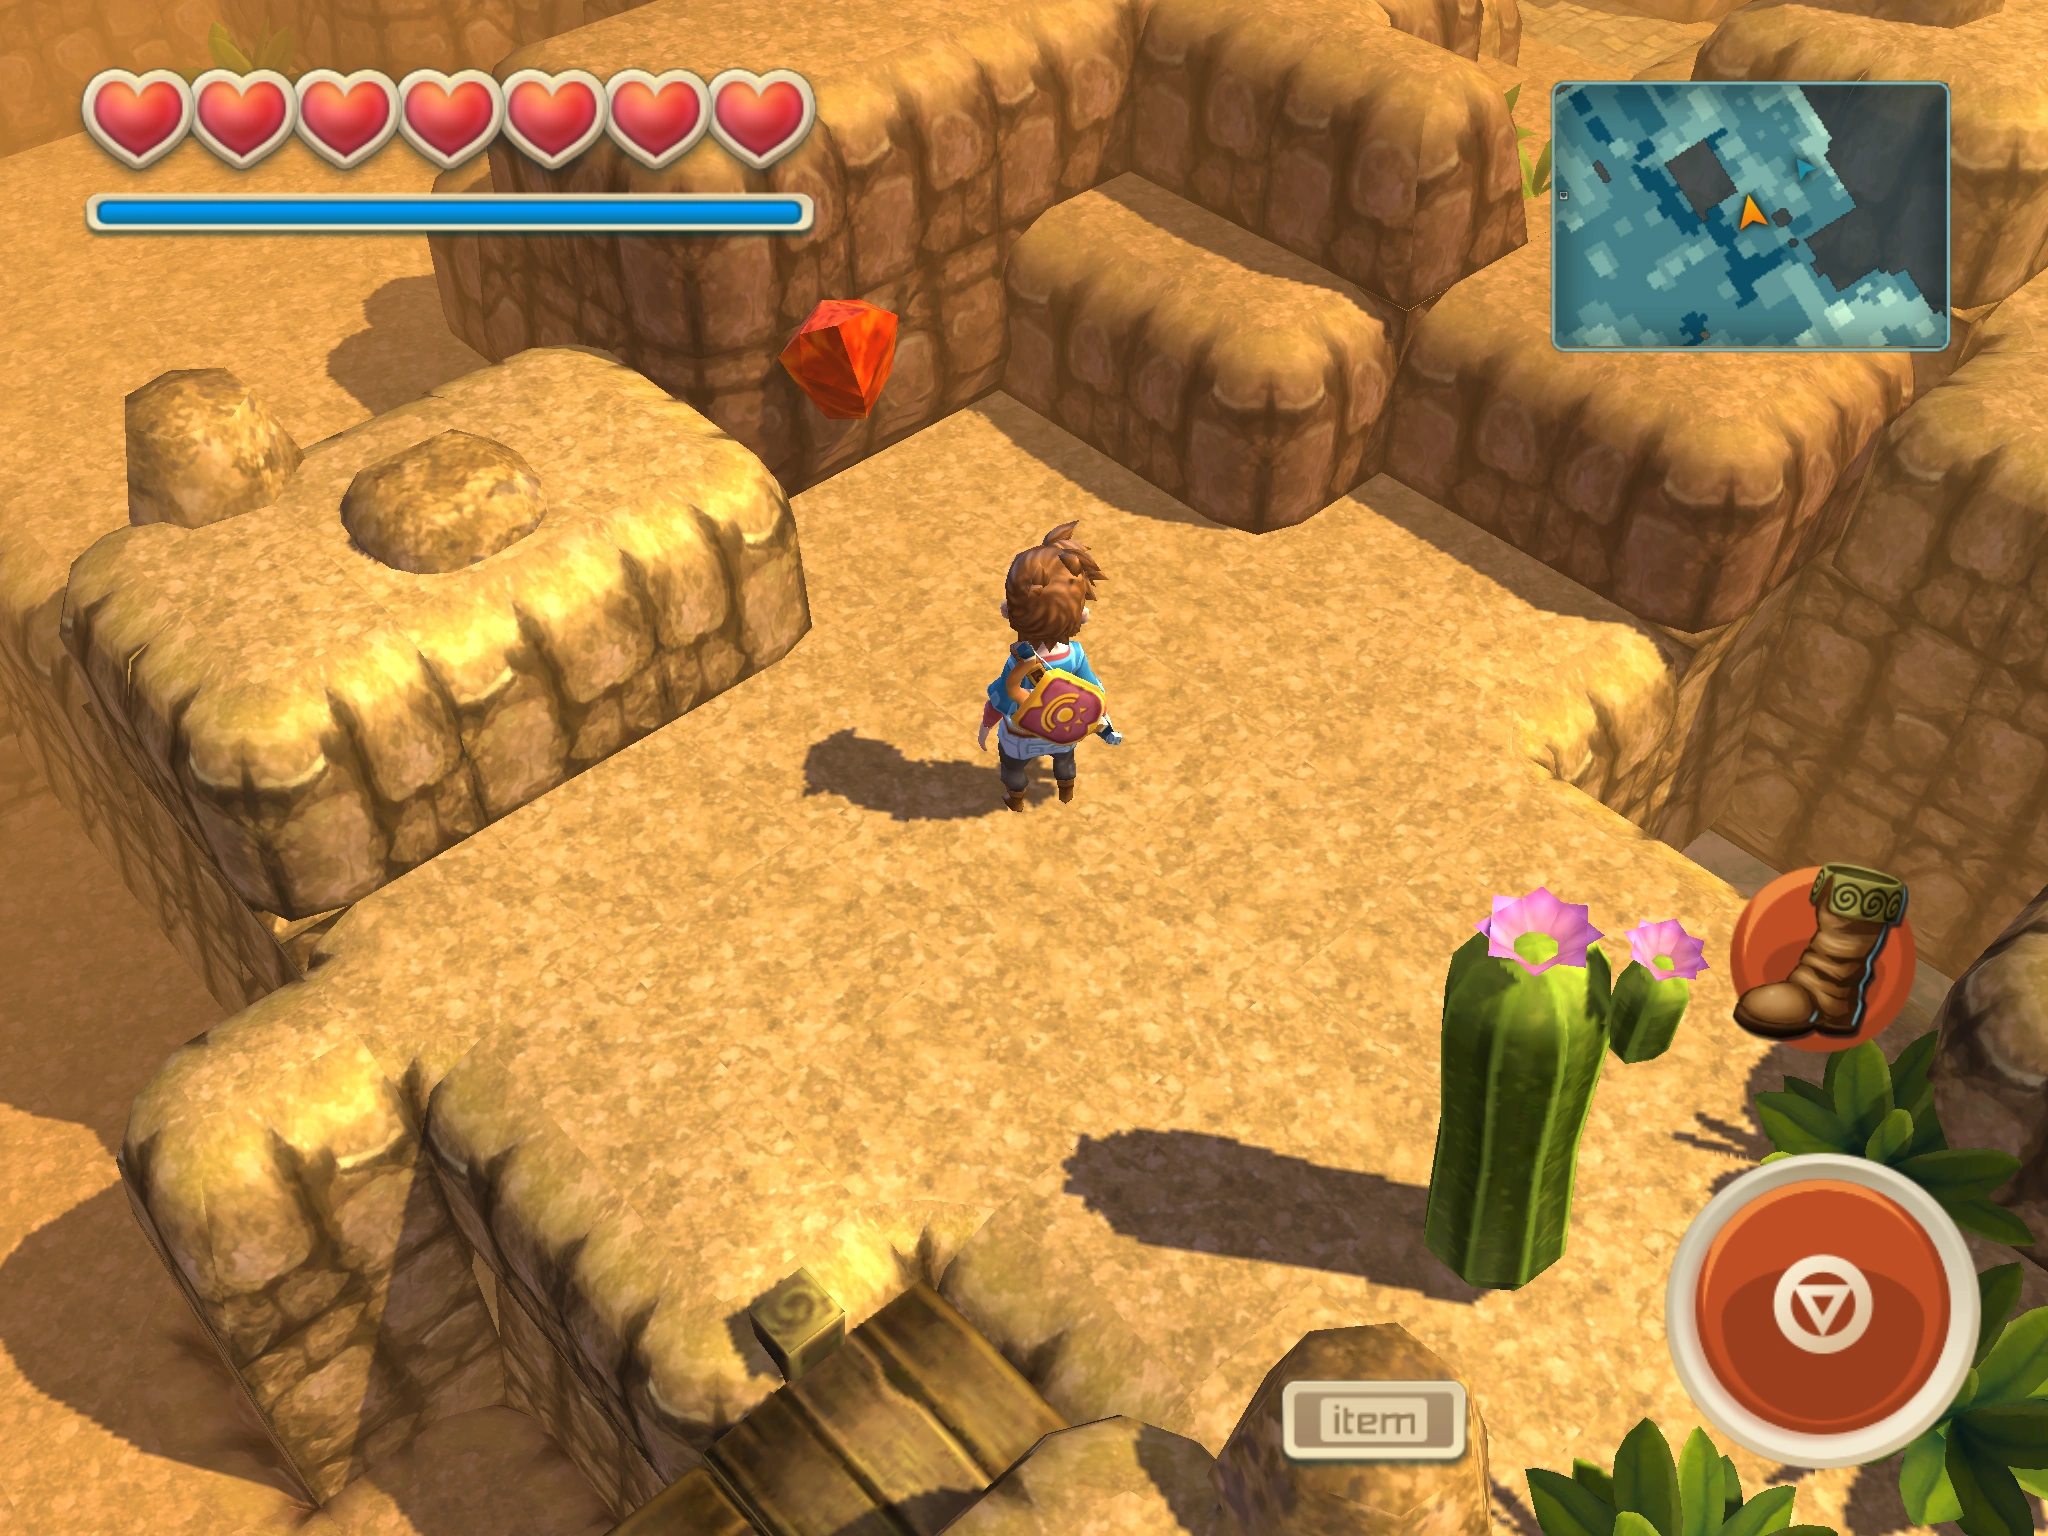
|
| 55 | Withered Lands | Pirta Desert | Trencher Boots | 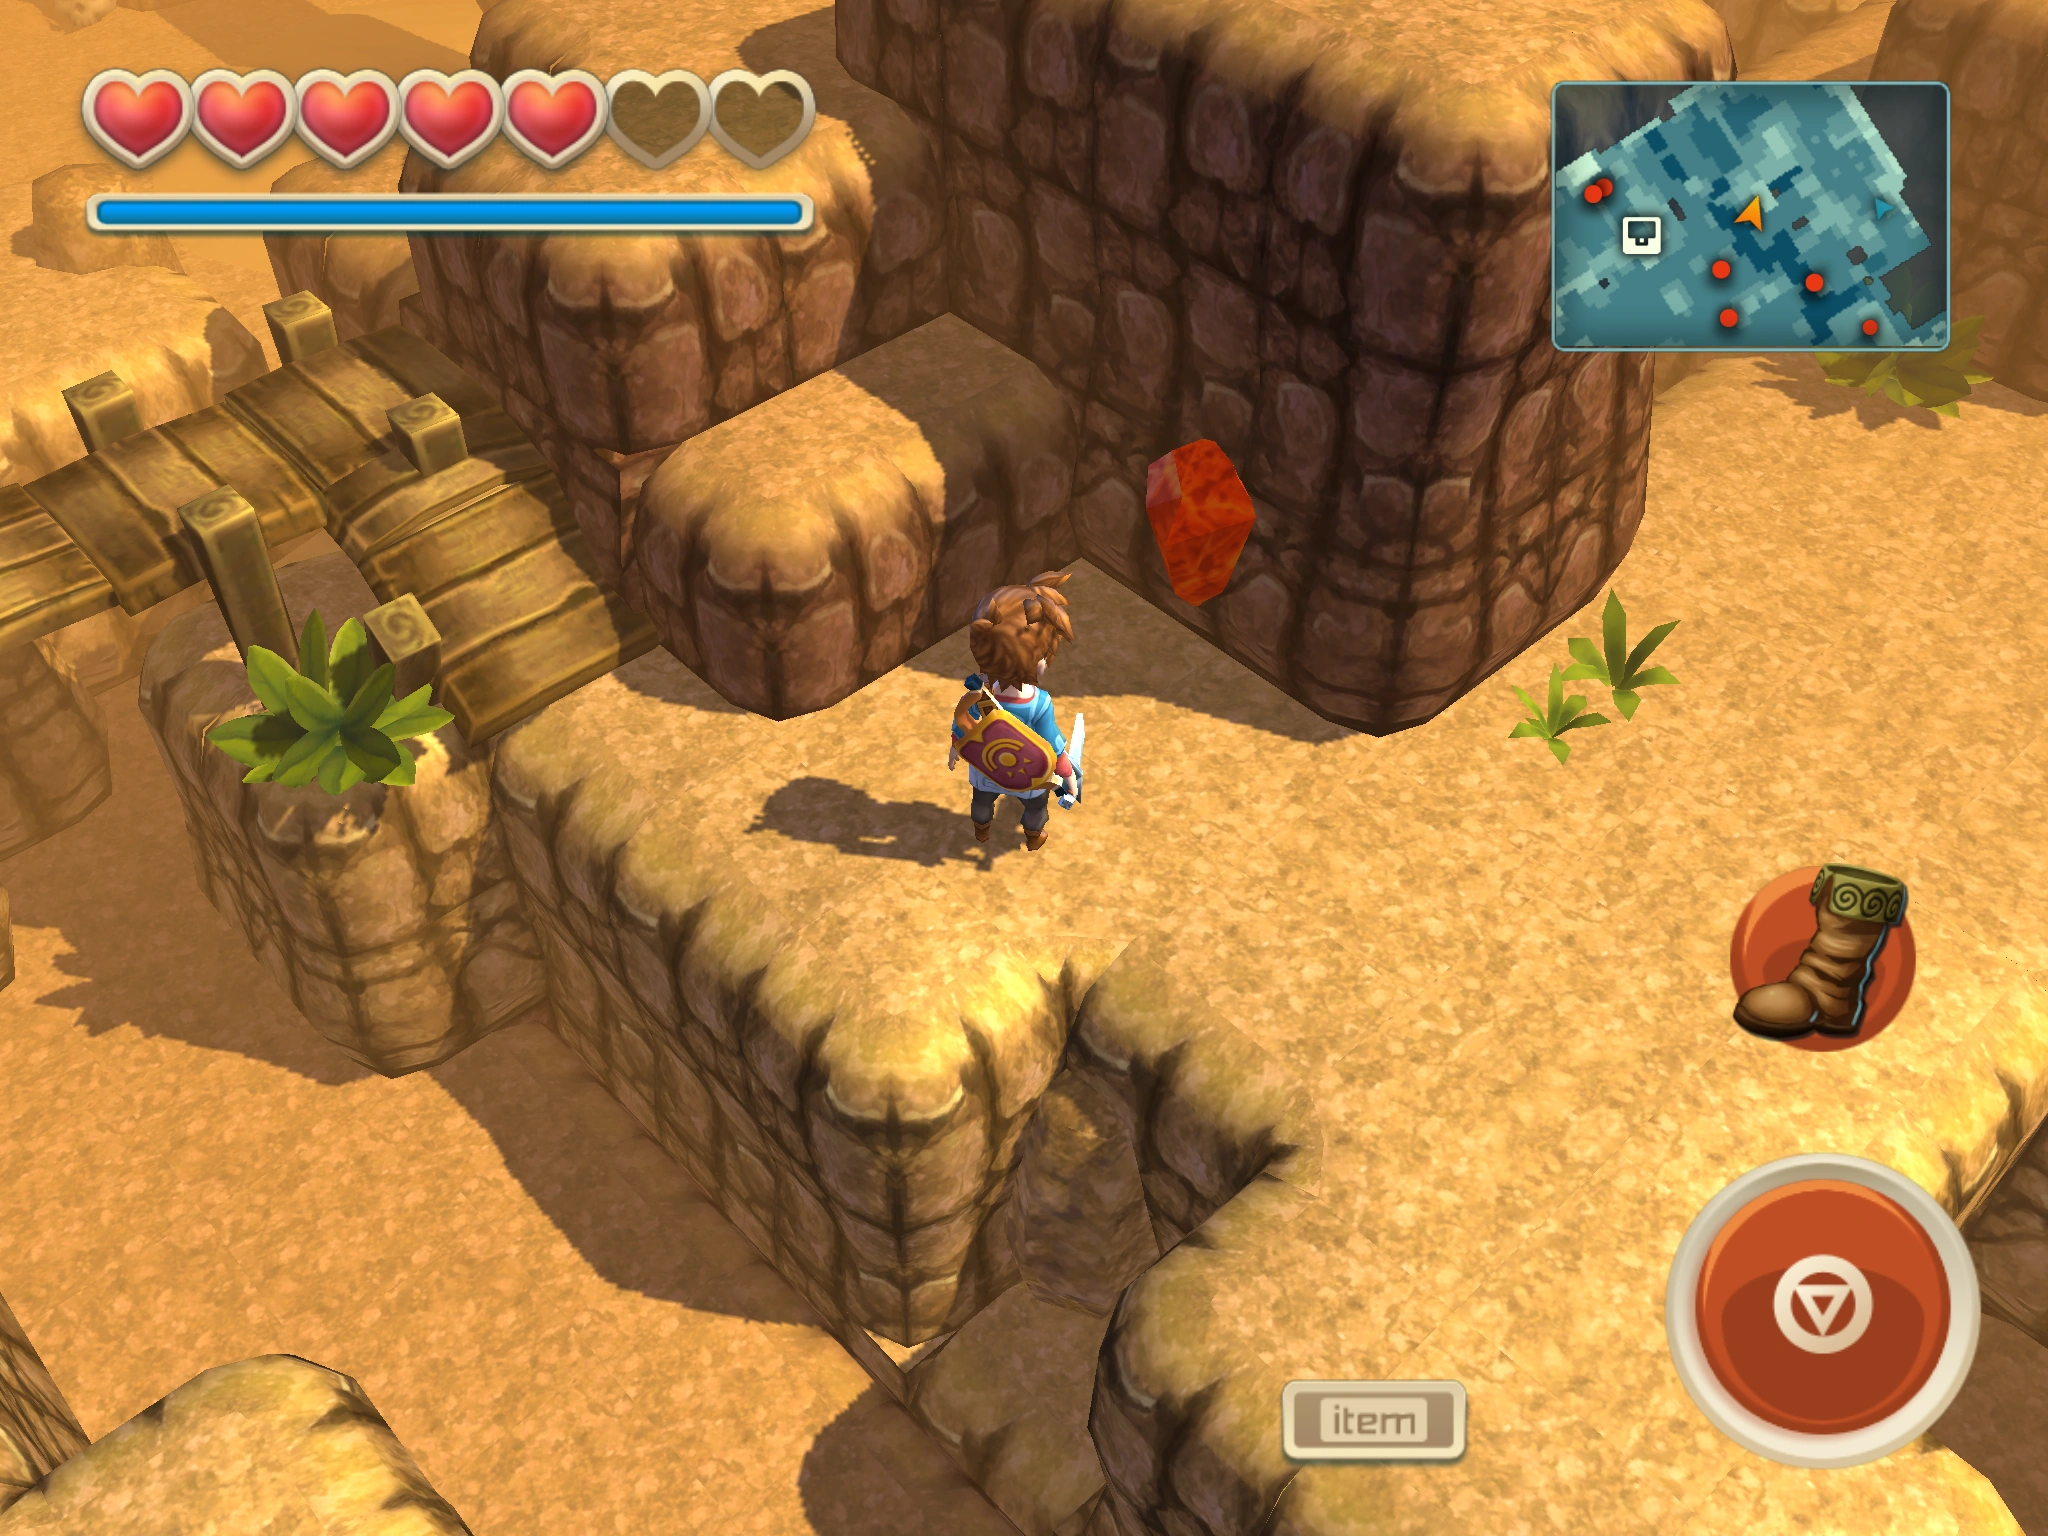
|
External Links[]
- Video guide on all Bloodstone locations Oceanhorn All Bloodstones by BestOfCollectible (in fact, 54 of them)
- Video guide on the 55th Bloodstone Oceanhorn 55th Bloodstones by BestOfCollectible
[]
| |||||||||||||||||||||||||||
| |||||||||||||||||||||||||||
| |||||||||||||||||||||||||||